Job accounting for printing, Job accounting for printing -42 – Kyocera TASKalfa 2552ci User Manual
Page 497
9-42
User Authentication and Accounting (User Login, Job Accounting) > Job Accounting (Local)
Job Accounting for Printing
The number of jobs to be printed from the computer can be managed by Job Accounting.
Setting Printer Driver
To manage the number of jobs to be printed from the PC on the network, you need configure the following settings by
using the printer driver on the PC. Instructions are based on interface elements as they appear in Windows 8.1.
1
Display the screen.
1
Select [Settings] in charms on Desktop, and select [Control Panel], and then [Devices
and Printers].
2
Right-click the printer driver icon of the machine, and click the [Printer properties] menu of
the printer driver.
3
Click [Administrator] on the [Device Settings] tab.
2
Configure the settings.
1
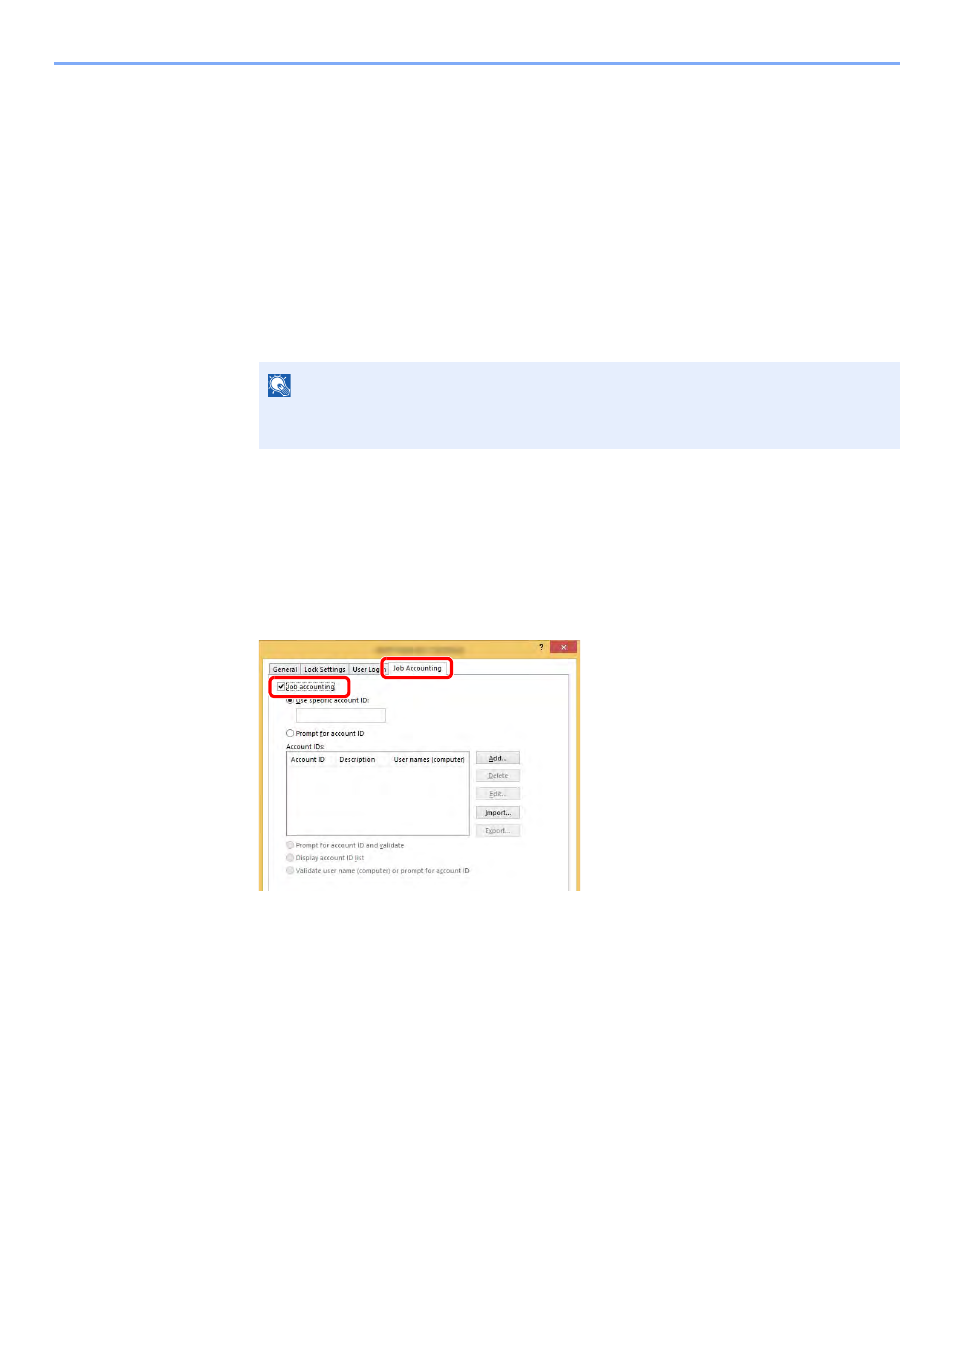
Select [Job accounting] on the [Job Accounting] tab.
2
Set the Account ID.
[Use specific account ID]: Enter the Account ID. Printing will be performed using the
entered Account ID. If this option is selected, the user does not have to enter the Account ID
for each print job.
[Prompt for account ID]: A screen for entering the Account ID will be displayed when
attempting a printing. The Account ID must be entered each time a printing is attempted.
[Prompt for account ID and validate]: A screen for entering the Account ID will be
displayed when attempting a printing. The Account ID stored in the Account ID list needs to
be entered. The Account ID must be entered each time a printing is attempted.
[Display account ID list]: The Account ID list is displayed when printing. The Account ID
to be used needs to be selected from the list.
[Validate user name (computer) or prompt for account ID]: When printing, the Windows
user name is searched in the "Account IDs" and printing is possible if the name is
registered. If the Account ID is not registered, the screen for entering the Account ID will
appear.
NOTE
In Windows 7, click [Start] button on the Windows, and then click [Devices and
Printers].
1
2