Executing wsd scan, Executing wsd scan -34 – Kyocera TASKalfa 2552ci User Manual
Page 242
5-34
Operation on the Machine > WSD Scan
2
Install the driver.
Right-click the machine's icon and then click [Install].
During the installation, double-click the icon shown on the task bar to display the "Driver
Software Installation" screen. When "Your devices are ready to use" is displayed on the
[Driver Software Installation] screen, the installation is completed.
For Windows 10
1
Right-click [Start] button on the Windows and select [Control
Panel] and then [View devices and printer].
2
Install the driver.
Click [Add a device]. Select the machine's icon and then click [Next].
When the machine's icon is displayed in "Printers" on the [Devices and Printers] screen, the
installation is completed.
Executing WSD scan
1
[Home] key > [Send]
2
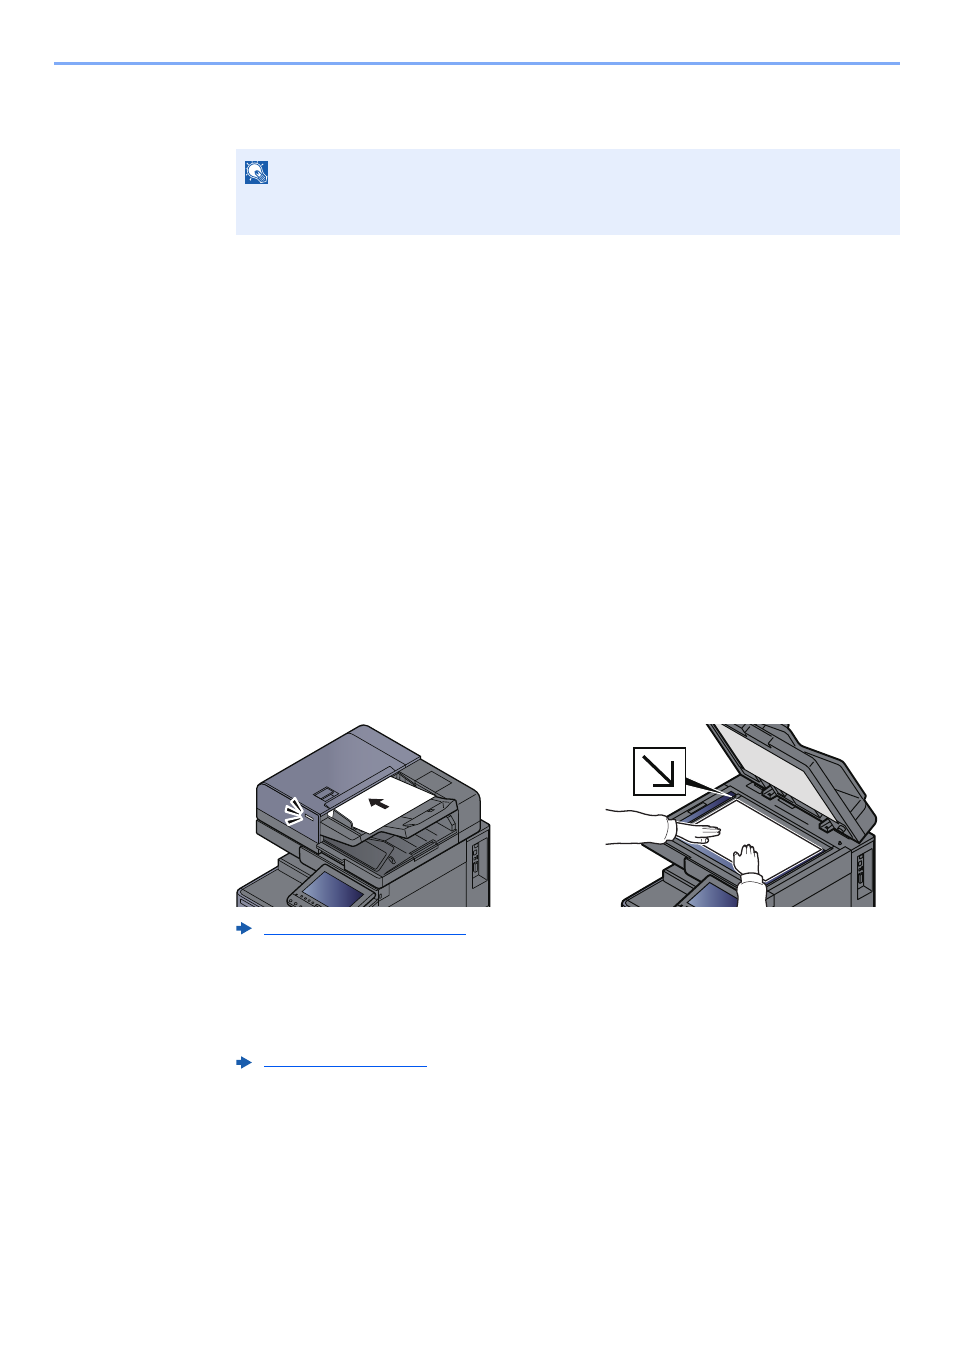
Place the originals.
3
Display the screen.
Select [WSD Scan/DSM Scan].
If DSM Scan is set to [Off] in the network settings, select [WSD Scan] and go to step 4.
4
Scan the originals.
Procedure using this machine
1
[From Operation Panel] > [Next]
NOTE
If the "User Account Control" window appears, click [Continue].
If the "Found New Hardware" window appears, click [Cancel].