Selecting and saving machining positions – HEIDENHAIN TNC 620 (81760x-02) ISO programming User Manual
Page 262
Programming: Data transfer from CAD files
7.3
DXF converter (option 42)
7
262
TNC 620 | User's ManualDIN/ISO Programming | 2/2015
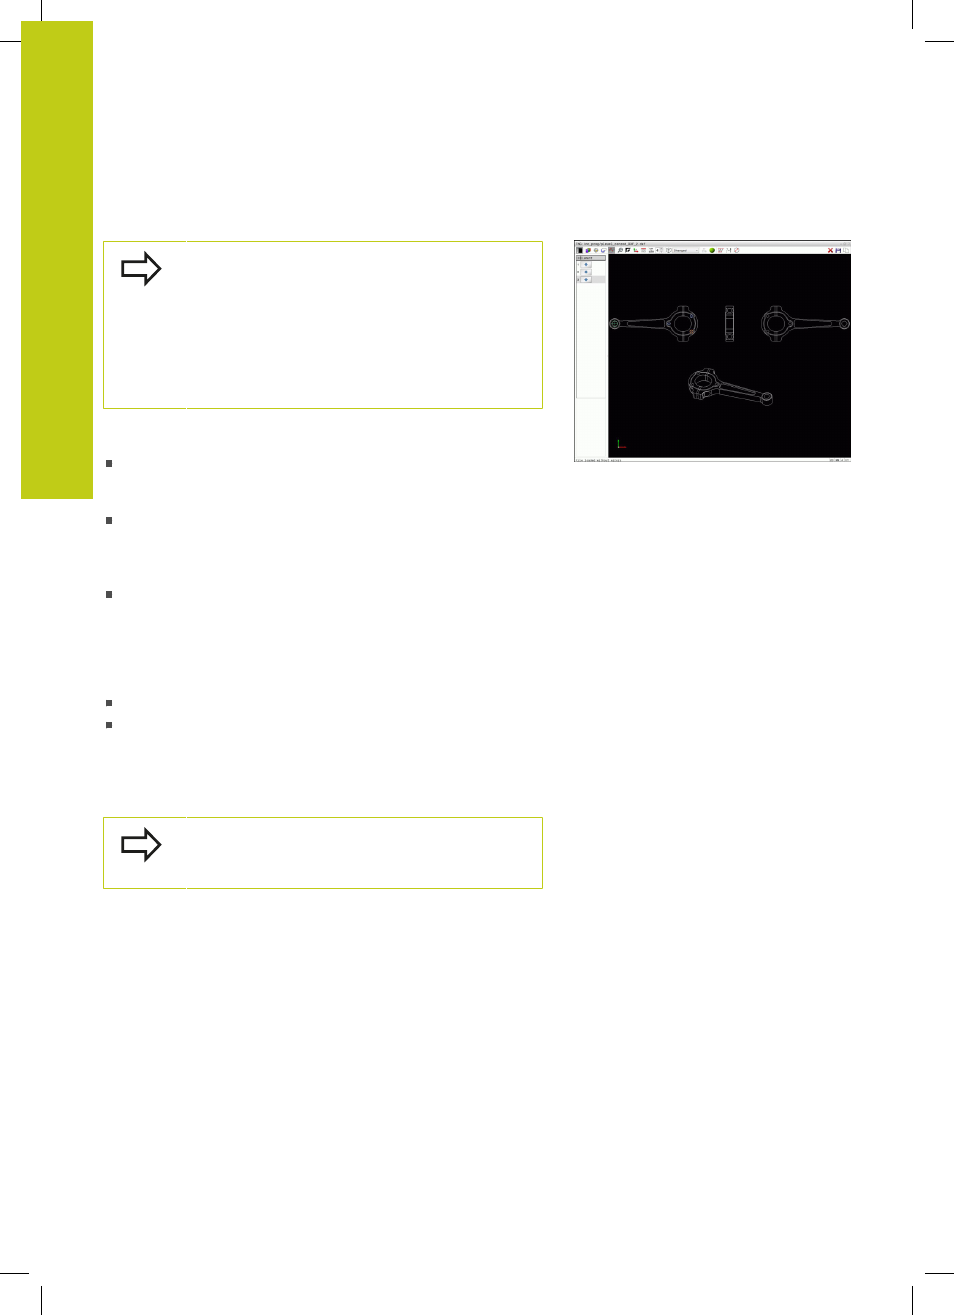
Selecting and saving machining positions
You must use the touchpad on the TNC keyboard or a
mouse attached via the USB port in order to select a
machining position.
If the positions to be selected are very close to one
another, use the zoom function.
If required, configure the basic settings so that the
TNC shows the tool paths, see "Basic settings",
Three possibilities are available in the pattern generator for defining
machining positions:
Single selection: You select the desired machining position
through individual mouse clicks (see "Single selection",
page 263)
Rapid selection of hole positions with the mouse area: By
dragging the mouse to define an area, you can select all the
hole positions within it (see "Rapid selection of hole positions
with the mouse area", page 264).
Quick selection of hole positions via an icon: Actuate the icon
and the TNC then displays all existing hole diameters (see
"Rapid selection of hole positions via icon", page 265).
Select the file type
The following file types are available:
Point table (
.PNT)
Plain-language program (
.H)
If you save the machining positions to a plain-language program,
the TNC creates a separate linear block with cycle call for every
machining position (
L X... Y... M99). You can also transfer this
program to old TNC controls and run it there.
The point table (.PTN) from the TNC 640 is not
compatible with the iTNC 530. Running the point
table causes problems and unpredictable behavior.