Worm probe – HEIDENHAIN IK 5494-2D User Manual
Page 124

102
QC5200 Series User’s Guide
Worm probe
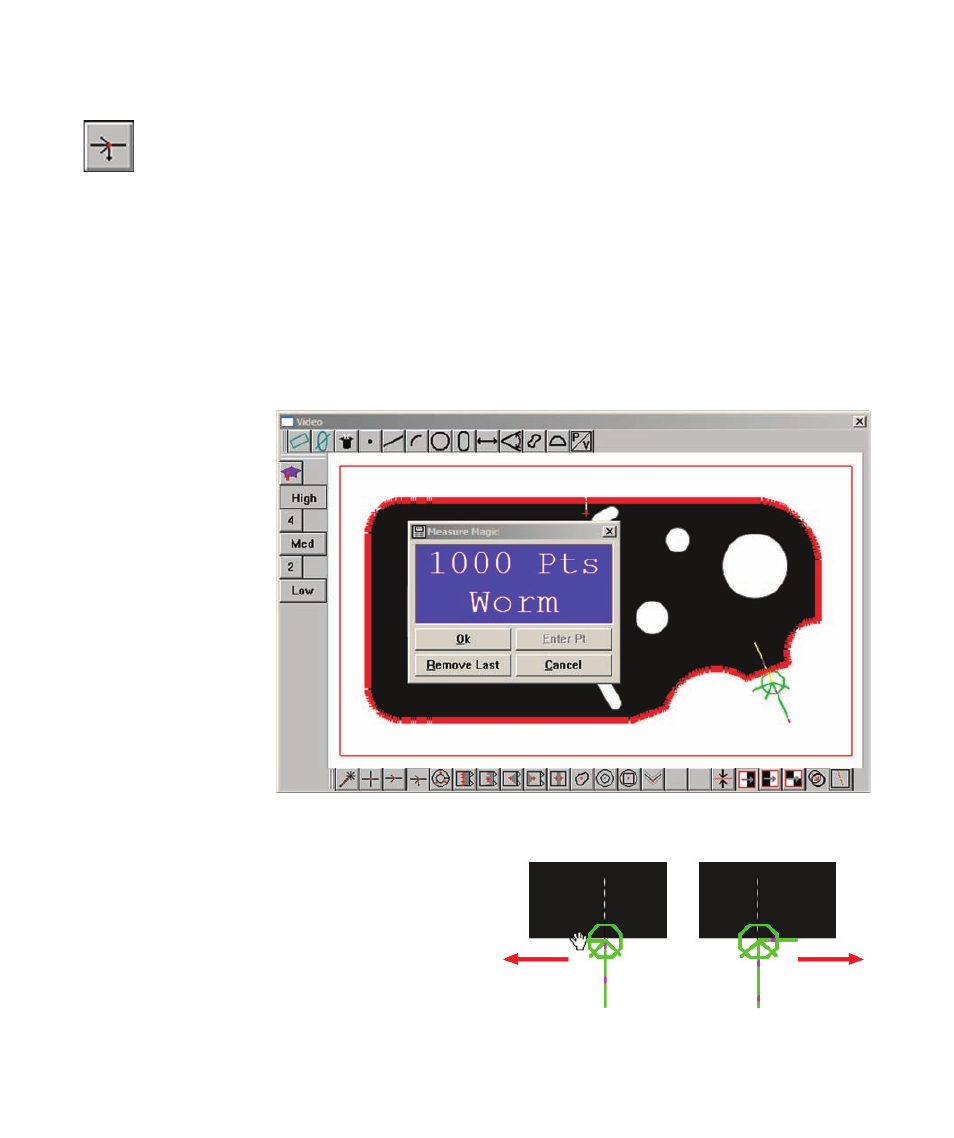
The worm probe generates a series of scans perpendicular to and across the perimeter of a feature
edge in the direction indicated by the probe. Each scan acquires a data point at the edge of the
image. The maximum number of scans and the distance between scans can be changed in the
Probe Library by supervisors, distributors and OEMs.
The worm probe is used to measure regular and irregular features, totally included within the field of
view or extending beyond the field of view. The worm tool can be used to measure lines, arcs, circles and
profiles.
Select the Worm probe from the Probe menu, the live video window on-screen menu or the VED toolbar.
Move the probe, change its size or change its orientation as described earlier in this chapter.
To acquire points along
the edge of a feature,
select a feature mea-
surement or Measure
Magic, select the Worm
probe, position it at the
edge of the feature,
select a scan direction
and then click the cen-
ter mouse button to fire
the Probe.
Measurement results
are sent to the Features
template and Results
window and depend on
the feature type mea-
sured.
Changing the scan direction
Features are scanned around their perimeters in the
direction indicated by the Worm tool’s scan line.
The scan direction can be toggled between counter-
clockwise and clockwise by clicking the hand cursor
on the scan line.
The Worm probe is used to acquire points for a profile measurement
Click the scan line to change the scan direction