The utility row – NewTek TriCaster 300 User Manual
Page 68
Page | 52
3. Click the Switcher button labeled ‘1’ on the Program row to send Camera 1 to
TriCaster’s BKGD layer (the button turns red, denoting its selected state).
(For experimental purposes, feel free to use internal sources such as Media Players
rather than live cameras if you like – see Section 4.8).
4. Click to select Camera 2 on the Preview row (the button will light up in green).
5. Note that the titlebars of the corresponding source monitors (All Monitor view) are now
also tinted red and green, respectively.
THE UTILITY ROW
Let’s take a moment to discuss the Utility row now. The steps we take here will come into play a
bit further on in our exploration.
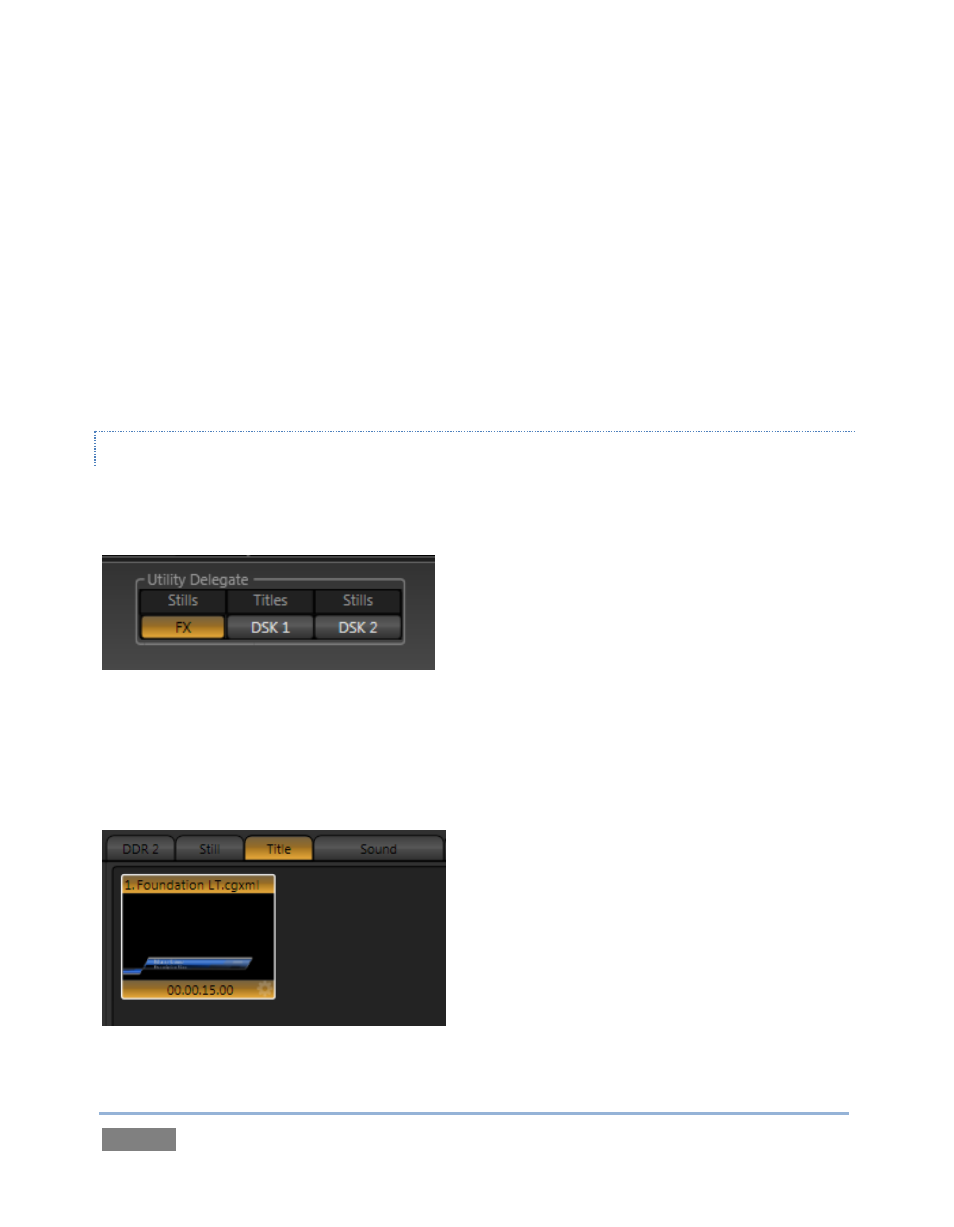
Figure 43
Notice that a group of controls labeled Utility Delegate is provided to the right of the Utility row,
as shown in Figure 43). The group contains buttons labeled FX, DSK 1 and DSK 2. The selection
you make here govern the Utility row buttons.
Figure 44