NewTek TriCaster 300 User Manual
Page 72

Page | 56
10. In the main Transition control group (Figure 48), click the BKGD button above the T-Bar.
This delegates the controls below to affect the Background video layer – only.
11. Click the button labeled Auto below the T-Bar (again, the main Auto button, not to be
confused with the local Auto buttons at right).
12. Click a different transition icon in the BKGD Transition Bin, and click the Auto button
again. (TriCaster™ supplies a wealth of transitions to suit every need).
13. Select a slower transition speed for the BKGD layer using the drop-down as before, and
click Auto again to test the new transition rate.
Note that local configuration settings for the BKGD layer do affect transitions performed using
the main controls:
Hint: Manually control the progress of a transition by grabbing the T-bar with the left mouse
button and dragging it downward.
14. Earlier, we displayed DSK 1, using its local Take button. The BKGD transitions we’ve
made did not affect it, so it should still be displayed (if you removed it from view while
experimenting, please restore it before continuing).
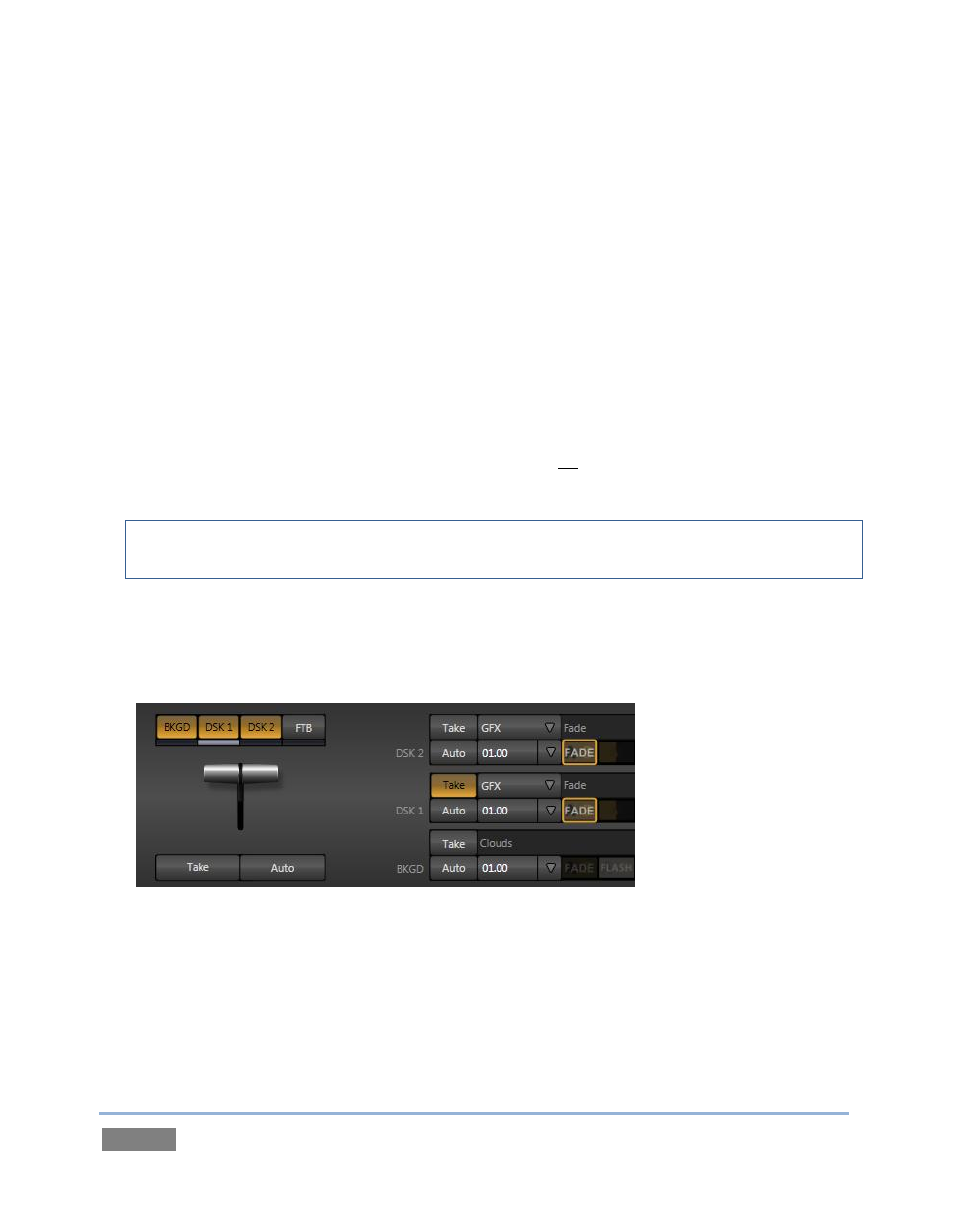
Figure 49
15. With the BKGD delegate button lit up, press Ctrl on your keyboard, and keep it pressed
while you click the buttons for both DSK 1 and DSK 2 – then release it.