2 making volume sets available to macos, Driver installation – Areca 24/4 Internal/External Port Pcie 3.0 12 Gb/s SAS/SATA Raid Controller 2Gb Cache User Manual
Page 127
DRIVER INSTALLATION
127
4.6.2 Making Volume Sets Available to macOS
After the volume set is ready for system accesses, it needs to be
partitioned, formatted, and mounted by the operating system.
When you create a volume through McRAID storage manager,
the macOS recognizes that a new disk is avail, and displays a
message asking what you next want to do. If the message does
not show up, start the “Disk Utility” manually from the “Finder”,
use the “Go” menu and open the “Utilities” folder. Double-click
on the “Disk Utility” program.
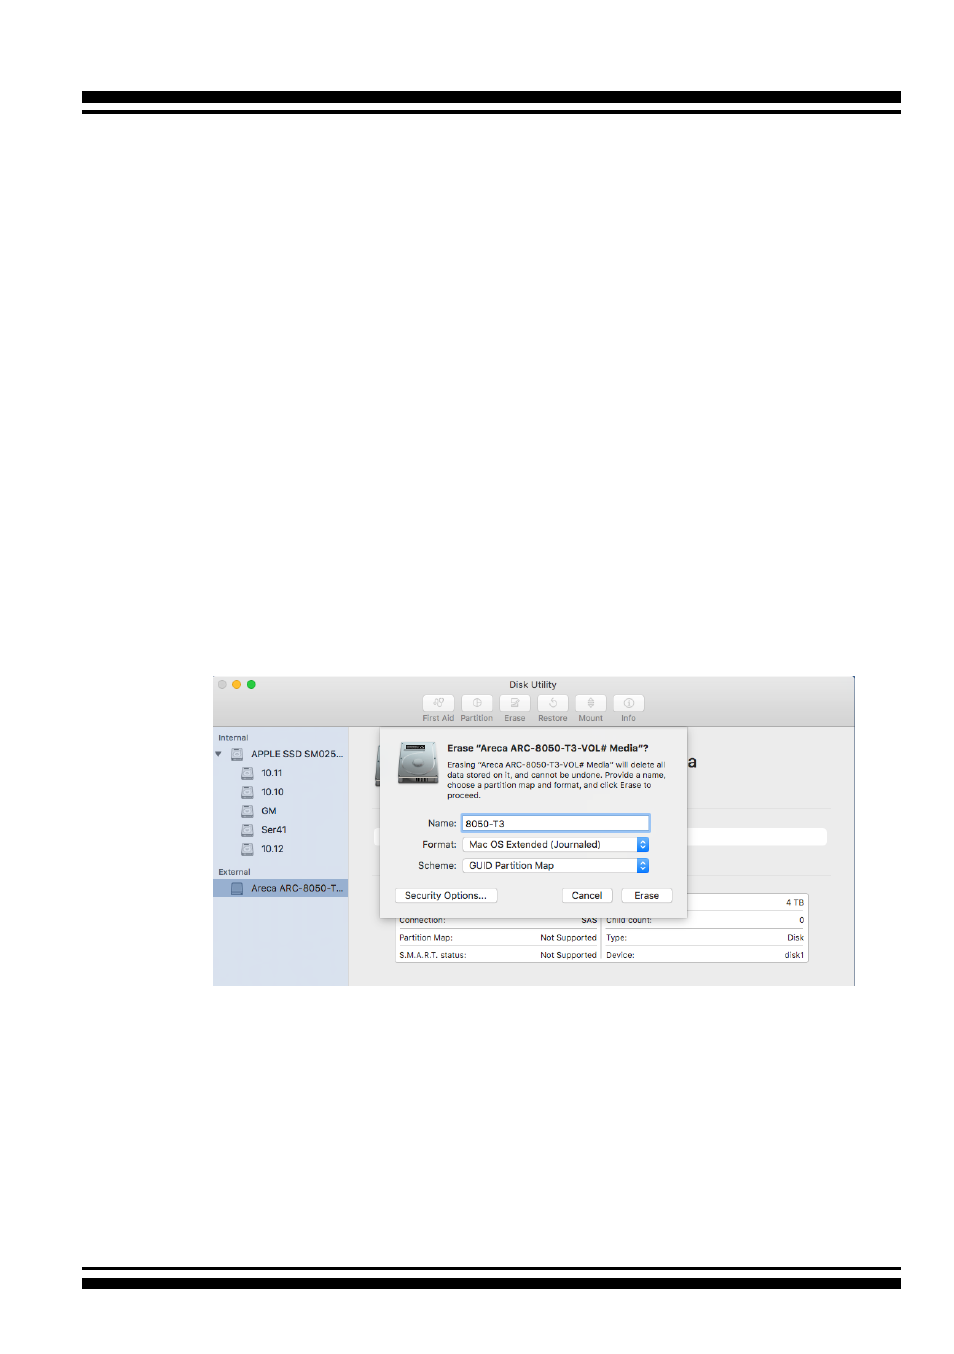
To format and partition your unit
1. Formatting a drive in Disk Utility is easy, though Disk Utility
uses a different term: Erase. When the Disk Utility window
opens, find and select the desired drive in the sidebar that
represents your RAID storage. This is how you prepare to
erase and format the RAID storage.
Choose OS X Extended (Journaled) for the Format, and,
for the Scheme, choose GUID Partition Map. You could also
choose MS-DOS as the format, if you want to be able to use
the drive on both a Mac and a PC. In that case, choose Mas-
ter Boot Record for the Scheme. Click “
Erase
” button in the
toolbar, and Disk Utility will erase and format the RAID stor-
age. When it is complete, icons for this partition shows up on
your desktop. It is now ready to use.