Bios configuration, Initialization mode – Areca 24/4 Internal/External Port Pcie 3.0 12 Gb/s SAS/SATA Raid Controller 2Gb Cache User Manual
Page 67
BIOS CONFIGURATION
67
I/O Port Addr : 28000000h, F2(Tab): Select Controller, F10: Reboot System
ArrowKey Or AZ:Move Cursor, Enter: Select, ESC: Escape, L:Line Draw, X: Redraw
Areca Technology Corporation RAID Controller
Main Menu
Quick Volume/Raid Setup
Raid Set Function
Volume Set Function
Physical Drives
Raid System Function
More System Functions
Hdd Power Management
Ethernet Configuration
Alert By Mail Config
View System Events
Clear Event Buffer
Hardware Monitor
System information
Volume Set Function
Volume Set Functions
Creat Volume Set
Create Raid30/50/60
Delete Volume Set
Modify Volume Set
Check Volume Set
Stop Volume Check
Display Volume Info.
Create Volume Set
Create Volume From Raid Set
Raid Set # 000 :3/3 Disk: Normal
Raid Set # 001 :9/9 Disk: Normal
Raid Set # 003 :8/8 Disk: Normal
Raid Set # 004 :3/3 Disk: Normal
Raid Set # 005 :3/3 Disk: Normal
Raid Set # 006 :3/3 Disk: Normal
Raid Set # 007 :3/3 Disk: Normal
Raid Set # 000 :3/3 Disk: Normal
Volume Creation
Raid Level : 6
Capacity : 5039.9GB
Stripe Size : 64K
SCSI Channel : 0
SCSI ID : 0
SCSI LUN : 1
Cache Mode : Write Back
Write Protect : Disabled
Tag Queuing : Enabled
Volume Name : ARC-1883-VOL# 001
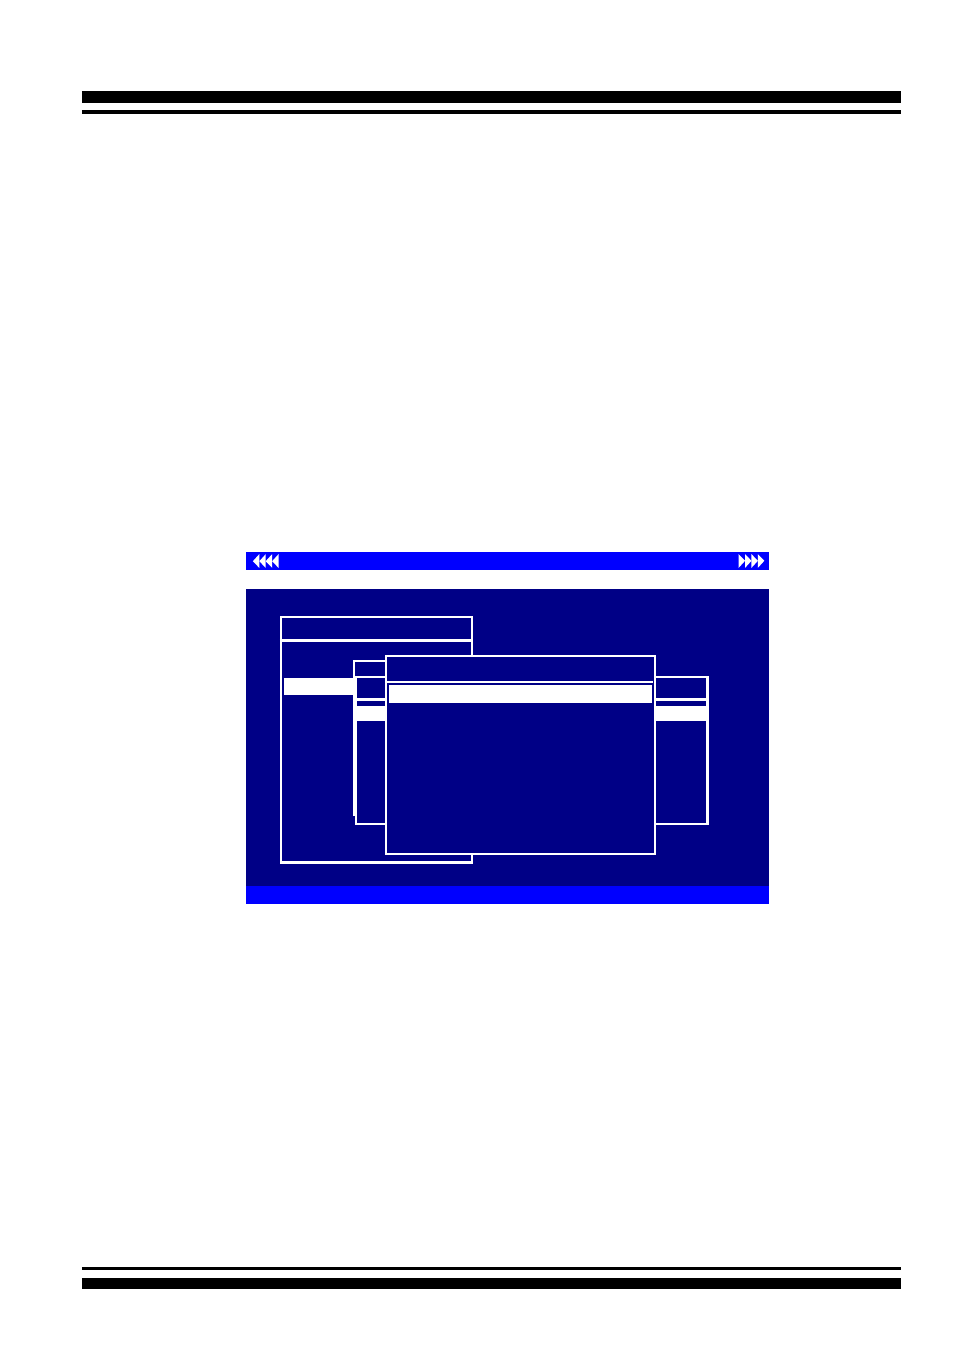
To create a volume set, follow the below steps:
1. Select the “Volume Set Function” from the main menu.
2. Choose the “Create Volume Set” from “Volume Set Functions”
dialog box screen.
3. The “Create Volume From Raid Set” appears. This screen
displays the existing arranged RAID sets. Select the RAID set
number and press the
Enter
key. The “Volume Creation”
dialog is displayed in the screen.
4. The new create volume set attribute allows user to select the
Volume Name, Raid level, Capacity, Strip Size, SCSI Channel/
SCSI ID/SCSI Lun, Cache Mode, Write protect and Tagged
Command Queuing.
5. After completed the modification of the volume set, press the
Esc key to confirm it. An “Initialization Mode” screen appears.
• Initialization Mode
•
Select “Foreground (Faster Completion)” for faster initializa-
tion of the selected volume set.
• Select “Background (Instant Available)” for normal initial-
ization of the selected volume set.
•
Select “No Init (To Rescue Volume)” for no initialization of
the selected volume.