17 matrix, 1 overview, 2 terminology – LSC Lighting CLARITY LX Series v.1 User Manual
Page 118: 3 patching a led matrix, 4 creating a matrix
Matrix
Clarity
Operator Manual
Page 108
17 Matrix
17.1 OVERVIEW
The Programmers Matrix window allows you to place fixtures on a two dimensional grid and
then display static or moving imagery on them. Therefore, the fixtures output can be tightly
integrated into a complete lighting and visual show. Clarity allows you to control and program
the imagery just like any another lighting fixture. The imagery can be displayed in colour on
RGB, RGBA and RGBW (Red, Green Blue, Amber, White) LED fixtures or in monochrome on any
fixtures that have an intensity channel.
When you patch LED arrays, Clarity automatically sub-divides them so that you can either work
with the entire array or access the individual cells. For LED types that don't have dedicated
intensity channels, virtual intensity channels are automatically created.
17.2 TERMINOLOGY
Pixel Matrix
This is the physical mapping of lighting fixtures onto a rectangular area.
Pixel Source
Each Pixel Matrix contains one or more Pixel Sources. You can add Pixel Sources to a
Pixel Matrix by clicking New Source.
Media
Each Pixel Source can contain one or more media files. You can add media to each Pixel
Source by selecting that Pixel Source and clicking Add Media.
Virtual Fixture
Clarity creates a virtual fixture for each Pixel Source. Virtual fixtures appear in the
Selection Sidebar in the PixSrc tab as “PixelSource.1”, “PixelSource.2” etc. This
allows Clarity to treat each Pixel Source just like a regular lighting fixture. It can be
manipulated in the programmer (media selection, size, position, shape, speed, etc),
recorded into cues and it can also be controlled by Presets and Dynamics (real-time
effects).
17.3 PATCHING A LED MATRIX
In the Patch window, select your manufacturer/model of LED matrix and patch the appropriate
quantity to the DMX locations (addresses) that match the addresses of the fixtures. See section
11, “Patch” for details.
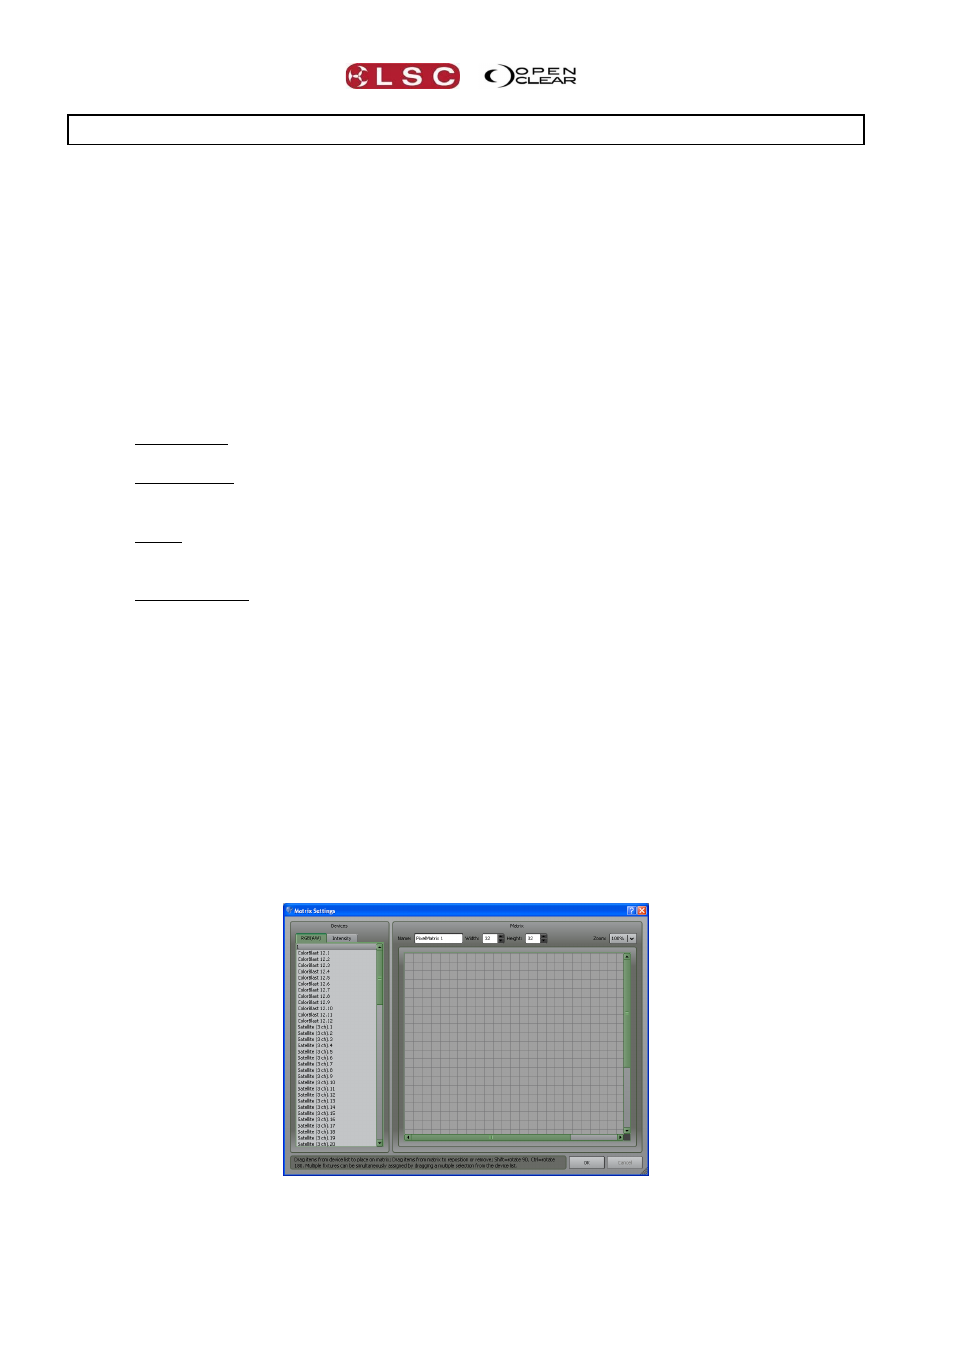
17.4 CREATING A MATRIX
In the Matrix window, select New Matrix to create a new Pixel Matrix and display the Matrix
Settings dialog box:
Use the controls at the top to select the appropriate width and height of the matrix to suit your
physical array. You can enter a descriptive name for the matrix in the Name box.