The schedule manager menu – Grass Valley iTX Desktop v.2.6 User Manual
Page 181
The Schedule Manager
Note:
•
You need to use the Content Selector to add a looping schedule to a playout channel.
•
When you add a looping schedule to the current schedule in a playout channel, the
Schedule Grid displays several entries for the schedule: at least one expandable schedule
entry (with a plus sign in front of it); and a single nested schedule entry.
The number of expandable schedule entries is determined by the Schedule Lookahead
time of the channel you are working in.
As iTX plays out the schedule, it continually adds schedule entries to the Schedule Grid.
When the start time of a schedule entry falls within the Schedule Lookahead time, the
entry becomes expandable.
Adding an hour or a day to the start time of the current schedule
Through the Schedule Manager, you may put back the start time of the current schedule (all
the entries in the Schedule Grid) by an hour or a day.
Normally, you only do this when working in an edit channel.
Put back the start of the current schedule by an hour or a day
1.
Click +1 or +24.
iTX displays the Schedule Adjust dialog.
2.
Click Yes to confirm your instruction and close the dialog.
iTX adds an hour or a day to the start time of each event in the current schedule.
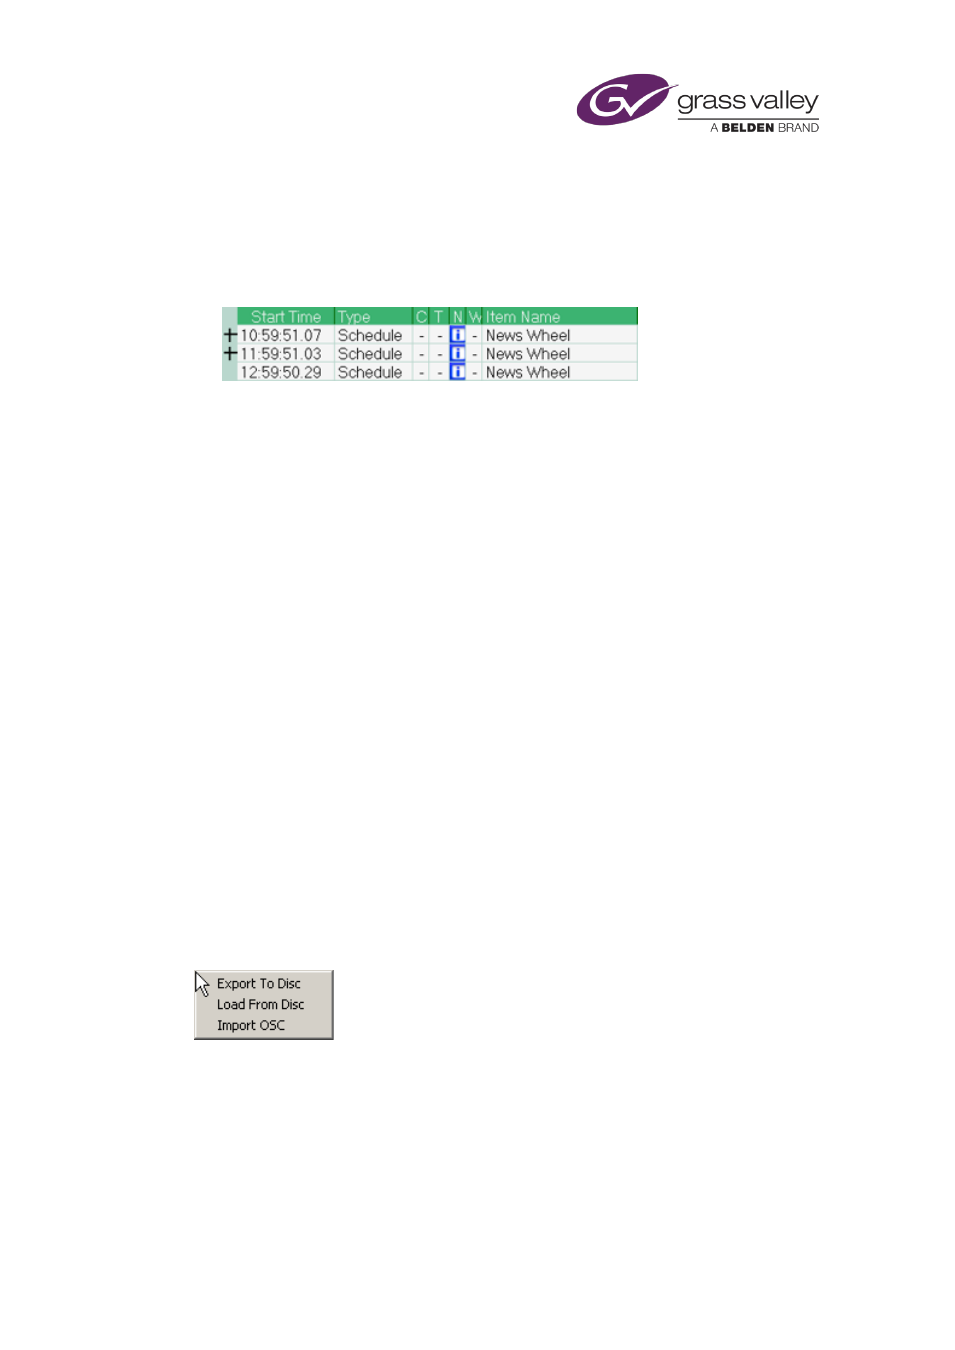
The Schedule Manager menu
Right-clicking the Schedule Manager displays the Schedule Manager menu:
Through this menu, you can:
•
Export the stored schedule that is currently selected in the Schedule Manager to a network
folder or a disk.
•
Load a saved iTX schedule from a network folder or a disk into the Schedule Manager.
•
Load a schedule that is stored in the format defined by the iTX Import Protocol. Such
schedules have the filename extension ".osc". For more information about this, see
"Appendix A: The iTX Import Protocol", page 349.
March 2015
iTX Desktop: Operator Manual
161