Epiphan Pearl Mini Live Video Production System with 512GB SSD (NA/JP) User Manual
Page 332
Pearl Mini User Guide
AFU or copy to USB
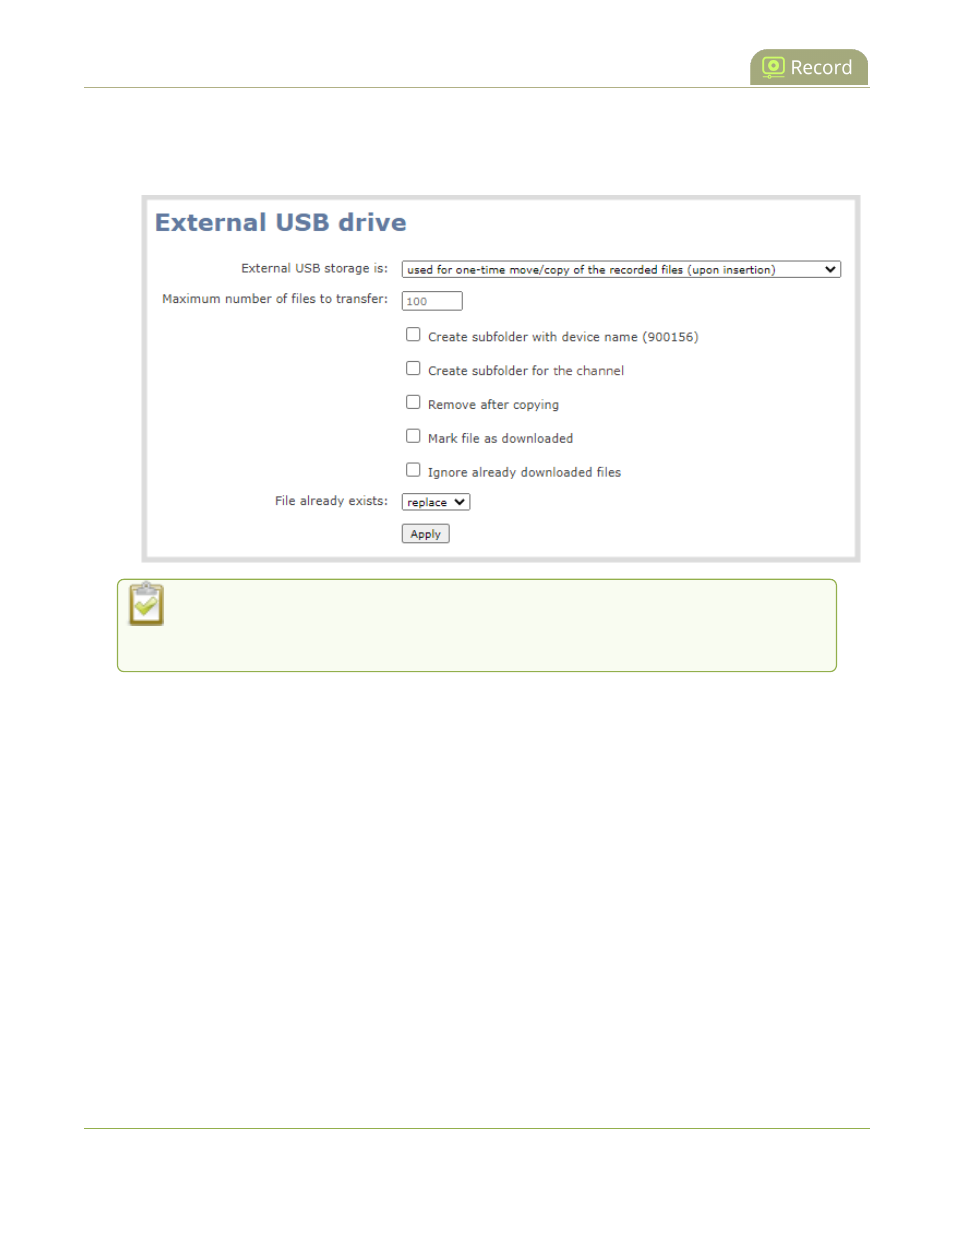
2. From the Configuration menu, select External USB Drive. The External USB Drive configuration page
opens.
3. Select used for one-time move/copy of the recorded files (upon insertion).
If a conflict is reported regarding the Automatic file upload settings, click Fix it or go to the
Automatic File Upload configuration page and either disable automatic file upload or switch to
a non-USB based upload type.
4. Check the options you want to use for the one-time move/copy file transfer and click Apply.
5. Insert the USB storage device into the USB port on Pearl Mini. File transfer starts automatically.
6. Follow the steps to
AFU or copy to USB
when the activity light on the USB storage device stops flashing. If
your USB device doesn't have activity indicators:
a. Check the Recording list for each channel and the Recorded Files list for each recorder to verify if
there are files that have yet to be copied.
b.
AFU or copy to USB
when you are satisfied all files have been copied, or if you notice the USB
storage device is out of space, see
View available USB storage space
.
Manually copy recordings to USB storage device
You can manually copy recordings to a USB storage device that is connected to Pearl Mini. This procedure is
separate from automatic file upload and does not need any pre-configuration in the automatic file upload page.
The following table describes the options available when manually copying recordings to a USB storage device.
321