Wysiwyg, Enabling magicq to output wysiwyg data, Running wysiwyg – ChamSys MagicQ User Manual User Manual
Page 305: 3 wysiwyg, 1 enabling magicq to output wysiwyg data, 2 running wysiwyg
MagicQ User Manual
276 / 355
41.3
WYSIWYG
MagicQ interfaces to the WYSIWYG visualiser using a special Wysiwyg driver file. Download the MagicQ WYSIWYG driver
file from ChamSys download site and install it on the WYSIWYG PC.
41.3.1
Enabling MagicQ to output WYSIWYG data
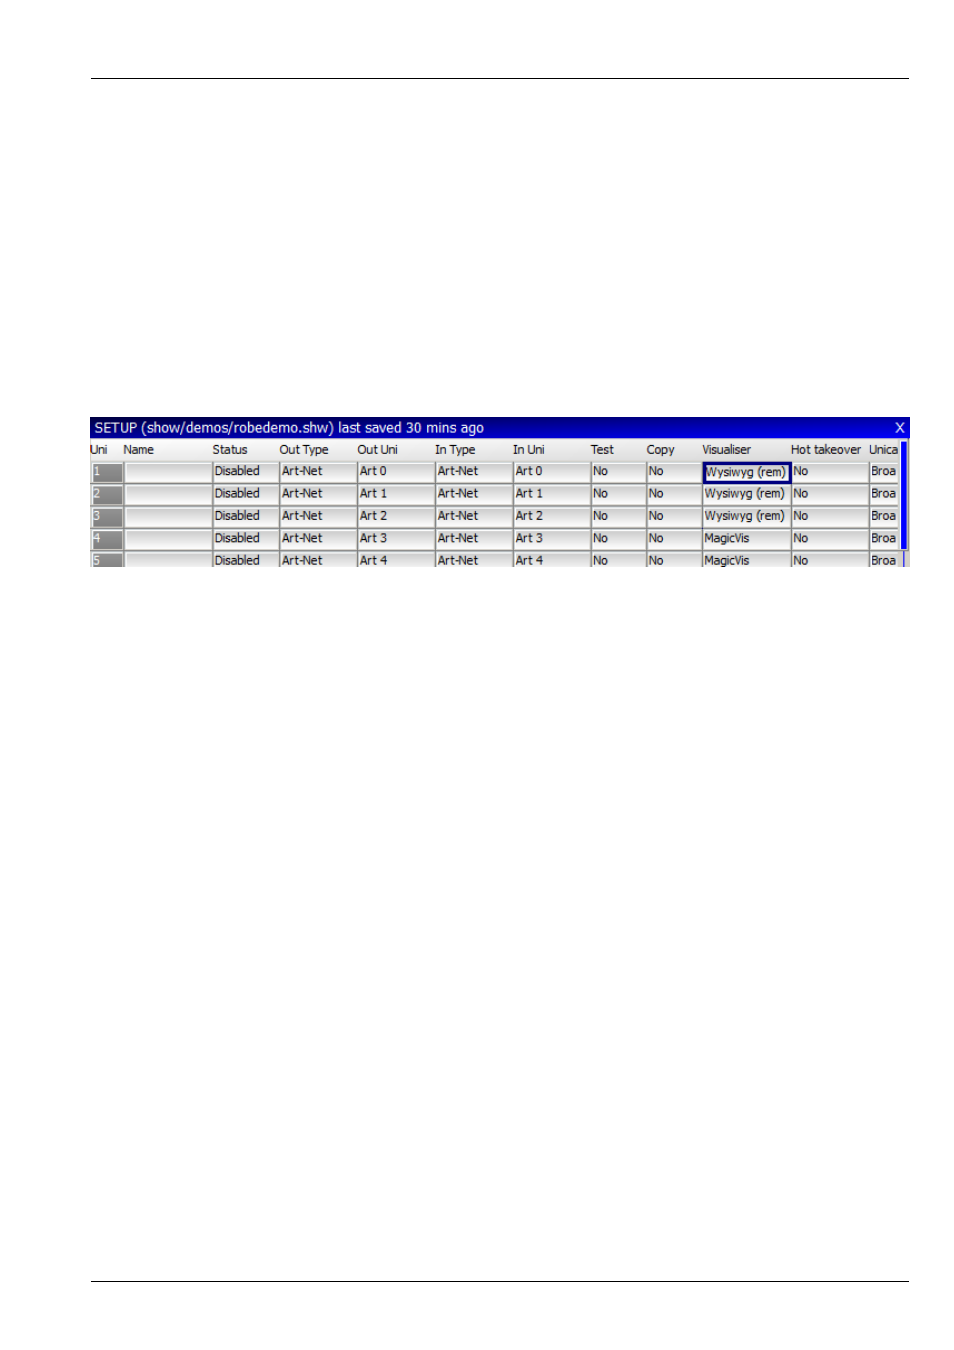
Now you need to configure the outputs. Go to the Setup, View DMX I/O window. You will see a list of the 64 universes and their
current configuration.
Move to the Visualiser row and select WYSIWYG for the universes you wish to use. There is no need to change the Status
column to enabled - WYSIWYG is automatically enabled when you select WYSIWYG as the visualiser.
If you are using WYWISYG on the same PC as MagicQ then set the Visualiser to WYSIWYG (same PC) – otherwise, set it to
WYSIWYG (remote). When connecting to WYSIWYG using a MagicQ console, always use WYSIWYG (remote).
When using WYSIWYG and MagicQ on different PCs it is important to ensure that MagicQ PC knows the IP address to use to
communicate with WYSIWYG.
In Setup, View Settings, Network set the IP Address and Subnet Mask to be the same as the IP address of your network port in
use on your PC.
41.3.2
Running WYSIWYG
Start up WYSIWYG.
In order to get WYSIWYG to respond to data received you need to set up the ports in Device Manager. Select ChamSys MagicQ
and then Connect.
Make sure you have installed the MagicQ WYSIWYG driver on the WYSIWYG PC. MagicQ will not connect to WYSIWYG
without it.