9 input automatic sizing [input auto sizing, Input automatic sizing – IDK MSD-54 Series User Manual
Page 63
63
1.
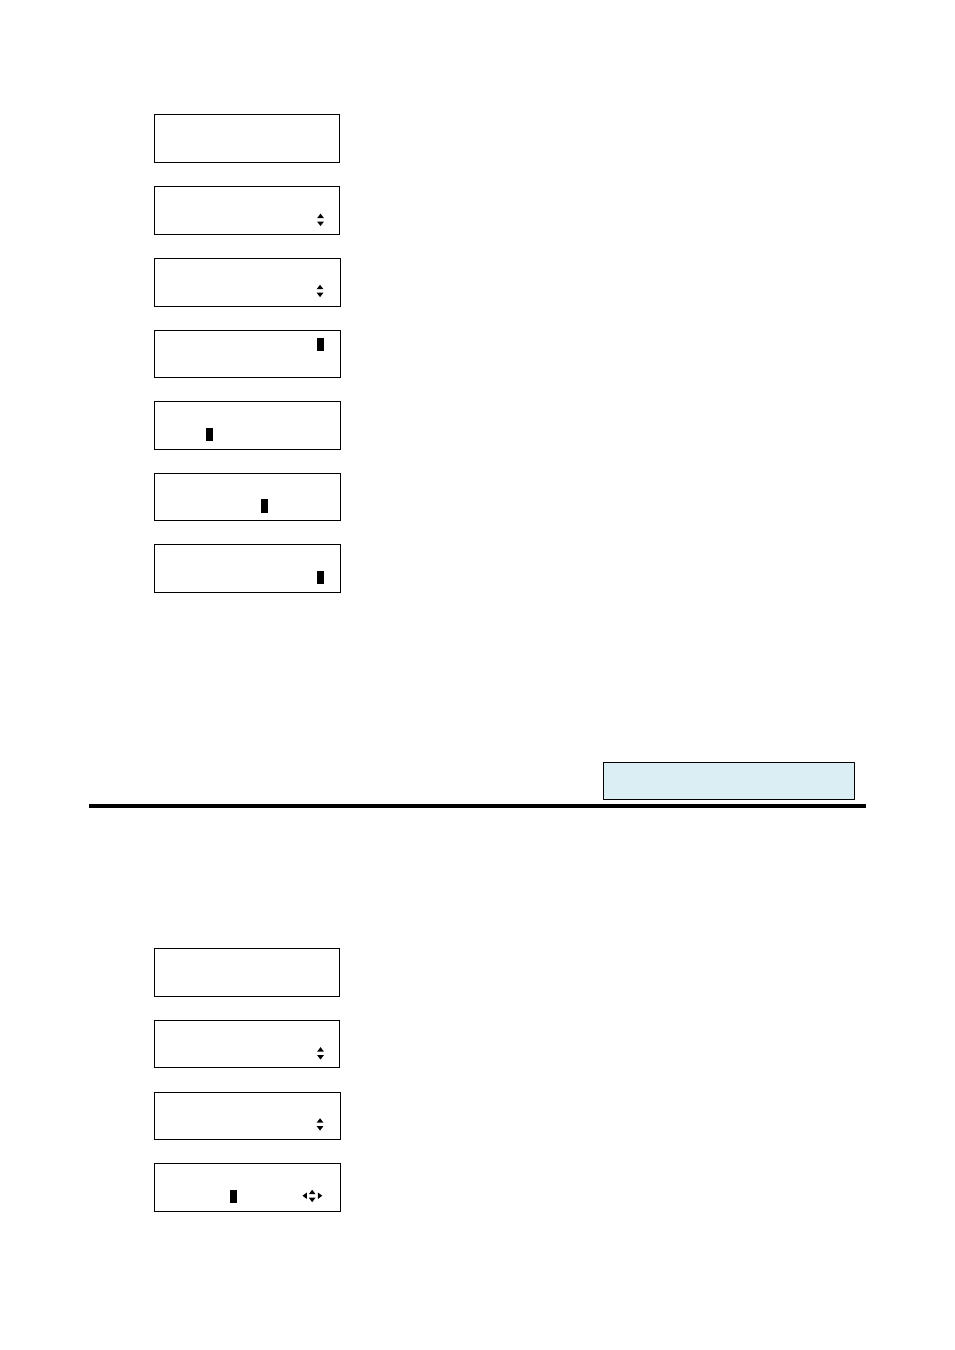
To set the input masking (the number of pixels) using menu:
MSD-5404
Top
↓ SET key
[FUNCTION SELECT]
OUTPUT TIMING
▲▼keys: Select “OUTPUT TIMING”
↓ SET key
[OUTPUT TIMING]
INPUT MASKING
▲▼keys: Select “INPUT MASKING”
↓ SET key
[IN1 MASKING] L:
0
R:1920 T: 0 B:1080
▲▼keys: Set the left side masking of IN1.
↓
◄►keys
[IN1 MASKING] L: 0
R:192
0
T: 0 B:1080
▲▼keys: Set the right side masking of IN1.
↓
◄►keys
[IN1 MASKING] L: 0
R:1920 T:
0
B:1080
▲▼keys: Set the top side masking of IN1.
↓
◄►keys
[IN1 MASKING] L: 0
R:1920 T: 0 B:108
0
▲▼keys: Set the bottom side masking of IN1.
↓
◄►keys
↓ ESC key: Returns to the previous screen.
2.
To set the input masking (the number of pixels) using commands:
@SNM: Set input masking
@GNM: Get input masking
8.3.9 Input automatic sizing [INPUT AUTO SIZING]
This function adjusts input signals optimally, and as a result the following settings will be initialized
automatically: “8.3.3 Aspect ratio control of input video”, “8.3.5 Overscan”, “8.3.6 Input position”, “8.3.7
Input size”, and “8.3.8 Input masking”. It may not work if aspect ratios of the input signal and display device
do not match or depending on some settings.
1. To set the input automatic sizing using menu:
MSD-5404
Top
↓ SET key
[FUNCTION SELECT]
OUTPUT TIMING
▲▼keys: Select “OUTPUT TIMING”.
↓ SET key
[OUTPUT TIMING]
INPUT AUTO SIZING
▲▼keys: Select “INPUT AUTO SIZING”.
↓ SET key ↑ ESC key: Returns to the previous screen without changing settings.
[IN1 AUTO SIZING]
SURE? =
N
O
▲▼keys: Select “YES” or “NO”.
▲▼keys: Select the desired input (IN1 toIN9).
↓ To apply the setting: Select “YES” and press the “SET” key.
For each input port/input signal