Teac GigaStudio 4 User Manual
Page 141
GigaStudio 4 Reference Manual
141
Note: In ReWire mode, the outputs go to ReWire inputs rather than hardware outputs. See the ReWire chapter
for more details.
Narrow and Wide View
Although the Output Master channels offer narrow and wide views, the only reason to choose wide is to
expand the channel label at the top to see the full name of the hardware interface channel instead of, for
example, H 1:2.
Fader
The fader controls the Output Master strip’s level. It is visible in wide or narrow mode. To “fine-tune” the
level, hold down the shift key while moving the fader.
•
The meter (A) to the right of the fader (B) indicates signal level. If the top red clip indicators light, reduce
the fader level.
•
The numeric fields (C) directly below the fader and above the Link/Unlink button show the amount of
fader attenuation.
•
The fader can control the left and right channels of the Output Master strip simultaneously (link mode),
or control the left and right channel levels independently (unlink mode). Select the mode by the
Link/Unlink button (D) toward the bottom of the channel. Note that you cannot Unlink, set a level offset,
then Link and retain the offset. If there is an offset, upon linking the fader will jump to the higher of the
two channel values.
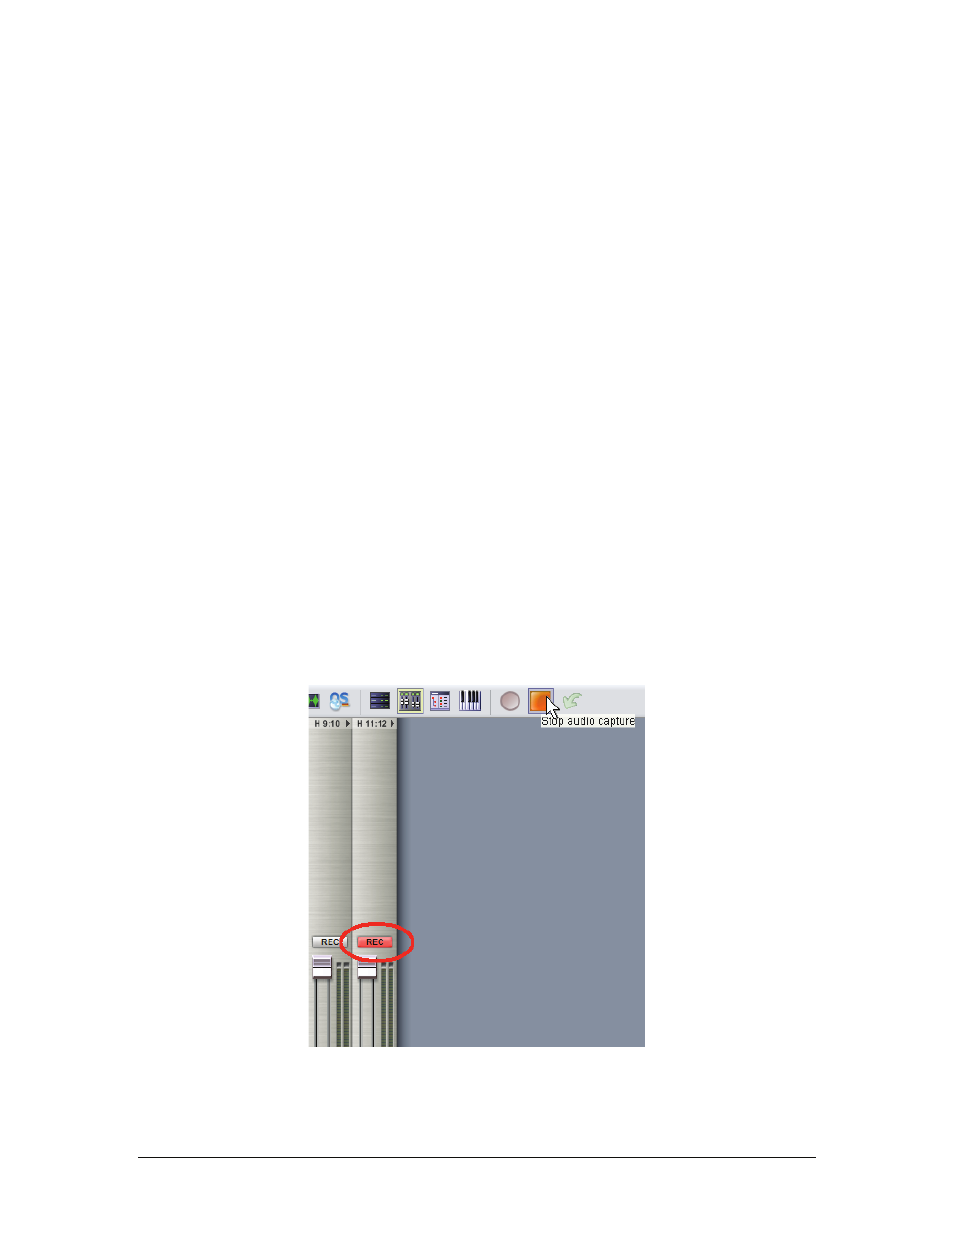
Rec Button
This enables a track for recording using the Capture function. The Rec button has three possible states.
•
A gray button (default state) indicates the current Output Master channel is not armed for recording.
•
A dim red button indicates that the respective Output Master channel is armed and ready to record to
disk.
•
A bright red button indicates that the respective Output Master channel is actively recording.