Importing stereo wave files into gigapulse – Teac GigaStudio 4 User Manual
Page 163
GigaStudio 4 Reference Manual
163
Mixer Matrix:
Assign mics to a mixer channels by clicking on the buttons in a corresponding row (mic) and column (mixer
channel).
Front L:
The front left mic as displayed by the round L button in the Placement Selection grid.
Front R:
The front right mic as displayed by the round R button in the Placementgrid.
Wide L:
The wide left mic as displayed by the round Lw button in the Placement grid.
Wide R:
The wide right mic as displayed by the round Rw button in the Placement grid.
Surr L:
The surround left mic as displayed by the round Ls button in the Placement grid.
Surr R:
The surround right mic as displayed by the round Rs button in the Placement grid.
Center:
The center mic as displayed by the round C button in the Placement grid
Importing Stereo WAVE Files into GigaPulse
You can create your own GigaPulse preset bank using WAVE files. Below are the steps to create a GigaPulse
bank and preset from a stereo .wav file.
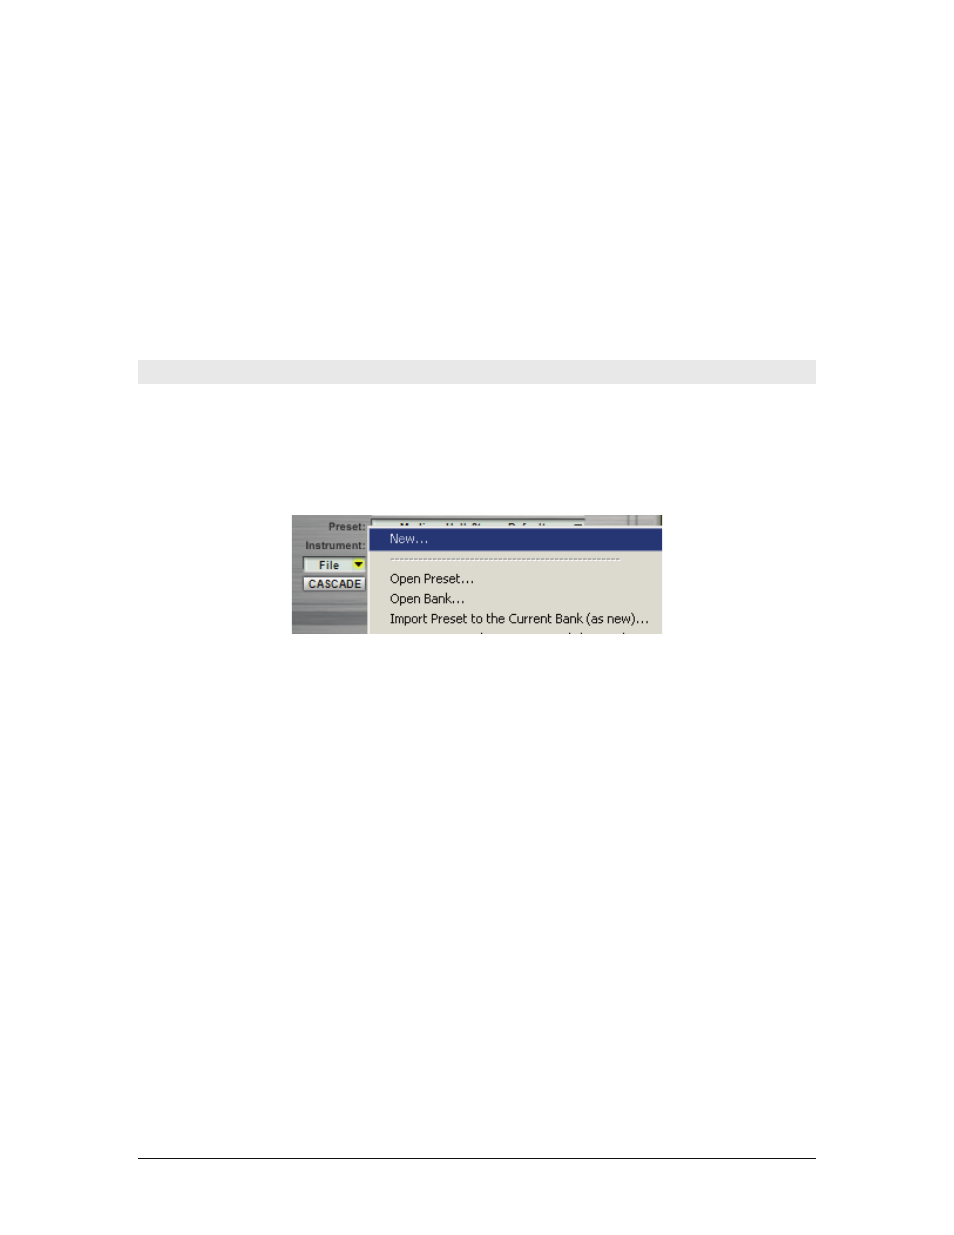
First, insert GigaPulse on an input channel strip on the DSP station. Then from the File drop down menu
above the CASCADE button, choose New.
In the GigaPulse Impulse Set Creator window fill in the following fields:
•
The Name of your Impulse Set
•
An Overall Description of the Impulse Set
•
Image Path for this Impulse Set (Overall Image) – this is the secondary image that can be viewed in
the Acoustic Space window when it is clicked on or the V button is pressed at the bottom right corner
just outside of the graphic. This graphic needs to be either a .png or .bmp file formatted to 224 W X
126 H pixels.
•
Help File Path for this Impulse Set (Optional) – if you wanted to include documentation about your
impulse you could attach it to this impulse set as a any of the following file formats: .hlp, .html, .chm,
.txt, .doc.
•
Specify Microphone Placements Used
•
Check the box next to the (greyed out) LFront and RFront buttons.