Teac GigaStudio 4 User Manual
Page 165
GigaStudio 4 Reference Manual
165
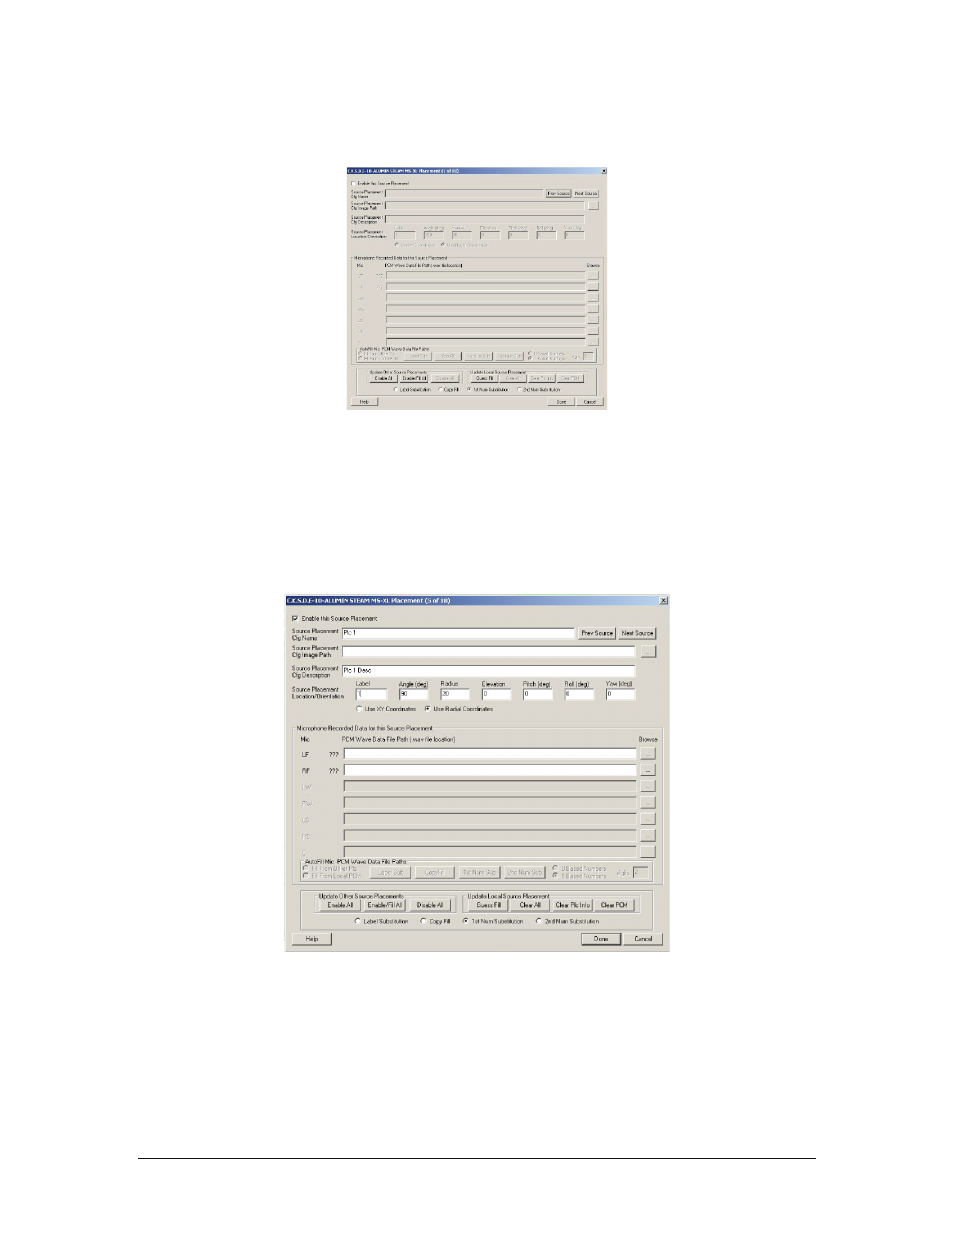
Once back on the Source and Mic Placement Advanced Options screen. Click on the Add button at the top
right of the Specify Source Signal Placements Used section. This will take you to the placement window.
•
Click on the Next Source button until the greyed out number in the Label field says 5. Don’t worry
that this is greyed out.
•
Now check the Enable this Source Placement box.
•
Click on the Guess Fill button at the bottom of this window in the Update Local Source Placement
section. This will auto fill in a few of the text fields for us.
•
Now change the number in the Source Placement Cfg Name field from 5 to 1.
•
Do the same for the Source Placement Cfg Description
•
And change 5 to 1 for the Label field in the Source Placement Location/Orientation section
•
In the Source Placement Cfg Image Path click on the browse button at the far right […] and select
your default Acoustic Space image. This graphic is the default image for the Acoustic Space area
shown when your bank or preset is selected and should be either a .png or .bmp file formatted to 224
W X 126 H pixels.
•
In the Microphone Recorded Data for this Source Placement area click on the […] button for the LF
row.