Canon imageCLASS MF264dw II Multifunction Monochrome Laser Printer User Manual
Page 88
2
Press [Preferences]
[Network]
[TCP/IP Settings]
[IPv4
Settings]
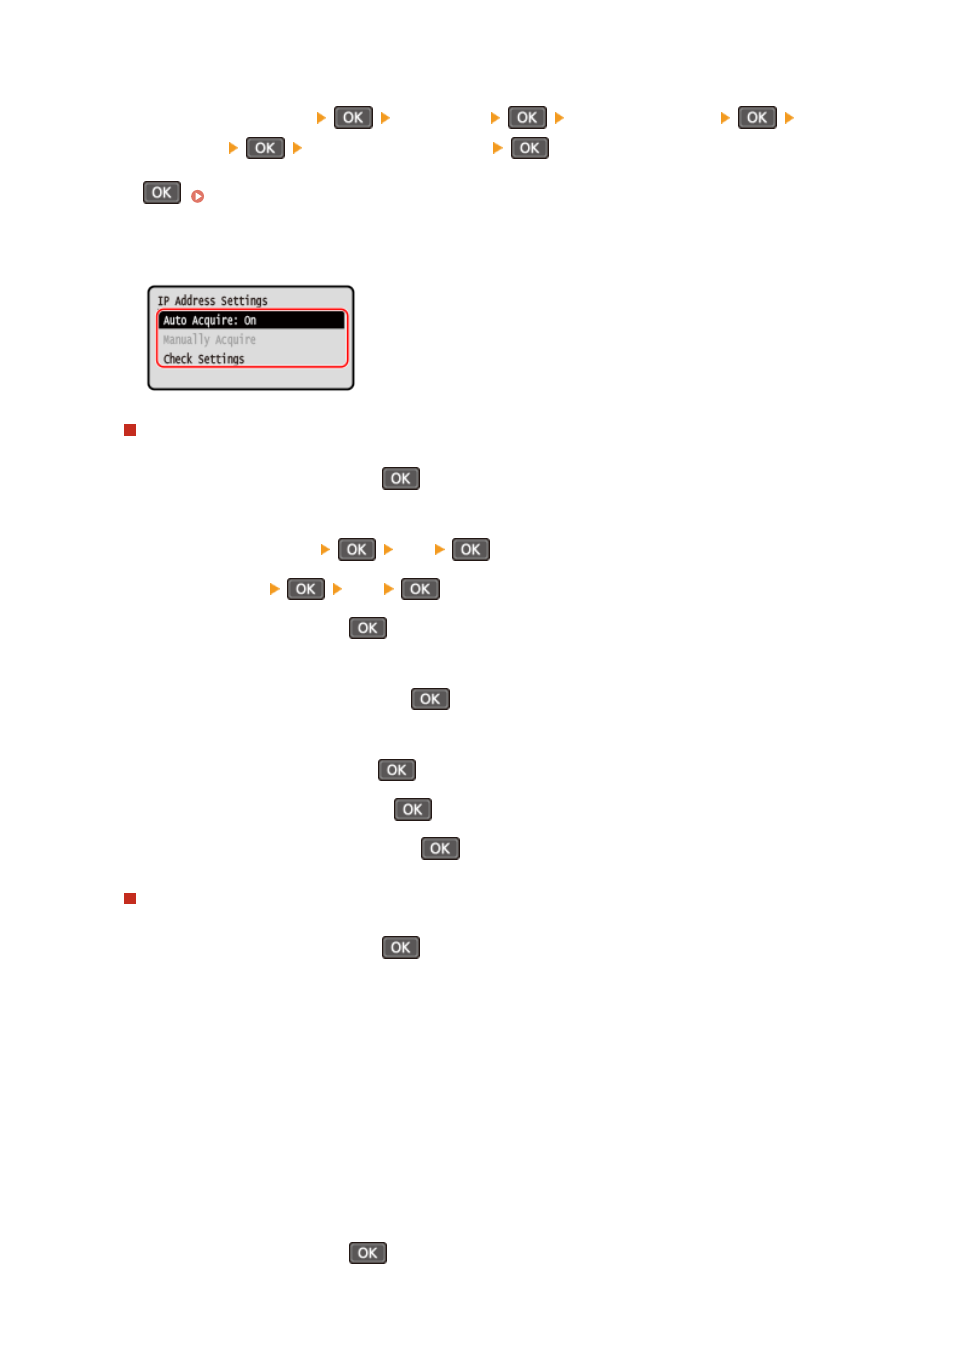
[IP Address Settings]
.
If the login screen appears, enter the System Manager ID and PIN, and then select [<Log In>] and press
. Logging In to the Machine(P. 137)
3
Set the IP address.
When Manually Setting the IP Address
1
Select [Auto Acquire] and press
.
➠
The [Auto Acquire] screen is displayed.
2
Press [Select Protocol]
[Off]
.
3
Press [Auto IP]
[Off]
.
4
Select [<Apply>] and press
.
➠
The [IP Address Settings] screen is displayed.
5
Select [Manually Acquire] and press
.
➠
The IP address input screen is displayed.
6
Enter the IP address and press
.
7
Enter the subnet mask and press
.
8
Enter the gateway address and press
.
When Assigning an IP Address Automatically
1
Select [Auto Acquire] and press
.
➠
The [Auto Acquire] screen is displayed.
2
Configure the Auto Acquire setting, as needed.
[Select Protocol]
Normally, set to [DHCP]. However, when [DHCP] is set in an environment where DHCP cannot be used,
the machine will continue to confirm Auto Acquire in the network, creating unnecessary communication.
When not using DHCP, set this to [Off].
[Auto IP]
Normally, set to [On]. Although priority is given to the IP address allocated with DHCP, if there is no
response from DHCP, Auto IP will be used.
3
Select [<Apply>] and press
.
Setting Up
79