Adept AdeptSight User Guide User Manual
Page 135
l
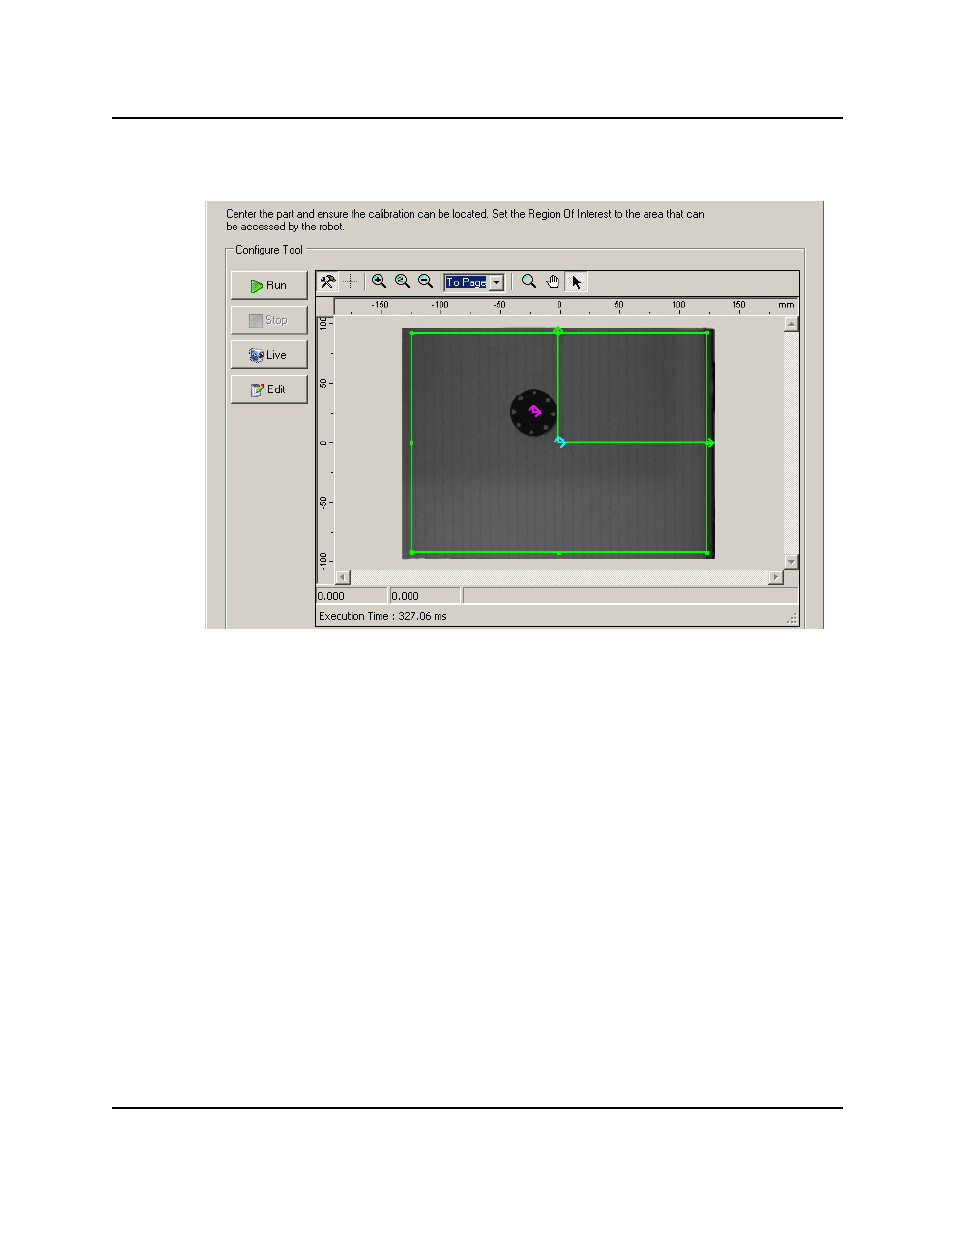
Take a Picture of the Calibration Target
Located Calibration Target
1. Adjust the bounding box to the work area. This must include the calibration tar-
get, as shown in the previous figure.
2. If no magenta origin marker is displayed, click Run.
If necessary, move the target so it can be located, then click Run.
3. Click Next.
If n is less than 4, this goes back to Define Calibration Point n, for the next value of n.
l
Minimum number of points
You have collected the minimum number of points needed to perform a calibration.
You can choose to calibrate now, or continue collecting more points, possibly improv-
ing the accuracy of the calibration.
l
Continue adding more points
1. Define Calibration Point.
2. Move the robot to the location where the picture is taken.
AdeptSight Camera Calibration Wizard - Manual, no Belt
AdeptSight User's Guide, Version 3.2.x, Updated: 8/23/2012
Page 135