Related topics – Adept AdeptSight User Guide User Manual
Page 222
Related Topics
Virtual Camera Object Editor
Emulation Configuration Selection
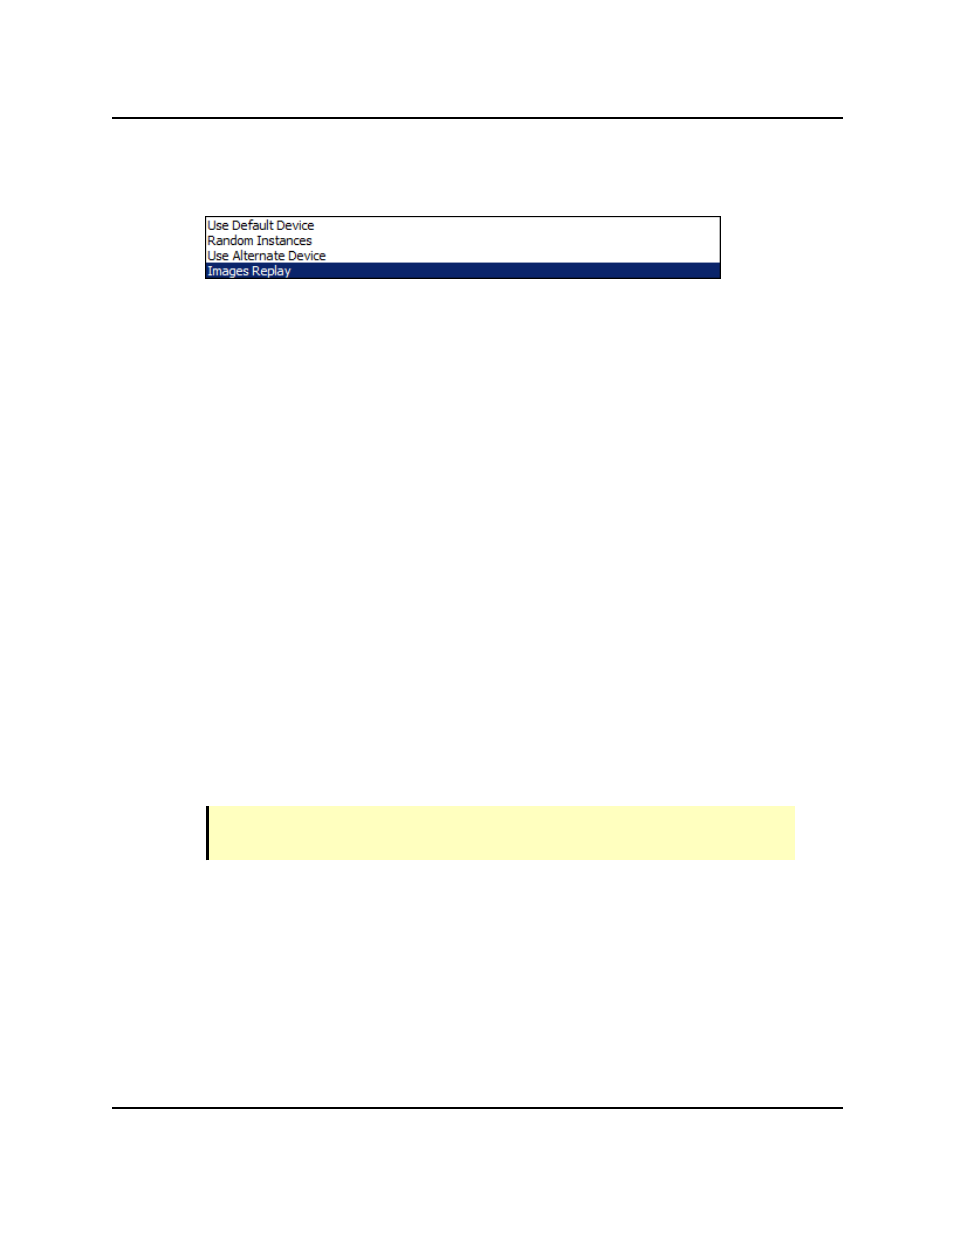
2. Use the Device list to select the physical or emulated camera to associate with this vir-
tual camera.
If you checked the "Create a virtual camera" box when adding the camera, this step is
not necessary.
a. Click Device in the Configuration group.
b. Click the drop-down arrow to display the available options to associate with the
virtual camera.
If only one camera is installed in the workspace, it will be the only camera dis-
played in the list.
c. Click the camera you want to associate with this virtual camera.
d. Click OK.
3. Click Edit to open the Camera Properties dialog. This is used to view information about
the camera and make changes to shutter, gain, brightness, and other settings. See
Camera Properties on page 223.
4. Click and Enable Image Logging to specify a directory and the number of images you
want to save. It will delete old images as needed when that number of images is
exceeded.
5. Set the Vision Display Units, if a different display scale is needed. The options
are: Meter, Centimeter, Millimeter, or Micron. Millimeter is the default, and will not
usually need to be changed.
NOTE: The Calibration for a camera can be Saved, and then Loaded into another
workspace, if desired.
Related Topics
Adding Vision Tools on page 239
AdeptSight User's Guide, Version 3.2.x, Updated: 8/23/2012
Page 222