Adept AdeptSight User Guide User Manual
Page 606
MicroV+ Fixed-Mount Sample
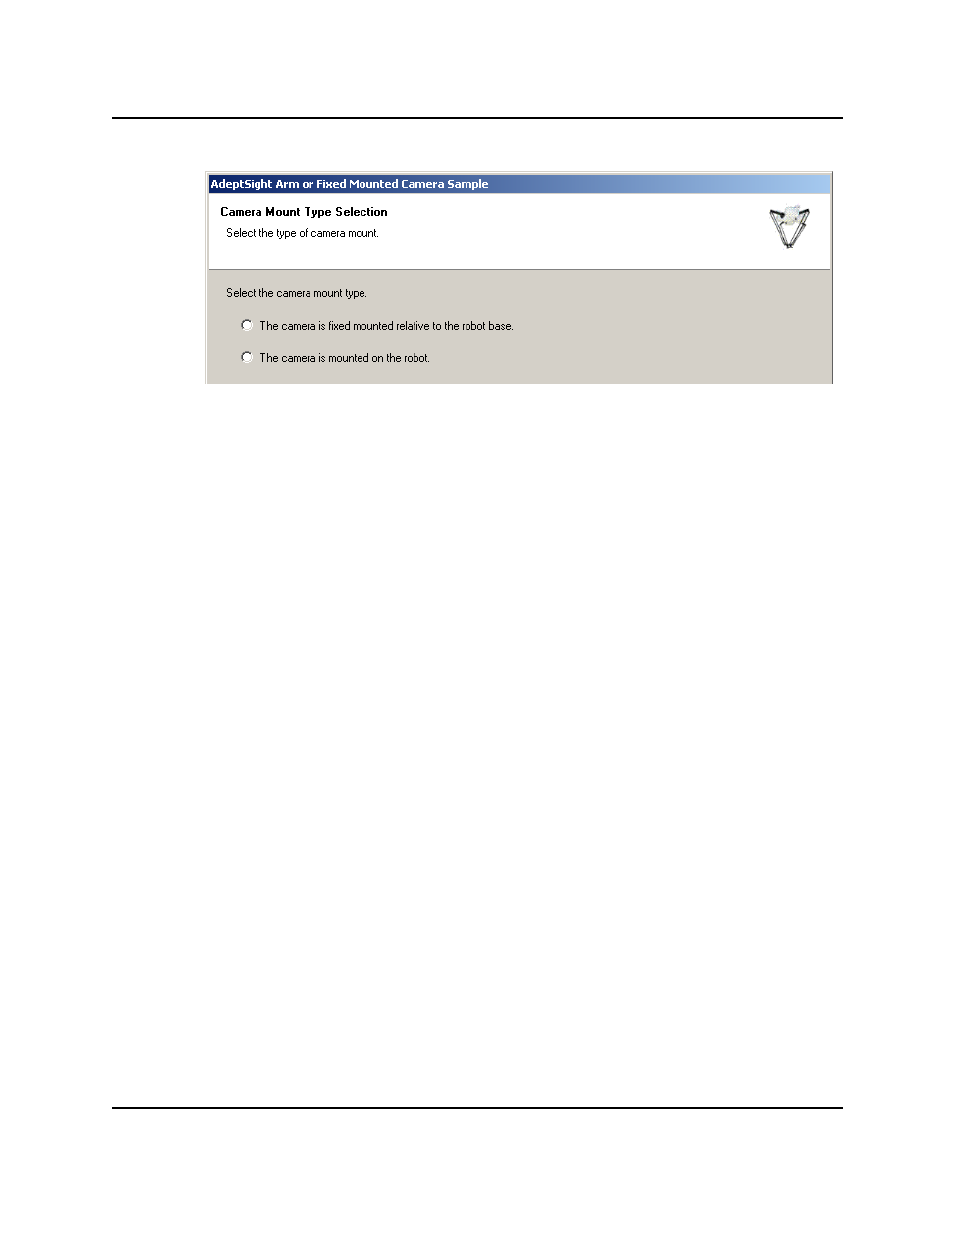
Specifying the Camera Mount
a. Click the circle indicating how the camera is mounted.
b. Click Next.
10. Turn the robot power ON.
This step will be skipped if the robot is already ON.
a. Click Power.
b. Press the High Power button on the Front Panel (near where the robot is
mounted) if it is flashing.
The High Power button has a default timeout of ten seconds. Your system may
be configured with a different timeout, or no need to press this button at all.
11. Teach the picture-taking position.
For a fixed-mounted camera, the robot needs to be out of the field of view, so it does-
n't block the picture.
For an arm-mounted camera, the robot needs to be positioned so that the camera is
directly over the region of interest.
a. Move the robot to that position.
b. Click Here to record the robot position.
c. Click Next.
12. Teach the Vision Tool.
The following figures show the model, origin, and bounding box before and after this
procedure has been performed.
AdeptSight User's Guide, Version 3.2.x, Updated: 8/23/2012
Page 606