Changing the arrangement of buttons(p. 167), Changing the arrangement of buttons – Canon imageCLASS D1650 All-in-One Monochrome Laser Printer User Manual
Page 175
●
Clear the check box for the name of the button you want to remove and then select <Apply>. Once you
remove a registered button, a space appears where the button was displayed in the Home screen. If
necessary, delete the space.
5
Read the message that is displayed, and select <OK>.
➠
A button for the newly selected settings is added to the Home screen.
●
If the Home screen is full and no more settings can be registered, delete registered buttons and spaces
in <Home Screen Settings>.
Changing the Arrangement of Buttons
To make the buttons easier to use, you can rearrange the buttons however you like. For instance, you can put the most
frequently used functions first, or arrange the function buttons together with shortcut buttons for Favorite Settings.
You can also insert a blank (space) instead of a button to make it easier to view the Home screen.
1
Select <Home Screen Settings> in the Home screen. Home Screen(P. 122)
●
If the login screen appears, enter the correct ID and PIN. Logging in to the Machine(P. 133)
2
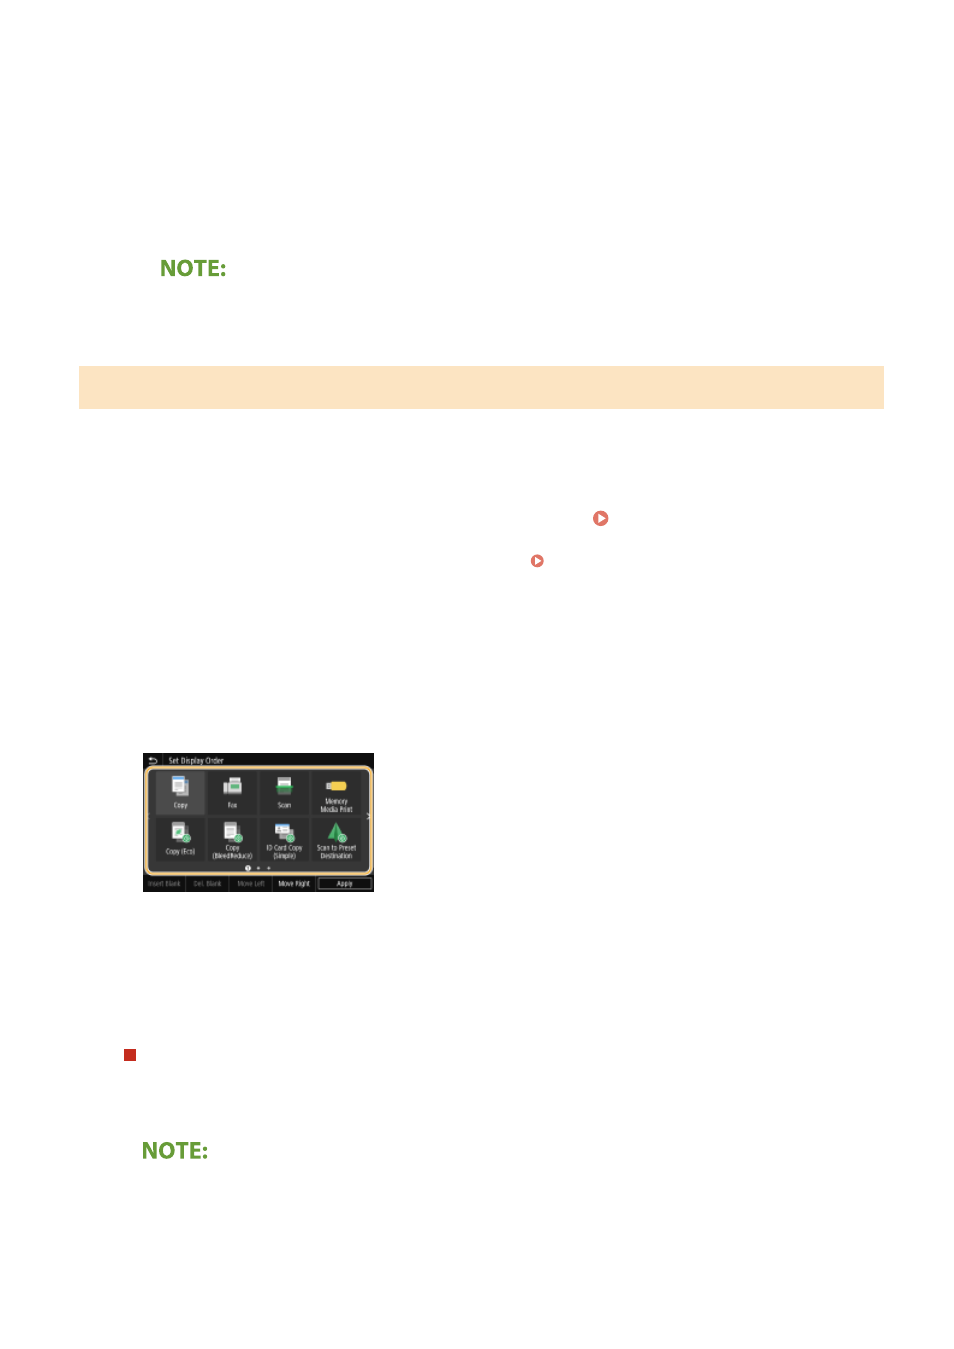
Select <Set Display Order>.
3
Select the button to move.
●
The selected button is highlighted. Tap the selected button again to deselect it.
4
Select <Move Left> or <Move Right>.
●
The button moves as many times as you tapped.
●
A long touch on <Move Left> or <Move Right> moves the selected button continuously.
Inserting a blank
●
When <Insert Blank> is selected, a blank is inserted on the left side of the selected button.
●
If the button at the end is selected, a blank is inserted even if <Move Right> is selected.
Deleting a blank
●
Select the blank to be deleted, and select <Del. Blank>.
Basic Operations
167