Canon imageCLASS D1650 All-in-One Monochrome Laser Printer User Manual
Page 303
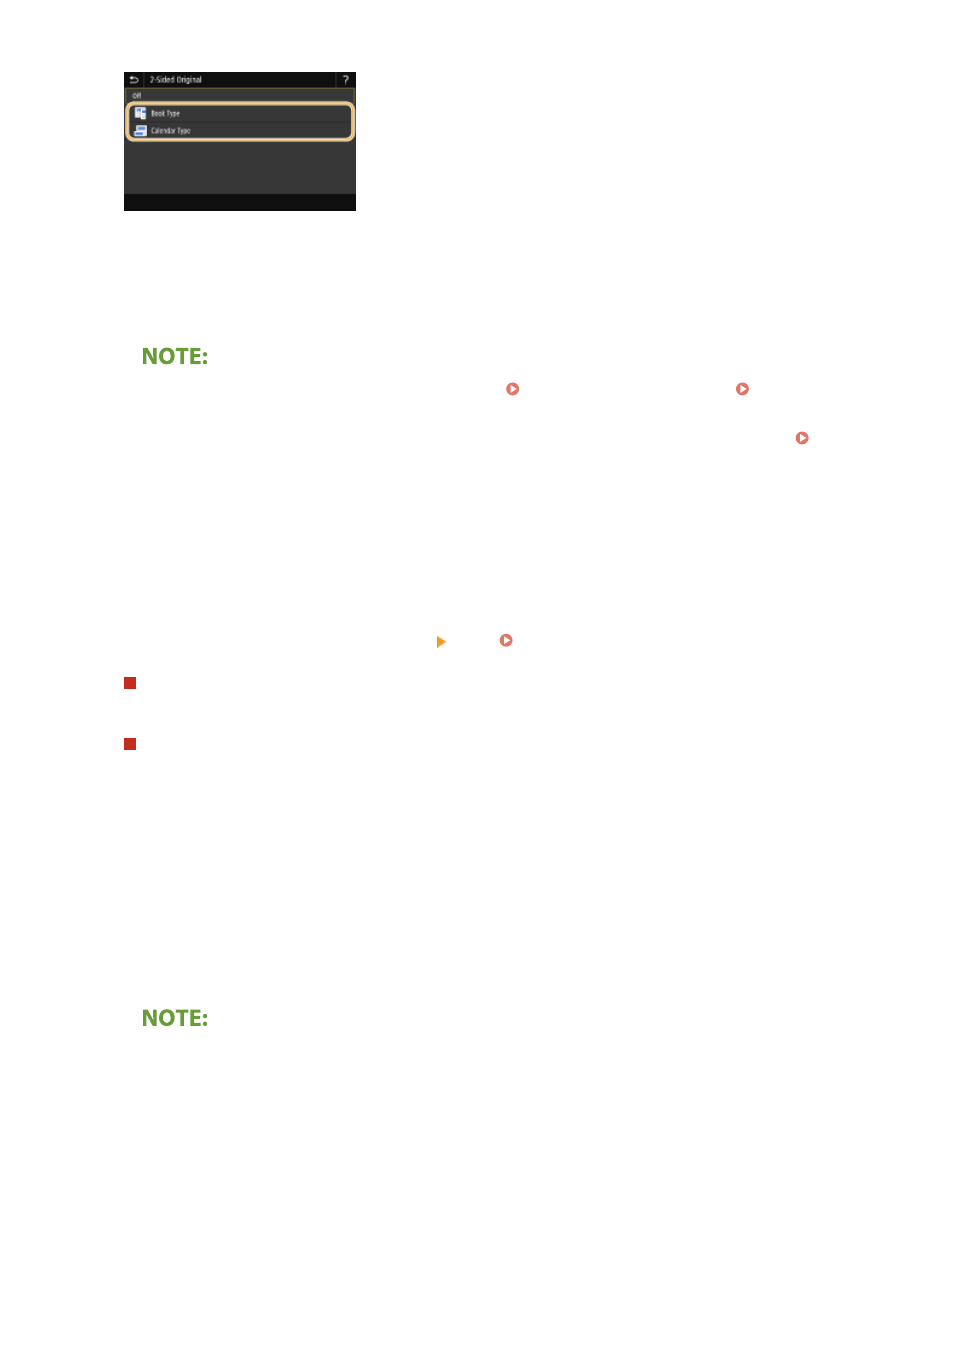
<Book Type>
Select for originals whose images on the front and back sides face the same direction.
<Calendar Type>
Select for originals whose images on the front and back sides face in opposite directions.
●
For information about other scan settings, see Scanning Clearly(P. 300) or Adjusting Balance
between File Size and Image Quality (Data Size)(P. 309) .
●
For e-mail, you can specify the subject, message, reply-to address, and priority as necessary. Specifying
E-Mail Settings(P. 313)
7
Select <Start>.
●
If the <Confirm Destination> screen is displayed, check whether the destination is correct, and then select
<Start Scanning>.
➠
Scanning of the original starts.
●
If you want to cancel, select <Cancel> <Yes>. Canceling Sending Documents(P. 297)
When placing originals in the feeder in step 1
When scanning is complete, the sending/saving process starts.
When placing originals on the platen glass in step 1
When scanning is complete, follow the procedure below (except if you selected JPEG as a file format).
1
If there are additional pages of originals to be scanned, place the next original on the platen glass, and
select <Scan Next Original>.
●
Repeat this step until you finish scanning all of the pages.
●
When there is only one page to be scanned, proceed to the next step.
2
Select <Start Sending>.
➠
The sending/saving process starts.
If the <File Authentication> or <SMTP Authentication> screen appears
●
Enter the user name and password, and select <Apply>.
File name of the sent document
●
The file name of a sent document is automatically assigned based on the following format: communication
management number (four digits)_sent date and time_document number (three digits).file extension
name.
Scanning
295