Setting a proxy, Xpected to be enhanced. setting a proxy(p. 376), Xy server, see setting a proxy(p. 376) – Canon imageCLASS D1650 All-in-One Monochrome Laser Printer User Manual
Page 384
Setting a Proxy
3JX3-076
A proxy (or HTTP proxy server) refers to a computer or software that carries out HTTP communication for other
devices, especially when communicating with resources outside the network, such as when browsing Web sites. The
client devices connect to the outside network through the proxy server, and do not communicate directly to the
resources outside. Setting a proxy not only facilitates management of traffic between in-house and outside networks
but also blocks unauthorized access and consolidates anti-virus protection for enhanced security. When you use
Google Cloud Print to print over the Internet, you can enhance security by setting a proxy. When setting a proxy, make
sure that you have the necessary proxy information, including the IP address, port number, and a user name and
password for authentication.
●
For more information about the basic operations to be performed when setting the machine from the
Remote UI, see Setting Up Menu Options from Remote UI(P. 427) .
1
Start the Remote UI and log in to System Manager Mode. Starting Remote
UI(P. 417)
2
Click [Settings/Registration] on the Portal page. Remote UI Screen(P. 418)
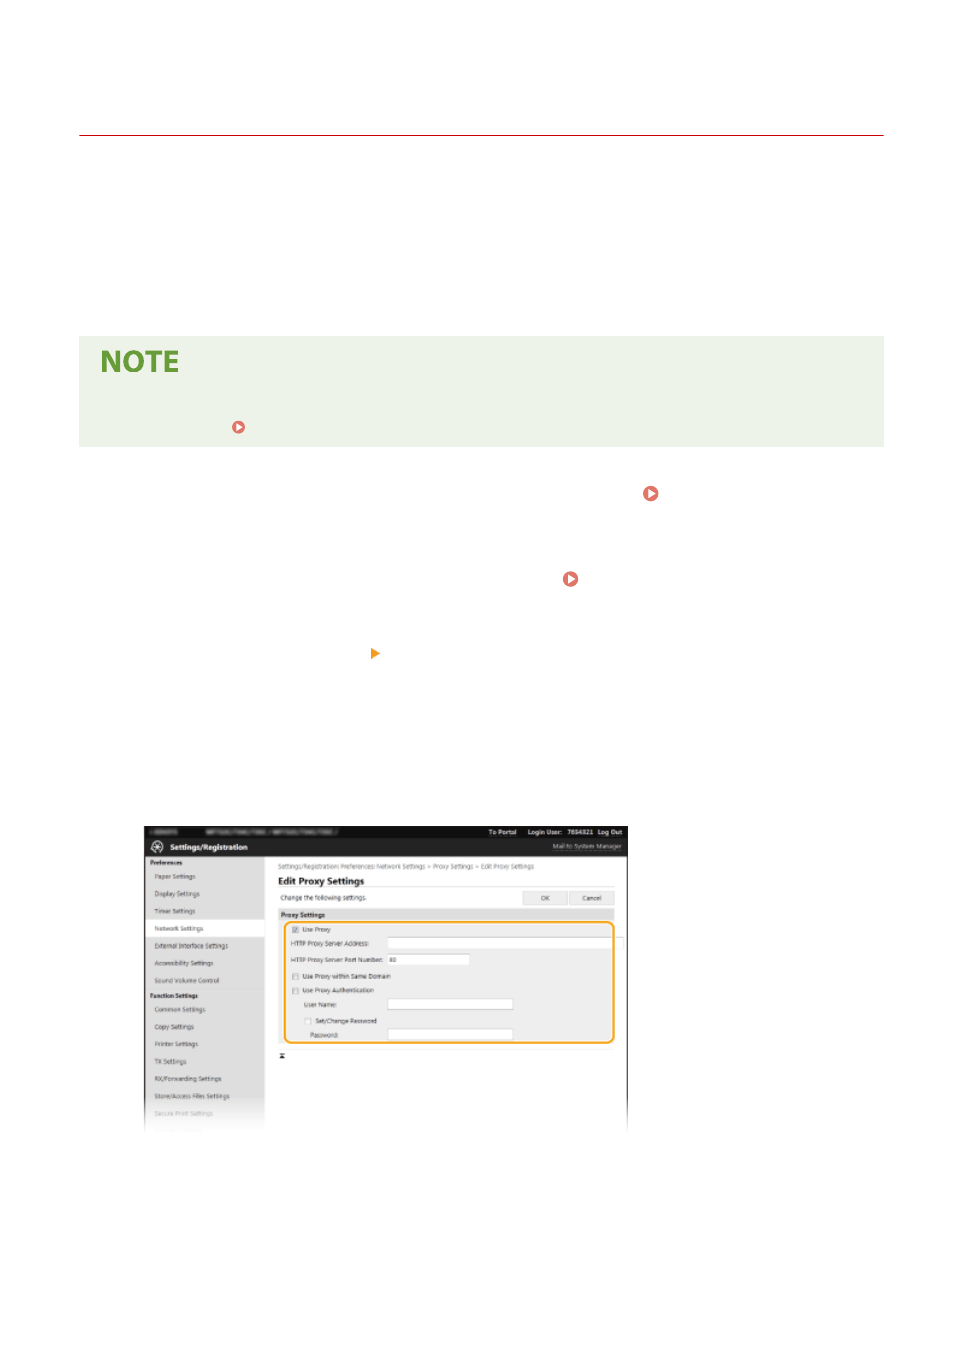
3
Select [Network Settings] [Proxy Settings].
4
Click [Edit].
5
Select the [Use Proxy] check box and specify the required settings.
[Use Proxy]
Select the check box to use the specified proxy server when communicating with an HTTP server.
[HTTP Proxy Server Address]
Enter the address of the proxy server. Specify the IP address or host name depending on the environment.
[HTTP Proxy Server Port Number]
Managing the Machine
376