Setting ipv4 address – Canon imageCLASS D1650 All-in-One Monochrome Laser Printer User Manual
Page 41
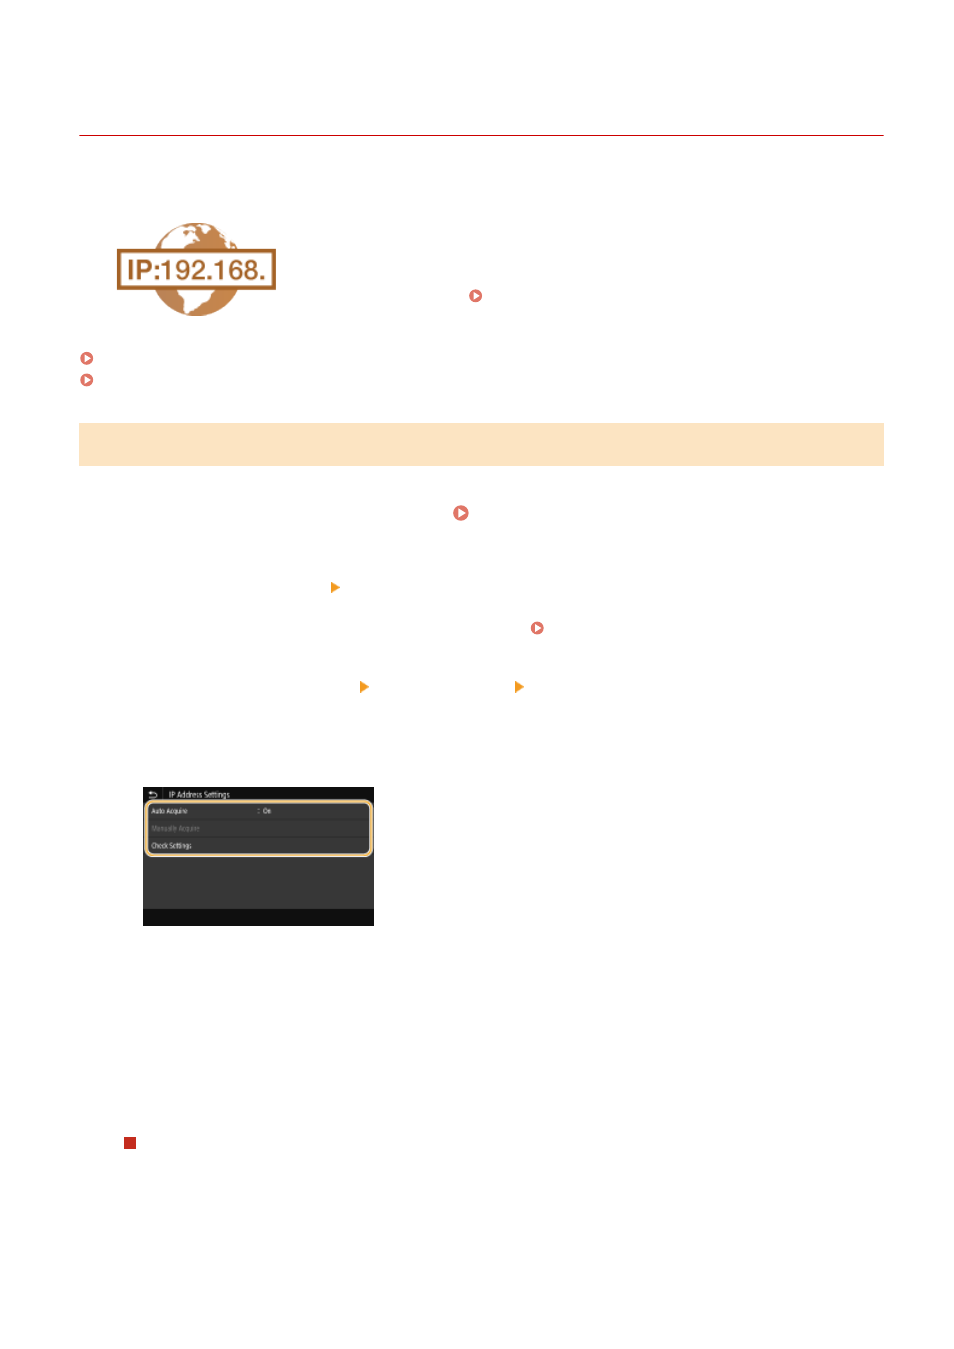
Setting IPv4 Address
3JX3-00K
1660-00W
The machine's IPv4 address can be either assigned automatically by a dynamic IP
addressing protocol, such as DHCP, or entered manually. When connecting the
machine to a wired LAN, make sure that the connectors of the LAN cable are firmly
inserted into the ports ( Connecting to a Wired LAN(P. 18) ). You can test the
network connection if necessary.
Setting IPv4 Address(P. 33)
Testing the Network Connection(P. 34)
Setting IPv4 Address
1
Select <Menu> in the Home screen. Home Screen(P. 122)
2
Select <Preferences> <Network>.
●
If the login screen appears, enter the correct ID and PIN. Logging in to the Machine(P. 133)
3
Select <TCP/IP Settings> <IPv4 Settings> <IP Address Settings>.
4
Configure IP address settings.
<Auto Acquire>
Select to automatically assign an IP address via DHCP protocol. When <On> is displayed, automatic
addressing is enabled.
<Manually Acquire>
Select to configure the IP address settings by manually entering an IP address. In order to select this option,
the automatic acquirement must be set to <Off>.
<Check Settings>
Select when you want to view the current IP address settings.
Automatically assigning an IP address
1
Select <Auto Acquire>.
2
Select <On> in <Auto Acquire>, and select <Select Protocol>.
3
Select <DHCP>.
Setting Up
33