8 installing rack-to-rack i/o cables – Yaskawa MEMOCON GL120 User Manual
Page 406
!
!
!
5.2 Installing Mounting Bases and Modules
— 5-49 —
5.2.8 Installing Rack-to-Rack I/O Cables
1) Connecting the cable
Caution
When connecting the Rack-to-rack I/O cables to the Motion Module, turn OFF the power sup-
ply to all Power Supply Modules.
Connecting the cables while the power is being supplied to the Power Supply Module
may damage the Module or cause a malfunction of the GL120 and GL130.
Caution
The total length of the rack-to-rack I/O cable for each station is always 6.0 m or less.
If the total length of the cables exceeds 6.0 m, operational errors may occur at the station.
Caution
Make sure that all cable connectors for the Module are securely inserted and tightened.
Insufficient insertion and/or looseness may cause malfunction of the GL120 and GL130.
Rack-to-rack I/O Cables are used to connect Expander Modules mounted on adjacent
Racks. This section describes how to connect Rack-to-rack I/O Cables towards the Expander
Module.
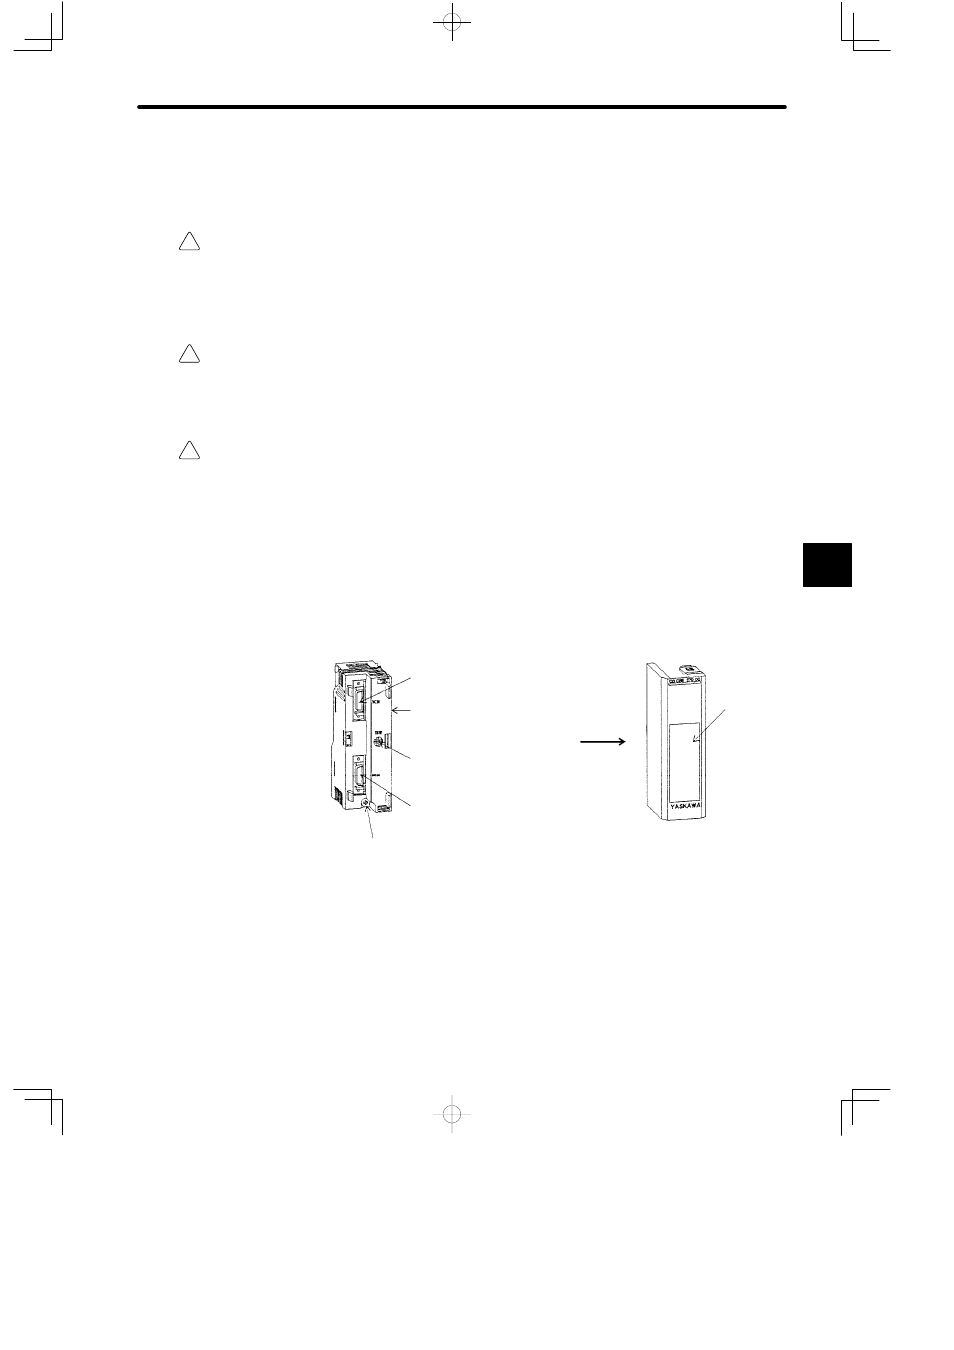
1) Remove the cover from the Expander Module, then install the Expander Module on the
Mounting Base.
Cover
Rack-to-rack I/O cable
connector (1CN)
Rack number switch
Module mounting screw
Rack-to-rack I/O cable
connector (2CN)
Expander Module
Remove
2) Turn OFF the power supply to all Power Supply Module.
3) Use the rack number switch on the Expander Module to set the rack number. See Table
4.115 on page 4-278 for how to set the rack number.
5