Create a transparency knockout group, Use opacity masks to create transparency – Adobe Illustrator CC 2015 User Manual
Page 217
212
Painting
Last updated 6/5/2015
More Help topics
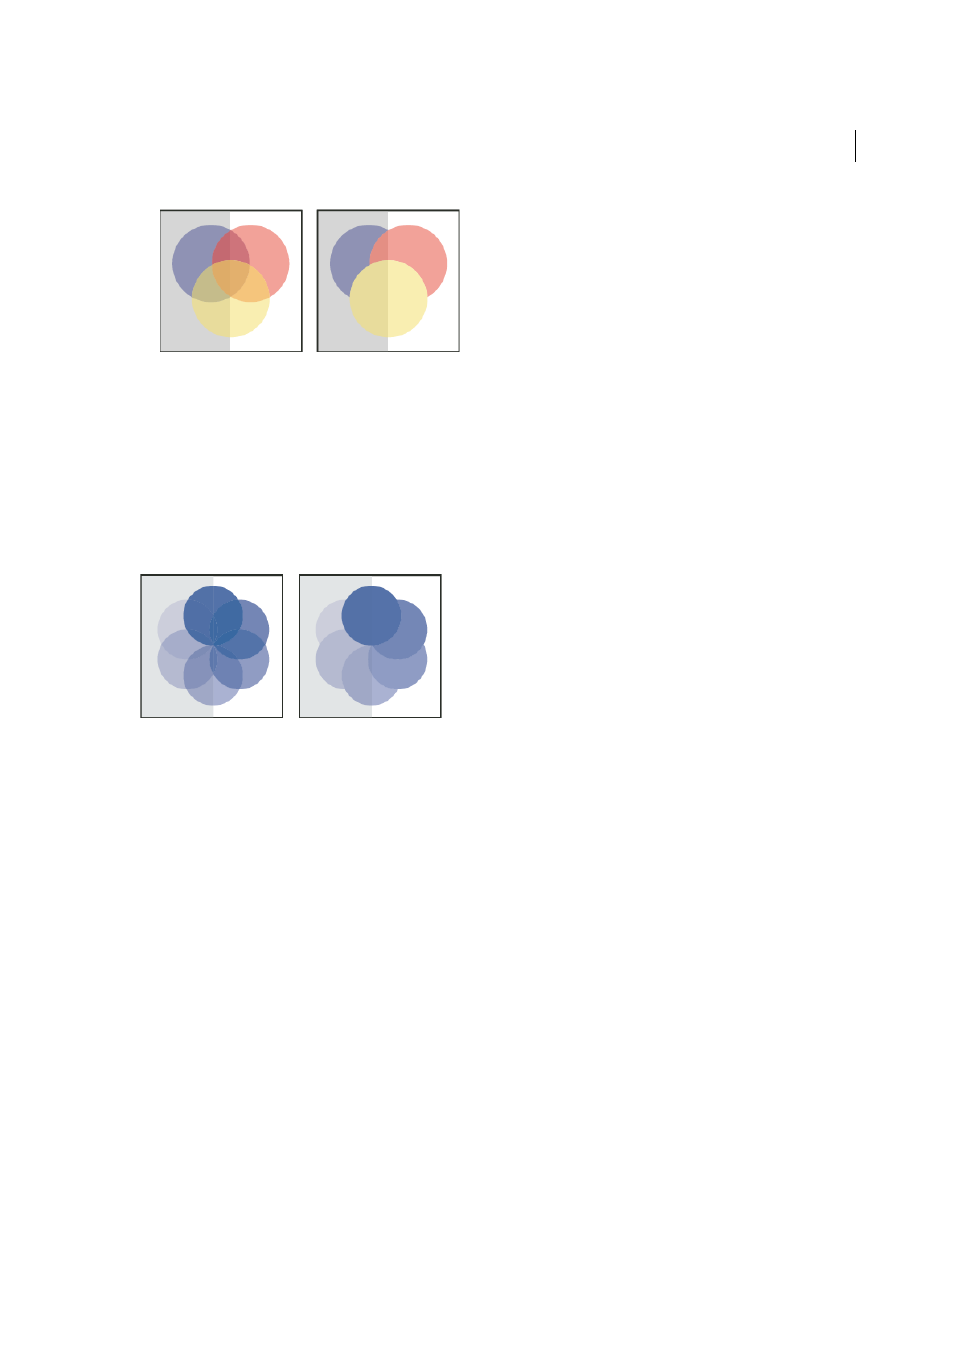
Create a transparency knockout group
In a transparency knockout group, the elements of a group do not show through each other.
1
In the Layers panel, target the group or layer you want to turn into a knockout group.
2
In the Transparency panel, select Knockout Group. If this option isn’t visible, select Show Options from the panel
menu.
Selecting the Knockout Group option cycles it through three states: on (check mark), off (no mark), and neutral
(square with a line through it). Use the neutral option when you want to group artwork without interfering with the
knockout behavior determined by the enclosing layer or group. Use the off option when you want to ensure that a
layer or a group of transparent objects will never knock each other out.
More Help topics
Use opacity masks to create transparency
You use an opacity mask and a masking object to alter the transparency of artwork. The opacity mask (also referred to
as masked artwork) provides the shape through which other objects show. The masking object defines which areas are
transparent and the degree of transparency. You can use any colored object or raster image as the masking object.
Illustrator uses the grayscale equivalents of the colors in the masking object for the opacity levels in the mask. Where
the opacity mask is white, the artwork is fully visible. Where the opacity mask is black, the artwork is hidden. Shades
of gray in the mask result in varying degrees of transparency in the artwork.