Map artwork to a 3d object – Adobe Illustrator CC 2015 User Manual
Page 312
307
Reshaping objects
Last updated 6/5/2015
Map artwork to a 3D object
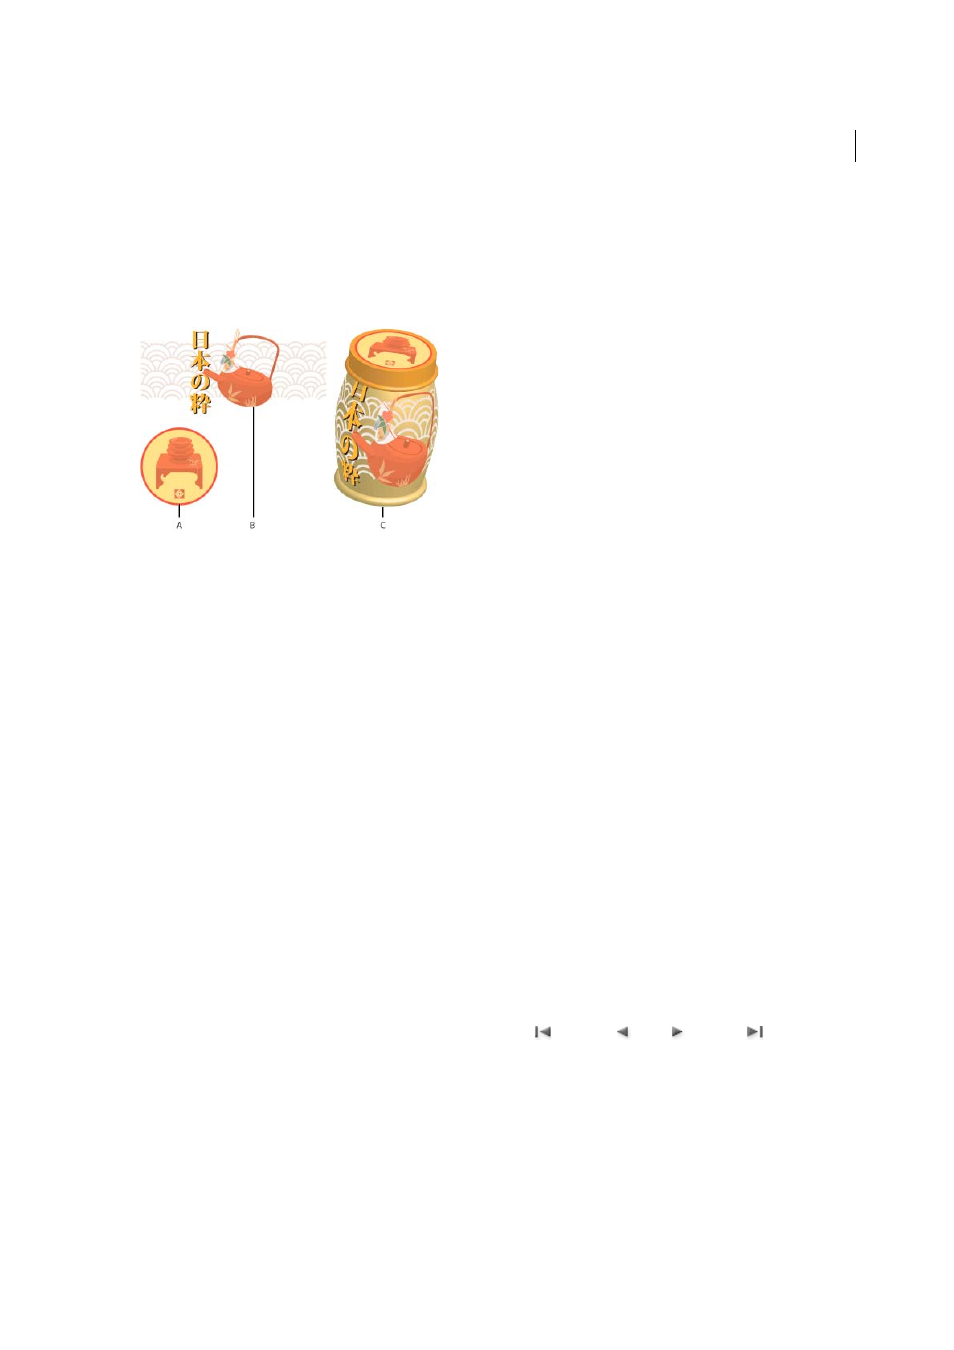
Every 3D object is composed of multiple surfaces. For example, an extruded square becomes a cube that is made of six
surfaces: the front and back faces, and the four side faces. You can map 2D artwork to each surface on a 3D object. For
example, you might want to map a label or text onto a bottle-shaped object or simply add different textures to each side
of an object.
A Symbol artwork B Symbol artwork C A and B mapped to 3D object
You can only map 2D artwork that’s stored in the Symbols panel to a 3D object. Symbols can be any Illustrator art object,
including paths, compound paths, text, raster images, mesh objects, and groups of objects.
When mapping 3D objects, consider the following:
• Because the Map Art feature uses symbols for mapping, you can edit a symbol instance and then automatically
update all surfaces that are mapped with it.
• You can interact with the symbol in the Map Art dialog box with normal bounding box controls to move, scale, or
rotate the object.
• The 3D effect remembers each mapped surface on an object as a number. If you edit the 3D object or apply the same
effect to a new object, there may be fewer or more sides than the original. If there are fewer surfaces than the number
of surfaces defined for the original mapping, the extra artwork will be ignored.
• Because a symbol’s position is relative to the center of an object surface, if the geometry of the surface changes, then
the symbol will be remapped relative to the new center of the object.
• You can map artwork to objects that use the Extrude & Bevel or Revolve effect, but you can’t map artwork to objects
that only use the Rotate effect.
1
Select the 3D object.
2
In the Appearance panel, double-click the 3D Extrude & Bevel or 3D Revolve effect.
3
Click Map Art.
4
Choose the artwork to map to the selected surface from the Symbol pop-up menu.
5
To select which object surface you want to map, click the first
, previous
, next
, and last
surface arrow
buttons, or enter a surface number in the text box.
A light gray color mark appears on the surfaces that are currently visible. A dark gray color mark appears on the
surfaces that are hidden by the object’s current position. When a surface is selected in the dialog box, the selected
surface is outlined in red in the document window.
6
Do any of the following:
• To move the symbol, position the pointer inside the bounding box and drag; to scale, drag a side or corner
handle; to rotate, drag outside and near a bounding box handle.