Change the spine of a blended object, Reverse the stacking order in a blended object, Release or expand a blended object – Adobe Illustrator CC 2015 User Manual
Page 302
297
Reshaping objects
Last updated 6/5/2015
Change the spine of a blended object
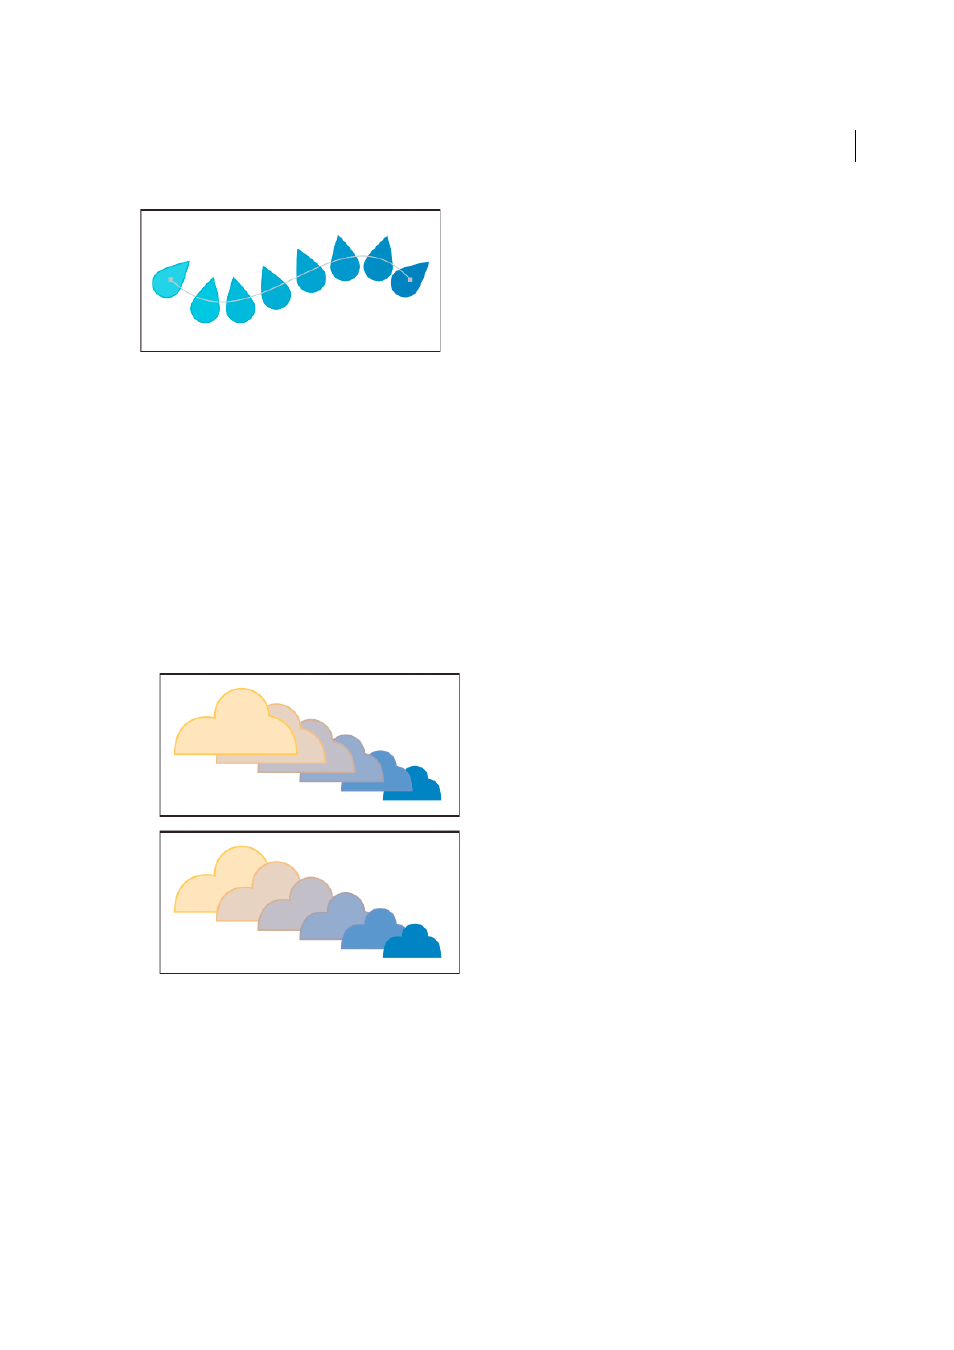
The spine is the path along which the steps in a blended object are aligned. By default, the spine forms a straight line.
• To adjust the shape of the spine, drag the anchor points and path segments on the spine with the Direct Selection
tool.
• To replace the spine with a different path, draw an object to use as the new spine. Select the spine object and the
blended object, and choose Object > Blend > Replace Spine.
• To reverse the order of a blend on its spine, select the blended object and choose Object > Blend > Reverse Spine.
Reverse the stacking order in a blended object
1
Select the blended object.
2
Choose Object > Blend > Reverse Front To Back.
Release or expand a blended object
Releasing a blended object removes the new objects and restores the original objects. Expanding a blended object
divides the blend into distinct objects, which you can edit individually like any object.
1
Select the blended object.
2
Do one of the following:
• Choose Object > Blend > Release.
• Choose Object > Blend > Expand.