Lighting options – Adobe Illustrator CC 2015 User Manual
Page 310
305
Reshaping objects
Last updated 6/5/2015
note: If your object has transparency and you want the hidden backfaces to display through the transparent front faces,
apply the Object > Group command to the object before you apply the 3D effect.
Preserve Spot Color (Extrude & Bevel effect, Revolve effect, and Rotate effect)
Lets you preserve spot colors in the
object. Spot colors can’t be preserved if you chose Custom for the Shading Color option.
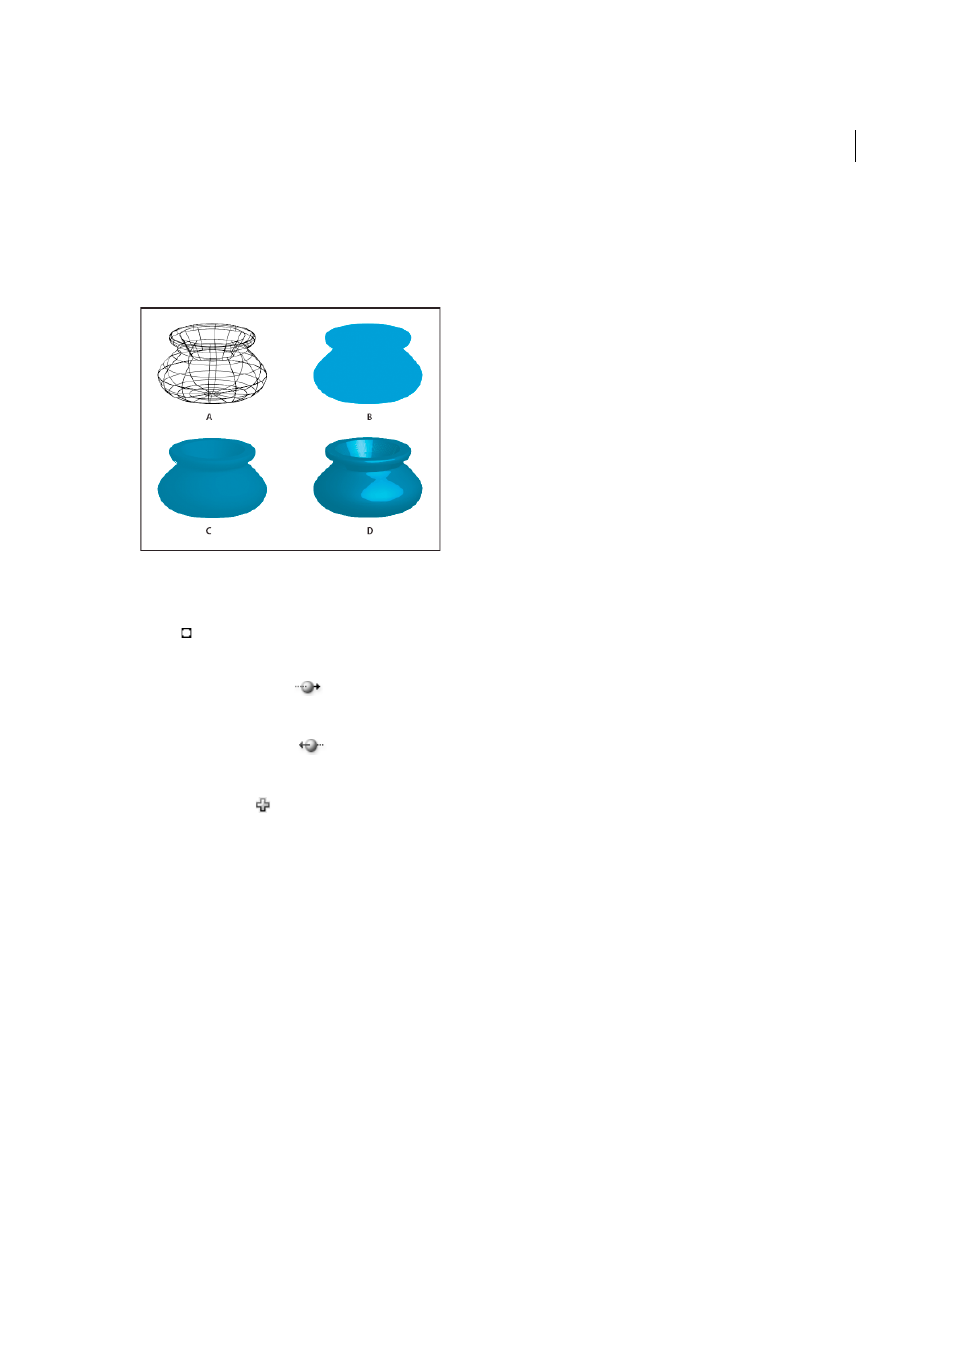
A Wireframe B No shading C Diffuse shading D Plastic shading
Lighting options
Light
Defines where the light is. Drag the light to where you want it on the sphere.
Move Light Back button
Moves the selected light behind the object.
Move Light Front button
Moves the selected light in front of the object.
New Light button
Adds a light. By default, new lights appear in the front center of the sphere.
Delete Light button
Deletes the selected light.
note: By default, 3D Effects assigns one light to an object. You can add and delete lights, but the object must always have
at least one light.
Light Intensity
Changes the selected light’s intensity between 0% and 100%.
Shading Color
Controls the object’s shading color, depending on the command you choose:
None
Adds no color to the shading.
Custom
Lets you choose a custom color. If you choose this option, click the Shade Color box to select a color in the
Color Picker. Spot colors are changed to process colors.
Black Overprint
Avoids process colors if you’re using a spot color workflow. The object is shaded by overprinting
shades of black on top of the object’s fill color. To view the shading, choose View >Overprint Preview.
Preserve Spot Color
Lets you preserve spot colors in the object. Spot colors can’t be preserved if you chose Custom for
the Shading Color option.