The master timeline – Blackmagic Design DaVinci Resolve Advanced Panel User Manual
Page 122
CONFORM
122
Undo/Redo/Edit History:
Two buttons let you undo and redo, similarly to using the
Command-Z and Command-Y keyboard shortcuts. A third
button lets you open the Edit History, which shows a list of
each edit you’ve made since creating a particular session, for
purposes of keeping track of your changes.
The Master Timeline
The Master Timeline, at the bottom of the Conform page, always show the contents of the Master
Session, no matter which session is selected in the Timeline Management list.
The Master Session consists of every clip in the Media Pool, excluding offline-designated and matte
clips, arranged in ascending order by timecode.
The Master Session is useful for preliminary grading of media for which no editing has yet been done,
such as digital dailies. For example, you can add all the new media for a project to the Media Pool,
create a Master Session in the Timeline Management list, and then immediately start grading each clip,
exporting the results as a new set of “pre-graded” media with cloned timecode and reel names for the
offline edit.
After editorial, the edited project data can be imported (via EDL, AAF, or XML) as a new session, which
is automatically reconformed to the original media that you graded. Because the grades follow the
timecode of the clips, the new reconformed session already contains your original grades, and you’re
ready to continue working from where you left off.
The Locate in Master Session command lets you see the correspondence between a clip in a session,
and that same clip in the Master Session.
To find a clip in the Master Session:
• Right-click any clip in the Timeline, and choose “Locate in Master Session” from the
contextual menu.
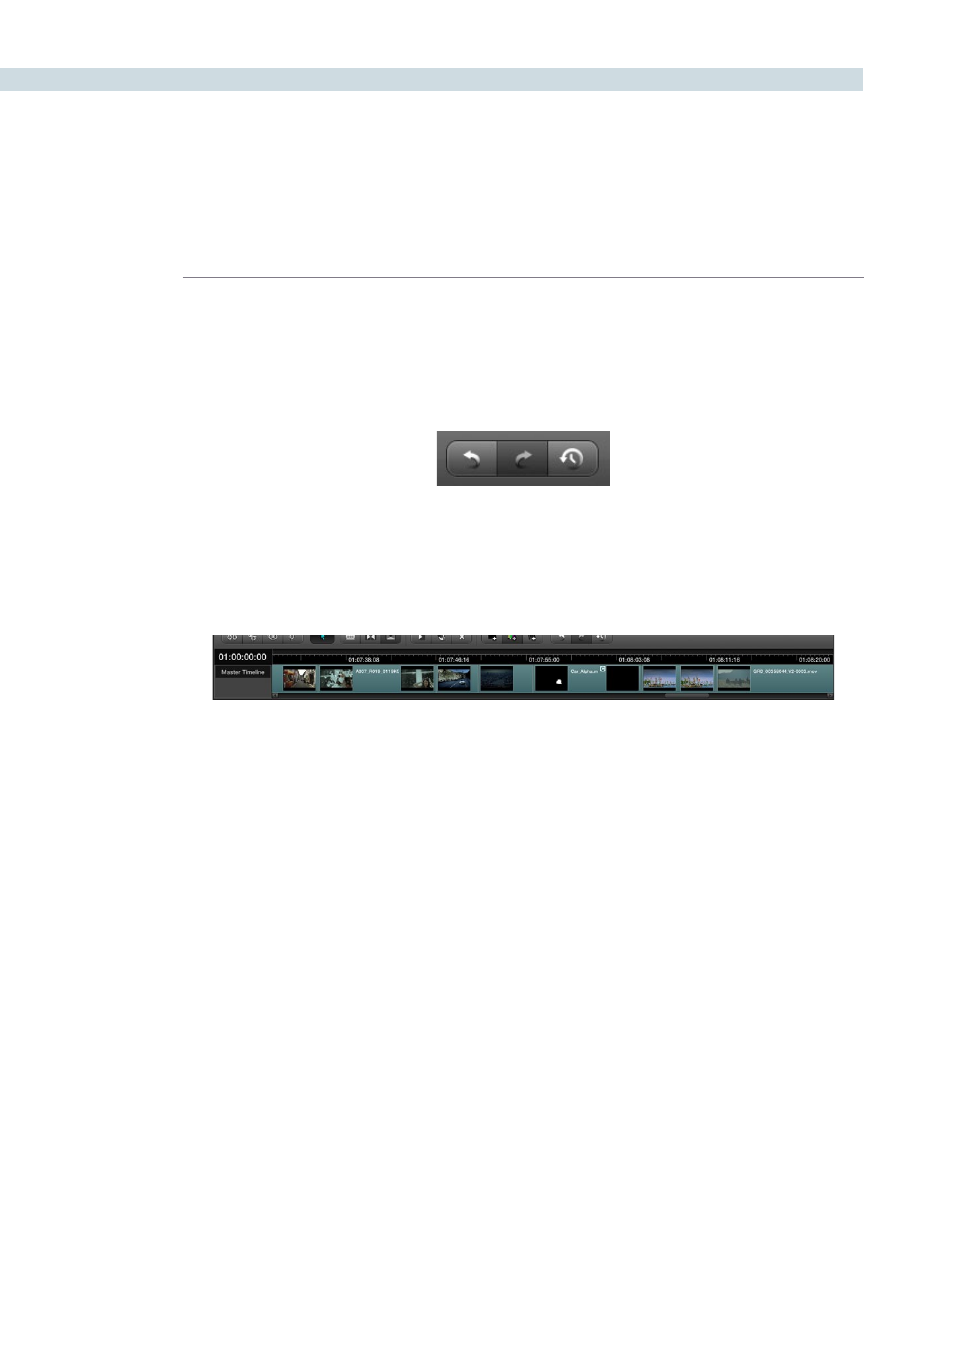
The Master Timeline in the Conform page
Undo, Redo, and Edit History buttons at the bottom right of the Timeline