Group versions – Blackmagic Design DaVinci Resolve Advanced Panel User Manual
Page 224
COLOR
224
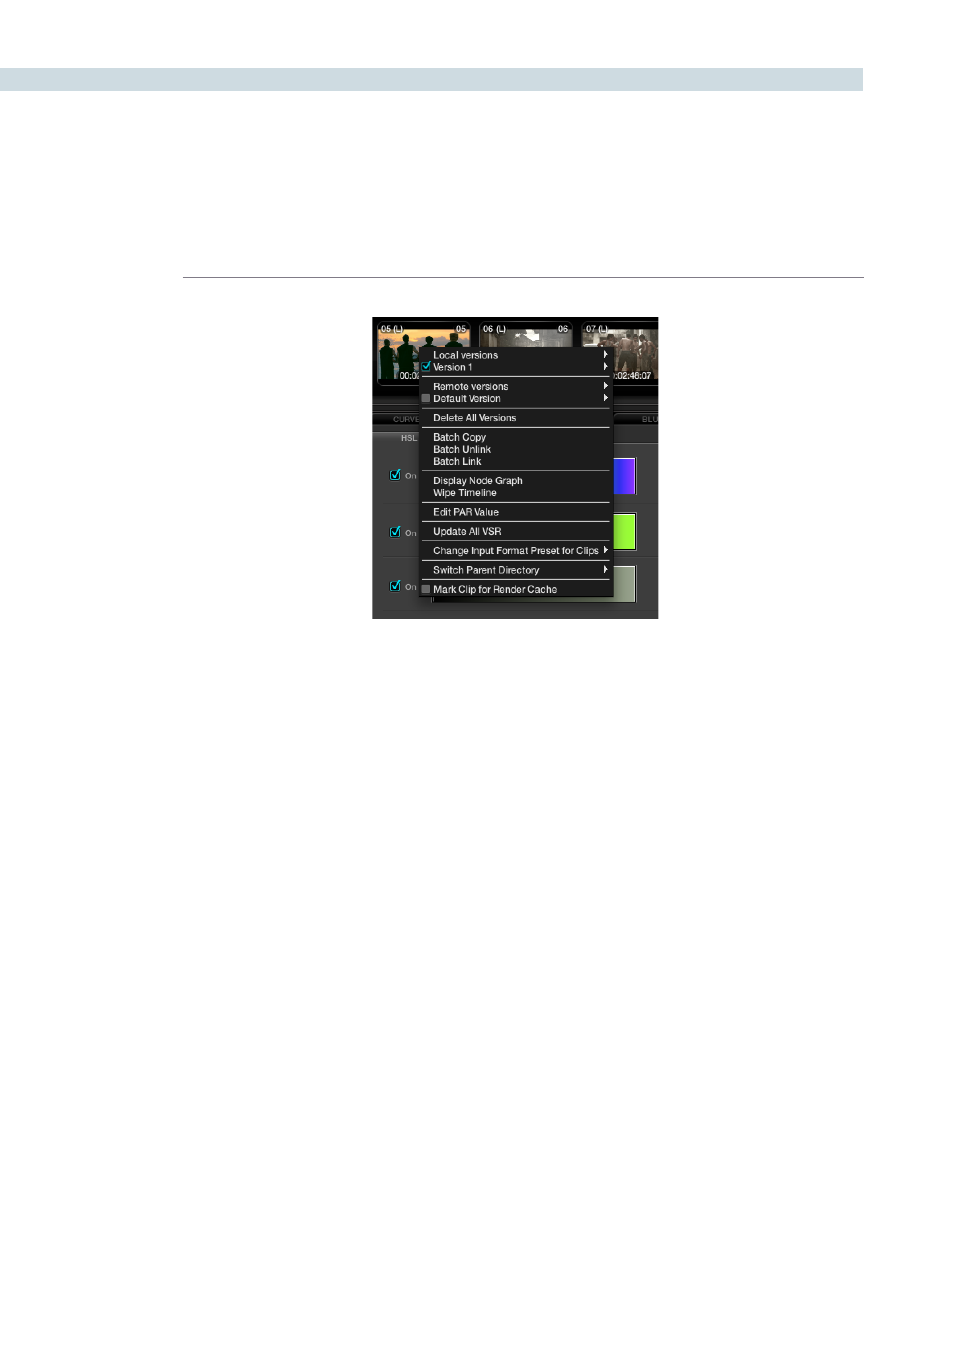
When you access the New Local Version option from the timeline thumbnail pull-down menu, it will first
prompt you for a name for this version. Versions of grades can be loaded, deleted, named and selected
using the right-click pull-down menus.
You can create additional versions of corrections that have been made for a particular clip. Each version
will be available by right mouse clicking on the clip and selecting the version. You may also de-select
a batch version of a conformed list that can then contain an alternate version of corrections. These
additional versions can be named and the names are displayed in the clip thumbnail.
Group Versions
If you have multiple clips that share the same color correction, you can define a Group by right clicking
on a clip and selecting ‘Add Into A New Group.’ Enter the Group Name and you will see it in the group
list at the bottom of the pull-down menu. To add multiple clips, hold down the Ctrl key on the keyboard
and select the various clips. Once the last clip is selected, use ‘Add Into Current Group’ from the pull-
down display.
When there are changes to the correction that are to be applied to the Group, you can select how the
correction will be rippled to the various clips within the Group. Right mouse click on a clip within the
Group, then within the pull-down menu choose the appropriate Group Name and move the mouse to
the ‘Change Ripple’ selection. Once this has been done, another menu joining these menus will appear.
This menu will give you the opportunity to change the ripple type, to make the target clip the exact
changed value, or make the change by percentage or unit value, or to have all values copied, as defined
in the Configuration screen settings tab.
Timeline right-click option