Render timeline – Blackmagic Design DaVinci Resolve Advanced Panel User Manual
Page 368
RENDER
368
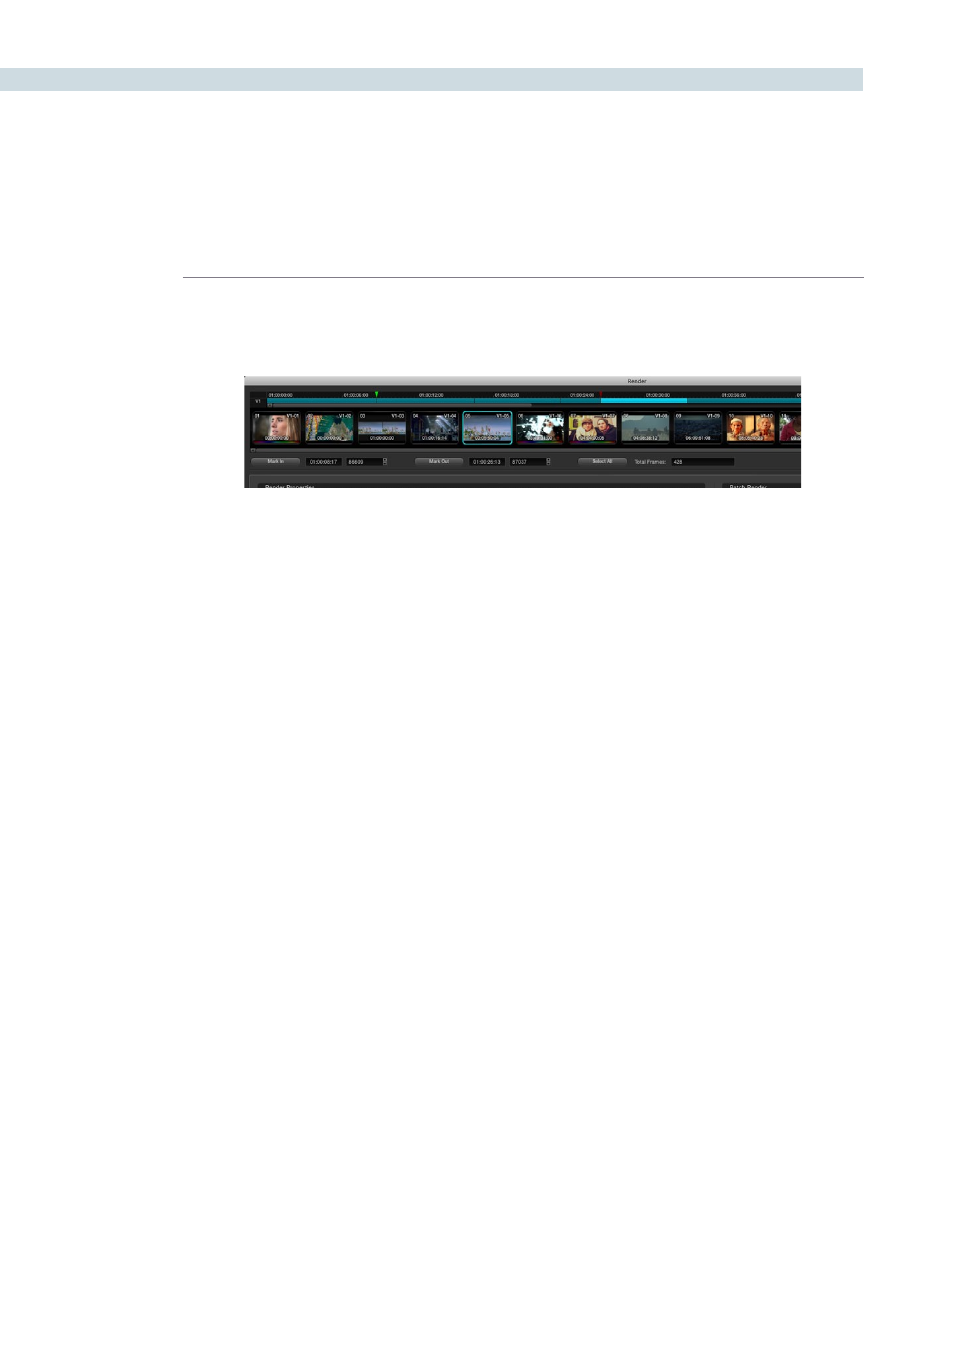
Render Timeline
The Render Timeline displays every clip in the current session, identically as they appear on the Color
and Format pages.
To render a project, you need to select the range of the Timeline to render.
To select the entire project:
Click the Select All button at the bottom of the Render Timeline.
To select a range of clips to render:
1.
Right-click the first clip in the range you want to render and choose Mark In from the
contextual menu, or select the first clip, and click the Mark In button.
2.
Right-click the last clip in the range you want to render and choose Mark out from the
contextual menu, or select the last clip, and click the Mark Out button.
As in the previous procedure, In and Out points appear within the timeline ruler to show
the range you’ve selected to render. The in and out fields update with the first and last
frame numbers, in timecode and frame count, and the Total Frames field updates with
the total number of frames you’ll be rendering.
To select a single clip to render:
Right-click any clip in the Render Timeline, and choose Render This Clip from the
contextual menu.
To select an arbitrary range of clips to render:
1.
Drag the playhead in the timeline ruler at the top of the Render Timeline to the first of the
range of frames you want to render, and set an In point by doing one of the following:
• Right-click the timeline ruler and choose Mark In.
• Click the Mark In button at the bottom of the Render Timeline.
2.
Drag the playhead to the last of the range of frames you want to render, and set an Out
point by doing one of the following:
• Right-click the timeline ruler and choose Mark Out.
• Click the Mark Out button at the bottom of the Render Timeline.
Render Timeline with Mark In and Out Controls