Adding dynamics – Blackmagic Design DaVinci Resolve Advanced Panel User Manual
Page 288
COLOR
288
Adding Dynamics
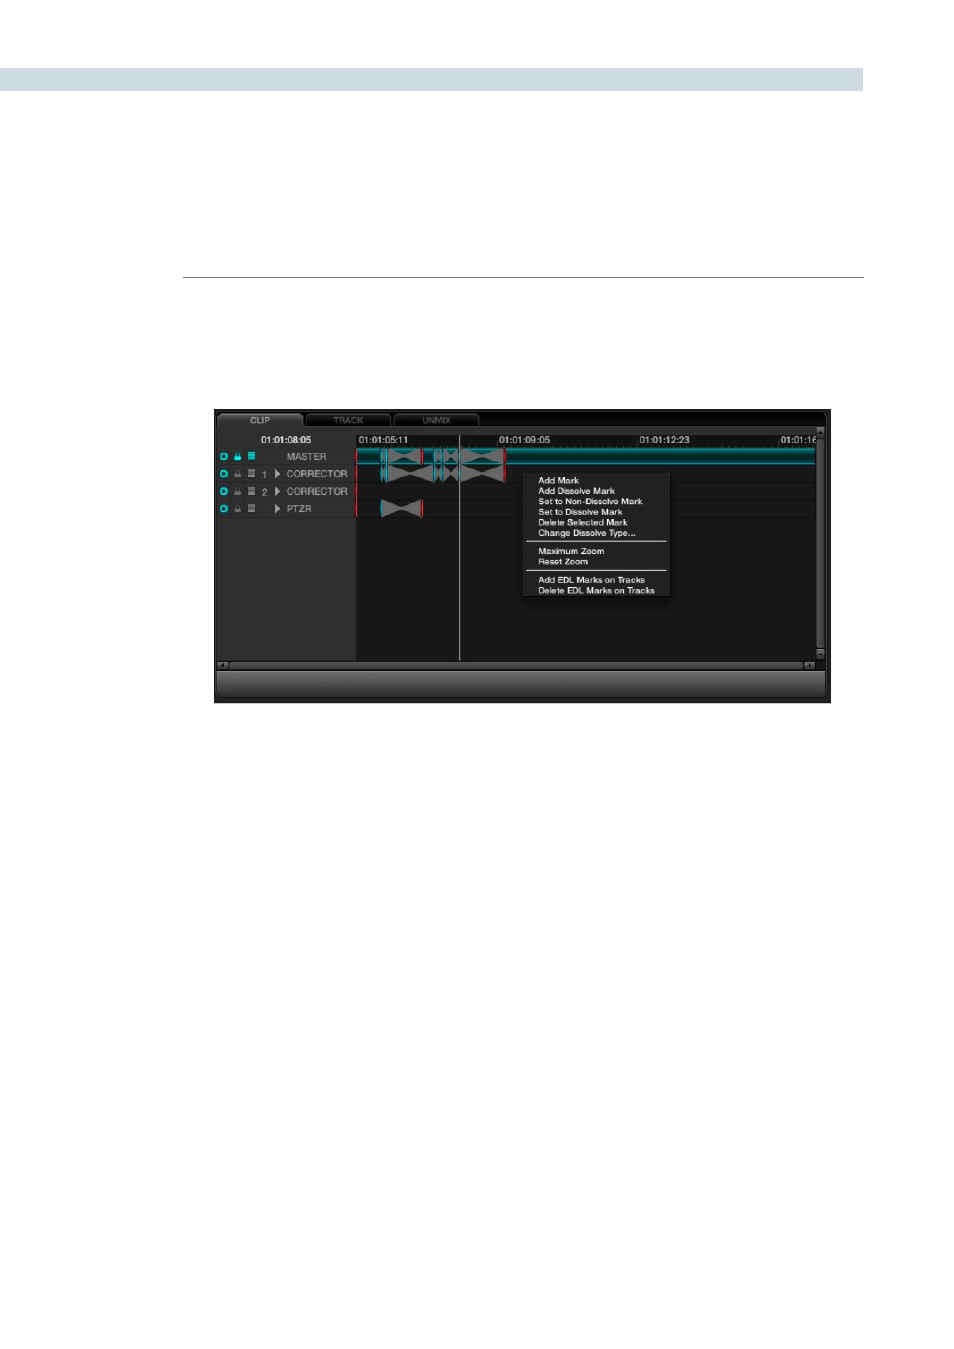
Dynamics can be added in a number of ways. With the UI, right mouse click and select the appropriate
function from the pull-down menu that appears within the Event Timeline display.
Add Mark:
Will enter an event mark into the timeline, or simply press the ‘Mark’
button on the DaVinci Resolve control panel and a mark will appear
in the Dynamics Timeline display.
Add Dissolve:
Simply play the clip to the point where the dissolve should start
and right click select to add the dissolve mark. Then play the clip
to the point where the dissolve should finish and add Mark. The
dissolve will then appear within the Event Timeline display.
Set to Non-dissolve Mark:
If you have an existing dissolve mark you can change it to a
standard mark
Set to Dissolve Mark:
This will change an existing mark to a dissolve mark.
Moving a Mark:
To change the position of an event or dissolve, simply highlight
the event by left mouse clicking on the event and then drag it to
the desired location.
Delete Selected Mark:
To delete an event, left mouse click on the event in the Dynamic
Timeline display which will highlight this event. Then right mouse
click and select ‘Delete Selected Mark’ from the options.
Change Dissolve Type:
When right mouse clicking within the Dynamics Timeline display
and selecting ‘Change Dissolve Type’ from the menu, you can
adjust the start and end profiles of a dynamic or dissolve event.
There are a number of different variations for the start and end
profiles available. The default values may be established within
the Configuration page.
Dynamics Timeline Right Click