Curves tab, Adjusting curves using the mouse – Blackmagic Design DaVinci Resolve Advanced Panel User Manual
Page 253
CHAPTER
COLOR
COLOR
253
9
Curves Tab
The Curves tab, at the bottom center of the Color page, has six sub-tabs that provide different, curve-
based methods of manipulating the color and contrast of an image.
Each curve lets you adjust a customizable region of the image based on image tonality to make
adjustments relative to an area of brightness within the image, or on hue to make adjustments relative
to the specific colors within the image. All curves can be adjusted either using the mouse, or via knobs
on your control surface.
Tip: All curves in DaVinci Resolve can be used either to affect the overall image, or limited to affect only
a specific portion of the image as a secondary operation using HSL Qualification, Windows, imported
Mattes, or any combination of these.
Adjusting Curves Using the Mouse
All curves have identical controls for basic on-screen adjustment using the mouse.
Methods of adjusting curves using the on-screen interface:
To add a control point:
Click anywhere on or around a curve. A control point is added
at the position of the mouse where you clicked, and the curve is
altered, if necessary, to match the new control point’s position.
To add a control point without altering the curve:
Hold the Shift key down, and click anywhere on or around a
curve. A control point is added at the horizontal position of the
pointer where you clicked, but the curve is not altered.
To remove a control point:
Right-click any control point to make it disappear.
To reset a curve to a completely neutral setting:
Click Reset.
To reset all Custom curves:
Right-click anywhere within the Curves tab and outside of each
curve control box and choose Reset Custom Curve.
By default, individual control points influence the portion of each curve that falls between its neighboring
two control points.
In screenshot to the left, you can see that the control point at the position of the pointer is affecting the
larger part of the curve that falls between the lower left-hand control point, which is there by default,
and a user-created control point placed up within the highlights of the curve.
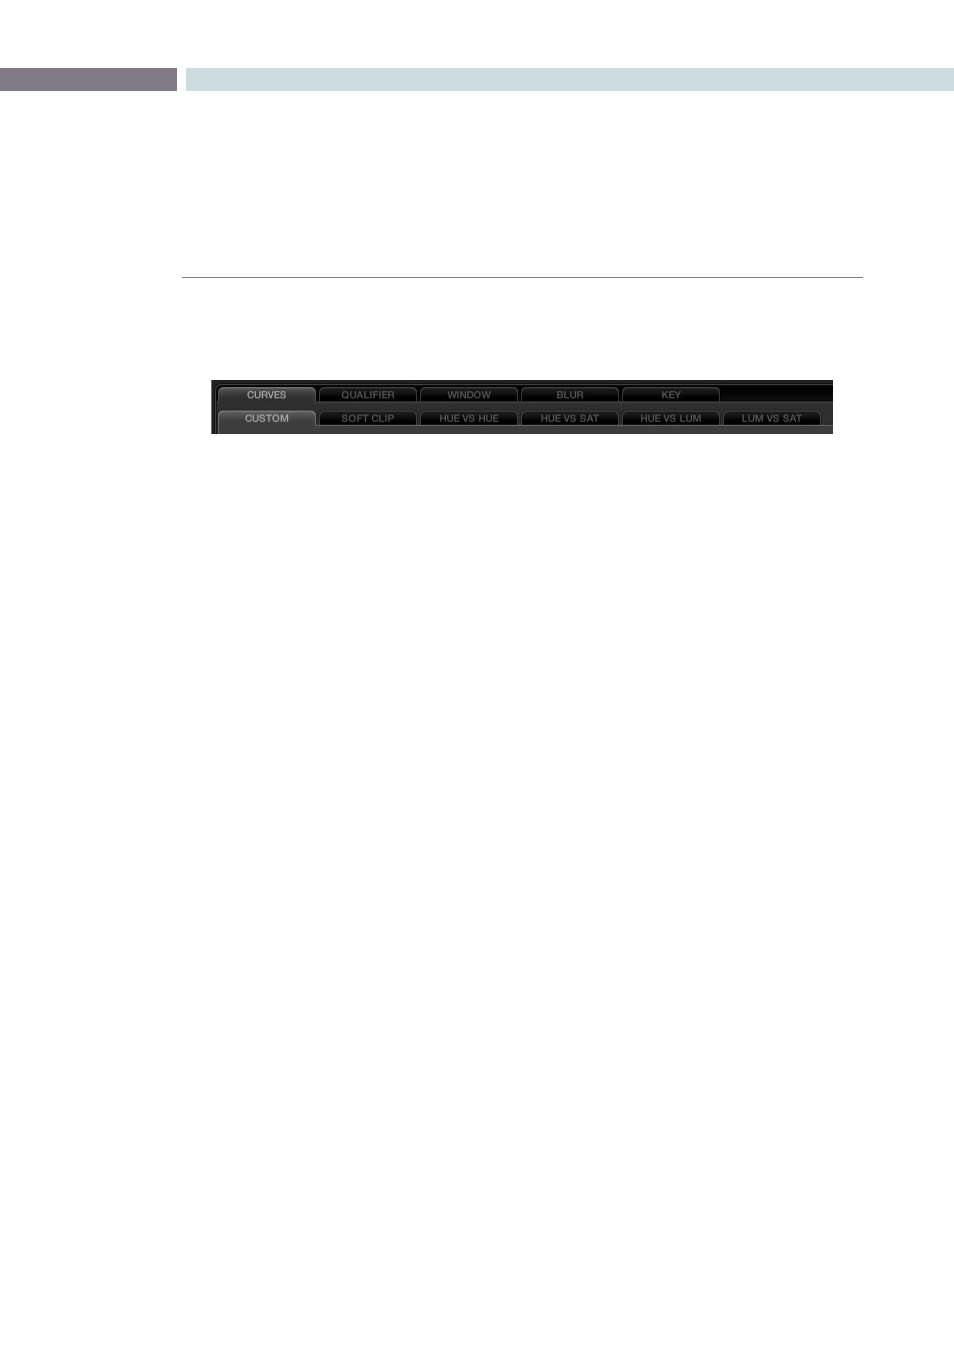
All the sub-tabs found within the Curves tab