Power curve windows – Blackmagic Design DaVinci Resolve Advanced Panel User Manual
Page 282
COLOR
282
Power Curve Windows
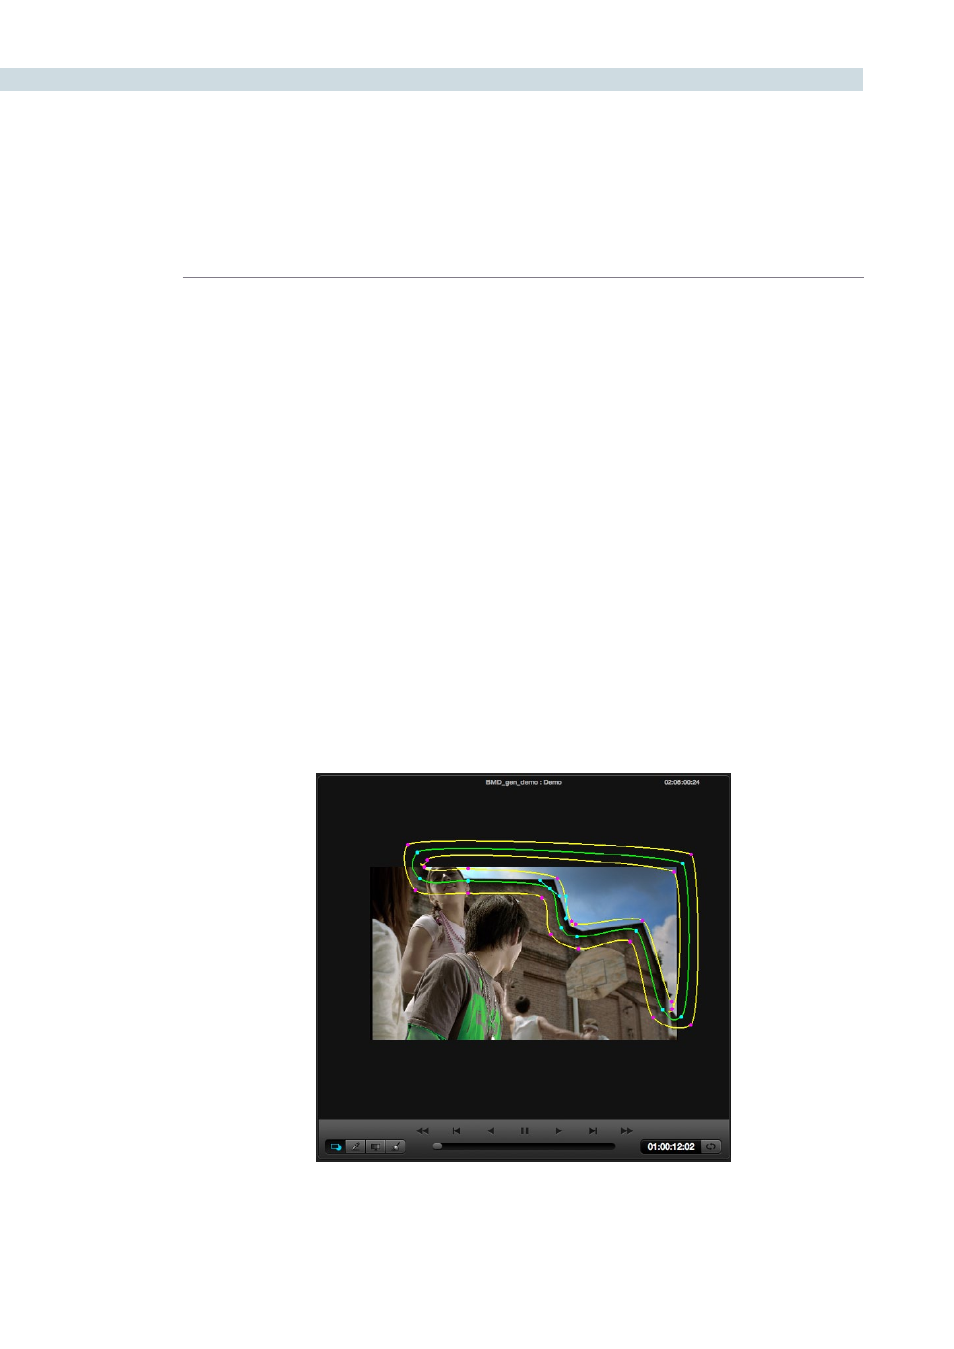
To add a Power Curve Window (PCW), or Bezier window as some colorists call it, selection of the
window style is no different to others for the UI or the DaVinci Resolve control panel. Unlike the other
available windows, there is no default points or shape for the Power Curve Window. Once the PCW is
enabled, the “Curve” may be created by clicking in the Viewer using the left mouse button. To complete
(close) the curve, press the middle mouse button or press the left mouse button on the first point of the
curve. You can adjust the curve using the control panel or the mouse.
Additionally, the inside and outside softness may be altered on a point-by-point basis by dragging any
of the magenta reference points to the desired position. As with all of the Resolve Power Windows, the
axis of rotation may be changed by holding down the control key on the DaVinci Resolve keyboard and
dragging the center reference point to the desired position.
You may change the “Power Curve” shape using the mouse. To add points, left mouse click on the curve;
to delete points, use the center mouse button over a point. To change the curvature, select one of the
handles attached to a curve point and adjust the curvature by keeping the left mouse button pressed
while moving the pointer. The curvature handles move opposite to each other in a locked fashion. To
move a single handle at a time you must keep the ‘Shift’ key pressed while moving the handle.
If you want to straighten an edge, double click on the corresponding curve point. When the edge is
straight, the curvature handles for that point are collapsed. To rotate a curve, select the central handle
of the curve (similar to other windows) and rotate. You can also select the central handle and Pan/Tilt
the entire curve.
PowerCurve Window