Render – Blackmagic Design DaVinci Resolve Advanced Panel User Manual
Page 367

CHAPTER
RENDER
RENDER
367
16
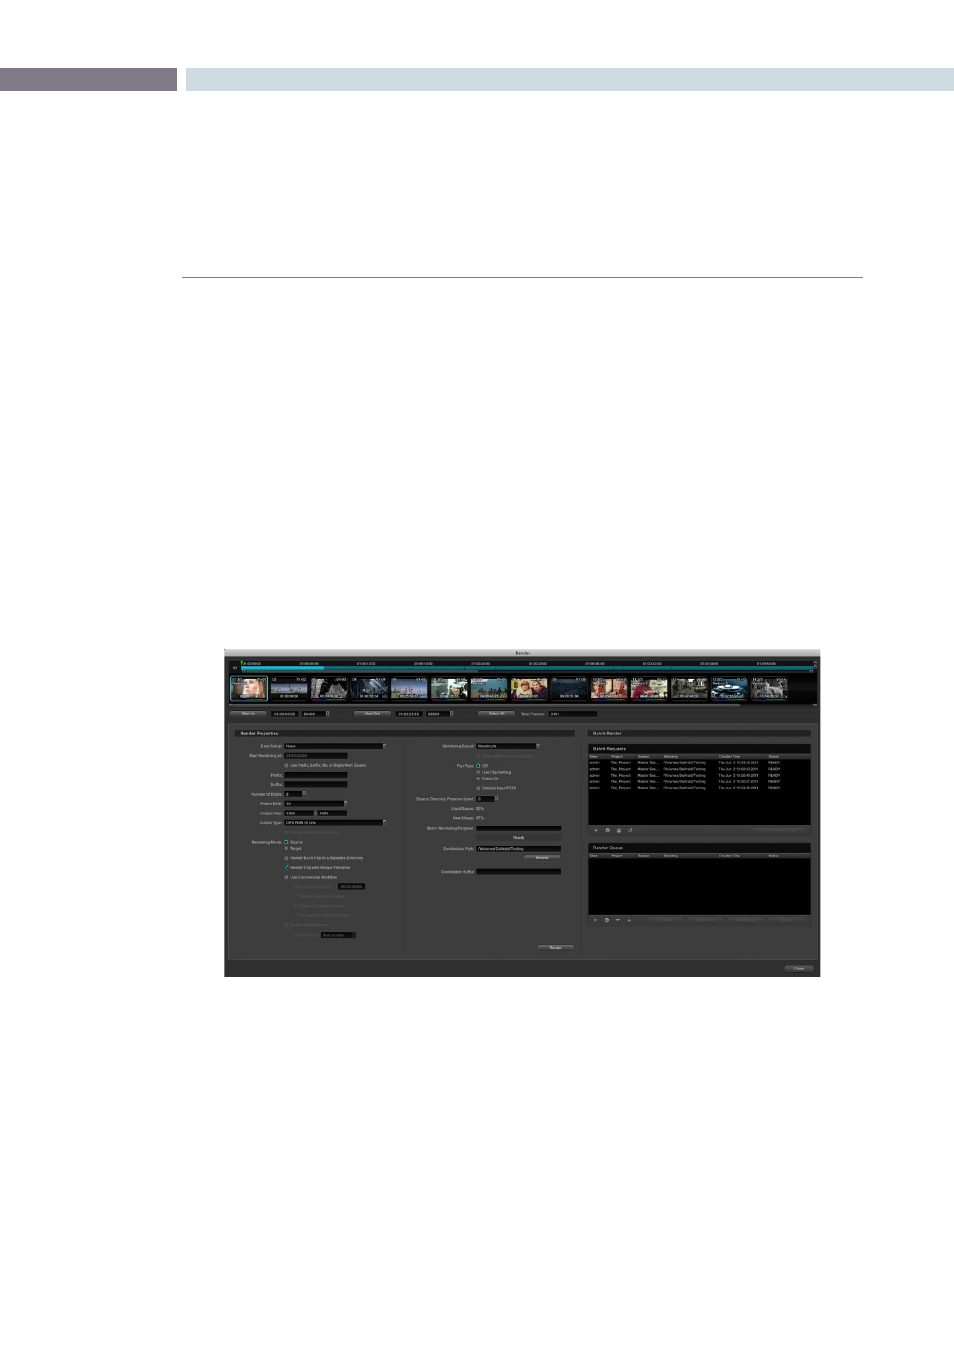
The Render screen is used to set up the configuration and initiate rendering of the timeline images.
DaVinci Resolve is not restricted by this limitation and this provides you with significant workflow
advantages.
A simple example of this is using 2K source material and an HD image processing timeline and then
setting DaVinci Resolve to render in ProRes 444, and then render in MXF Avid DNxHD, and then 2K
DPX. All the settings are configurable and permit mastering in all the formats you need without having
to change the timeline processing resolution.
These renders are always performed at the highest resolution possible. If the source clip is 2K and you
have an HD timeline but wish to render in 2K, no problem. DaVinci Resolve will use the source clip and
apply the metadata for that clip as directed by the color correction list with a single resize of the image.
You can open the Render display from within the Color or the Format screens by pressing the ‘Command’
and ‘R’ key on the Mac keyboard, or using the menu bar pull-down. On the DaVinci Resolve control
surface you can also select the ‘Render’ button, which is found near the jog and shuttle control or use
‘Control R’ on the pullout keyboard.
Render
The Render Window