Simple ways of working with existing tracking data – Blackmagic Design DaVinci Resolve Advanced Panel User Manual
Page 302
VIEWER
302
Resolve analyzes a cloud of tracking points that follow the vectors of every trackable group of
pixels within the window you’ve created, and the results are fast and accurate. After tracking, the
window you’ve placed automatically moves, resizes, and rotates to match the motion of the feature
you’re tracking.
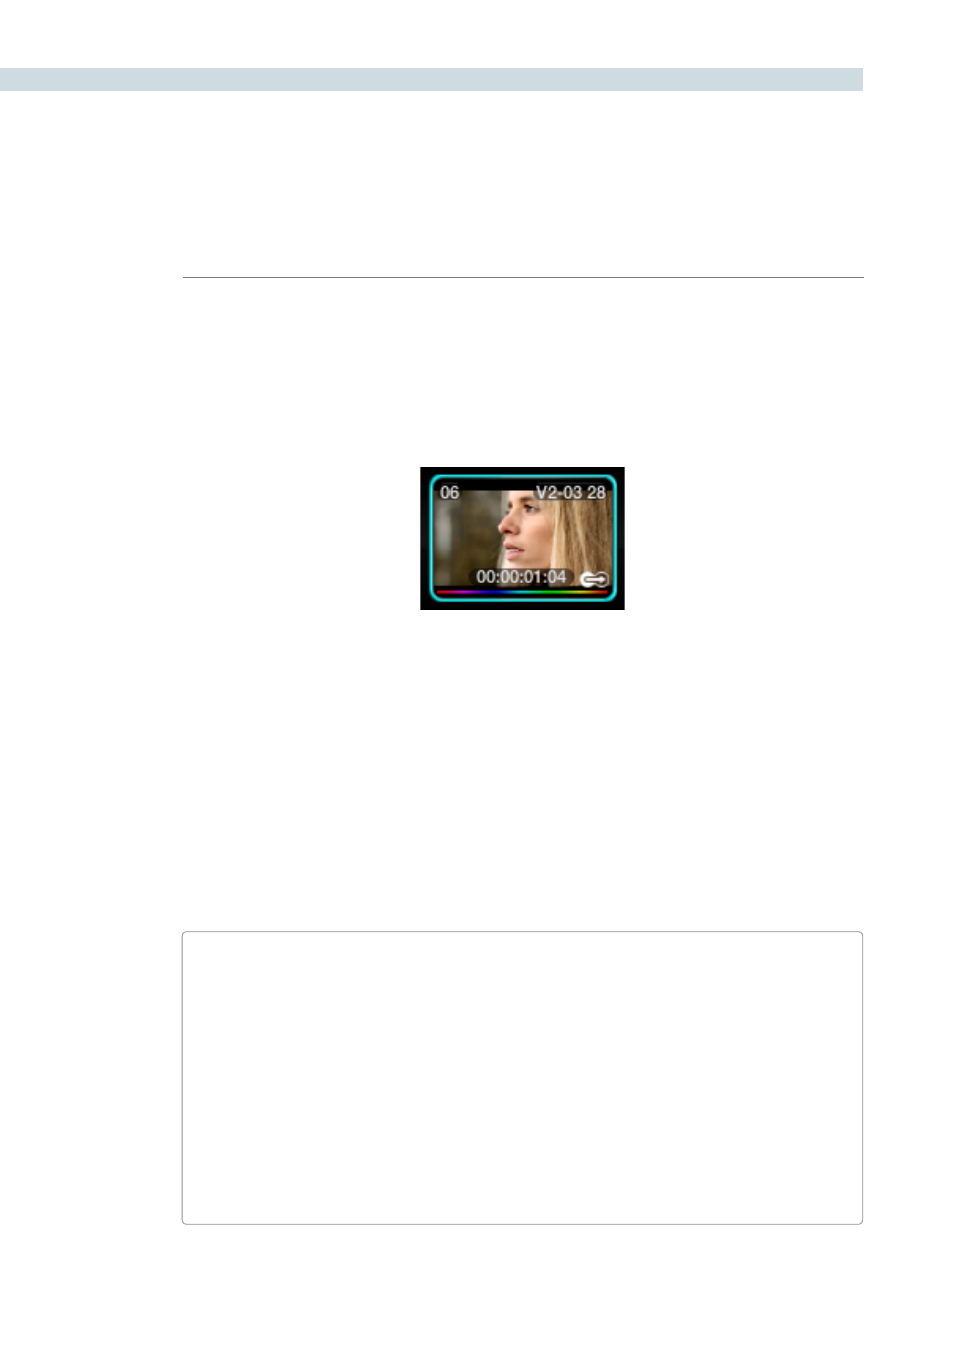
Once a clip has tracking data applied to one of its windows, a small tracking icon appears within that
clip’s icon in the thumbnail timeline.
Simple Ways of Working With Existing Tracking Data
If you find that you don’t like a track you’ve made, you can simply move the playhead back to the frame
where you’d like to redo tracking, and start all over again. New tracking data always overwrites old
tracking data.
If there’s a portion of a shot that’s you haven’t tracked (for example, you started tracking at a later frame,
or you ended tracking prior to the end of the shot), then the Window you’re tracking remains wherever
it was at the first or last frame that was tracked. If you want to fill in these gaps, you can always move
the playhead to the first or last frame that was tracked, and then use the Track Reverse or Track Forward
command to track the rest of the frames in that shot.
Tips For Better Tracking
In general, you’ll achieve better results if you track features using Windows with no edge
softness. You can add softness later, after the track has been accomplished.
In situations where a feature changes shape in such a way as to confuse the tracker, you can
try tracking a smaller part of the feature by using a smaller window. Once you’ve achieved a
successful track, you can resize the Window as necessary, and it will have no effect on the
track that’s already been made.
Lastly, if you’re tracking a feature that moves behind something onscreen and disappears for
the rest of the shot, there’s an easy way to avoid having an awkward window sitting in the
middle of the scene. You can use dynamics/dissolve marks (keyframing) to animate the Post
Mixing Gain slider (in the Key tab of the Color page) to fade from the correction’s full strength
of 1.0 down to 0, the value at which the correction disappears, along with the window itself.
A tracking icon in bottom-right corner of the Thumbnail
timeline shows that clip has been tracked