Power windows – Blackmagic Design DaVinci Resolve Advanced Panel User Manual
Page 279
CHAPTER
COLOR
COLOR
279
9
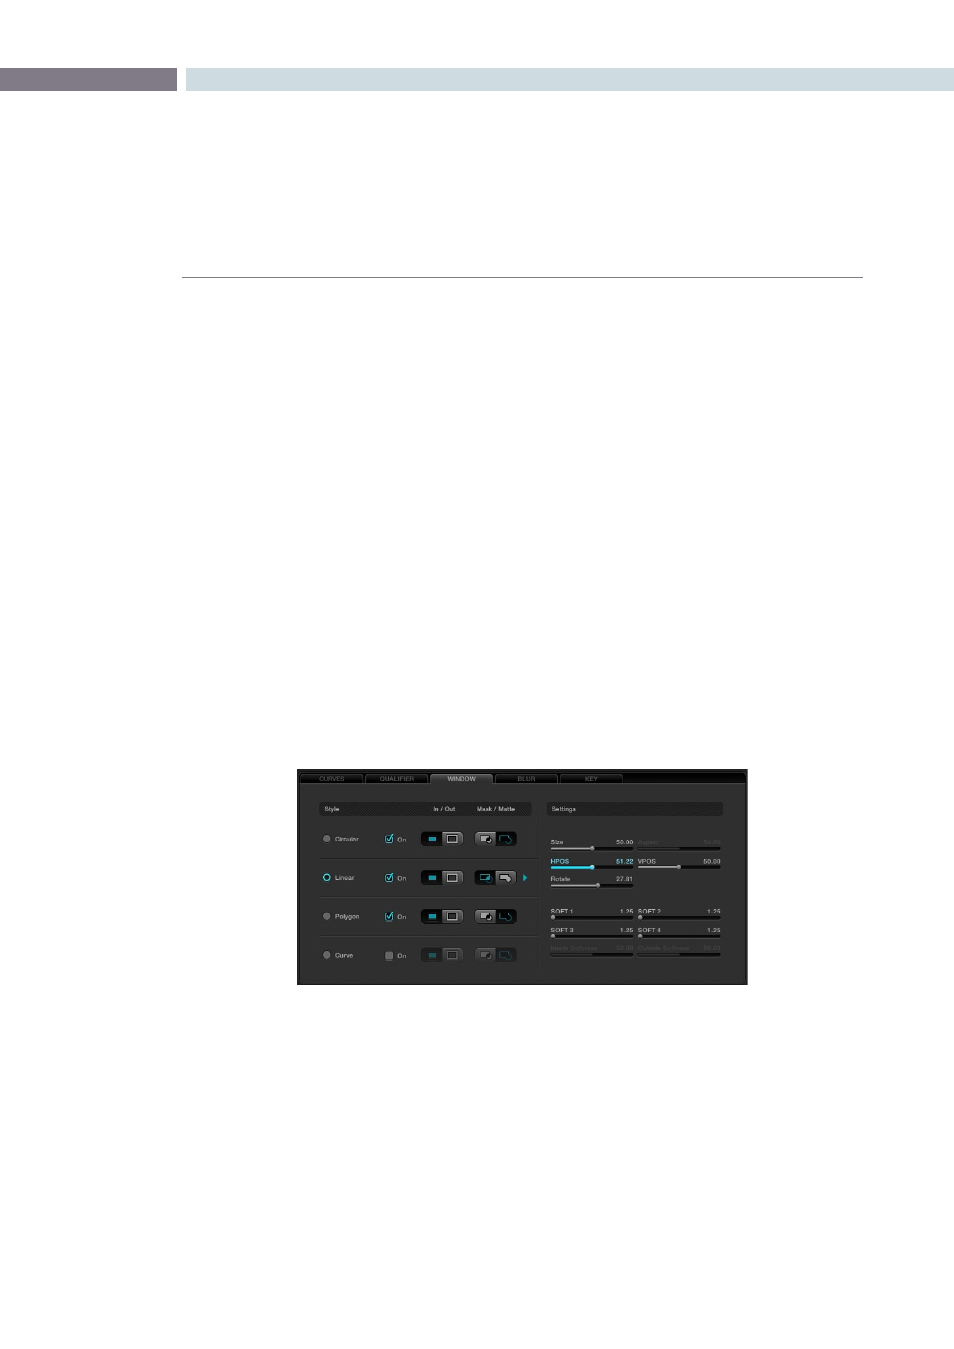
DaVinci Resolve has the famous DaVinci Power Windows, which provides a number of shapes to use
for Matte and Masking of image sections. Once you have made the Power Window, adjusting the grade
within the window area, or outside if invert is selected, is as easy as moving the trackballs. You will see
the result of the window and the correction applied within it on the Viewer display, and the final result is
the image that is seen on the Grading monitor. There are four window types: Circle, CPW; Linear, LPW;
Polygon PPW; and Curve, PCW (Bezier).
Power Windows may be used to isolate a primary or a secondary color correction. They are often used
with secondaries to permit fine qualification of the image and in Matte or Mask mode, depending on the
type of correction required. Using a Power Window in Mask mode is generally used when the window
is intended to mask out a portion of another Power Window or a Qualification.
DaVinci Resolve’s object tracking will be discussed later in detail, but it’s clear that windows placed on
an object to permit grading within or outside the window edge will only work if the object does not
move. The object tracker will allow you to create keyframes automatically for the windows to track
moving objects, making DaVinci Resolve Power Windows even more valuable.
Adjusting PowerWindows
Windows can be selected in a number of ways. On the UI, select the Window tab, then select the desired
window style. This also selects the settings controls for that window type. To see the window and adjust,
turn it on, select to grade Inside or Outside, and then choose whether to use the window as a Matte or
Mask. Change to a Matte or Mask to see the window on the UI display.
All Power Windows have a center point and a rotation handle. Rotation, or moving the window, is
managed using the rotation handle or the axis point. The center axis of the Power Window may be
moved using the control panel or by holding down the Ctrl key on the keyboard and dragging the
vertical rotation line to the area where you would like the rotation axis to be relocated to. To reset the
rotation axis to the image’s center position, simply hold down the Control key on the keyboard and
mouse click on the center rotation point.
To alter the size parameters of the Power Window, click on the cyan colored points that can be seen
in the Power Window cursor lines in the Viewer display and drag them with the mouse, or alter the
softness of the window, the aspect, size and even the rotation.
Power Windows
Window Tab