Video monitoring – Blackmagic Design DaVinci Resolve Advanced Panel User Manual
Page 66
CONFIGURATION
66
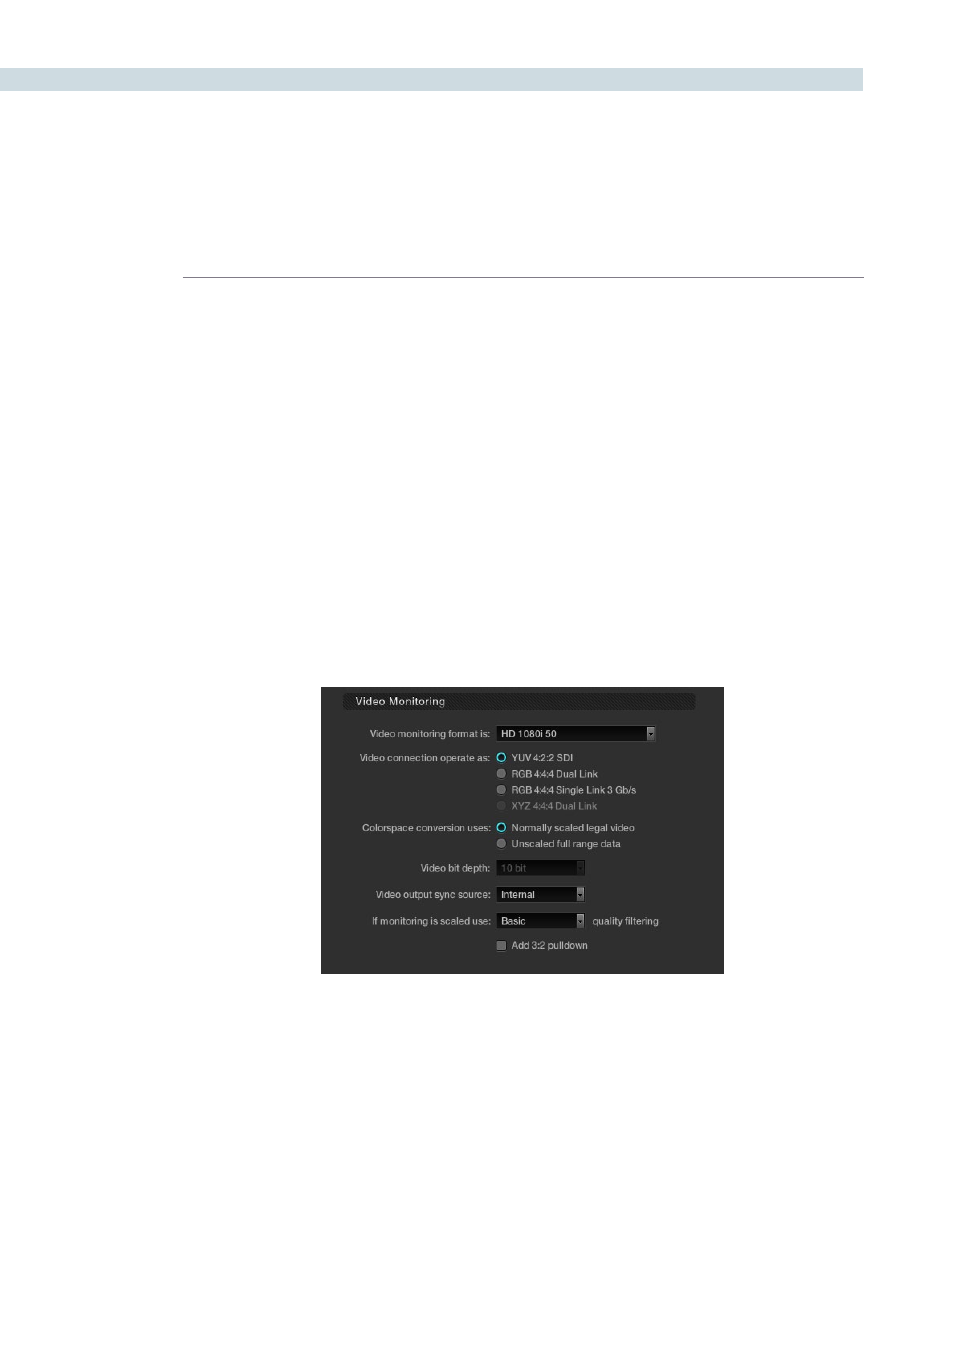
Video Monitoring
The Video Monitoring display should be adjusted to reflect the monitor you use for color correction.
The settings here have frame rate and screen refresh implications, so making the correct selection
is important.
For example, if you are working with 2K files in a 2K environment but color correcting using a high
definition monitor, you should select the appropriate HD standard for that monitor.
There are many options for the video monitoring format, so first select one from the pulldown list. Then
select the video connection to operate as YUV 422, RGB444 dual or single link; or the XYZ option.
The Colorspace conversion selection will perform a color mapping conversion to work with data to
video level translations. Remember your images are often stored in full 0-1023 data but the monitor is
generally expecting, and can process, the 64-940/960 video levels as specified by SMPTE. If you wish
to monitor the full 10-bit data range (0- 1023) of the monitoring output, simply change the colorspace
conversion to unscaled full range data. If the Colorspace conversion is set to the normally scaled legal
video then the data range is scaled down to video range (64-940/960).
With some video I/O and monitoring cards there is an option for 12-bit monitoring. If applicable to
your system, you may select the 12-bit option. This is often used when monitoring through a projector
capable of accepting a 12-bit HD-SDI input.
The output video sync source control is used with some video I/O cards but not required with all. It
will select between internal and external bi-level or tri-level synchronization. This is particularly relevant
when two NVidia SDI optional cards are installed for Stereoscopic 3D grading as they both must have
the same physical input sync, as the 3D processor and display device.
Video Monitoring