Adobe Premiere Pro CC v.7.xx User Manual
Page 177
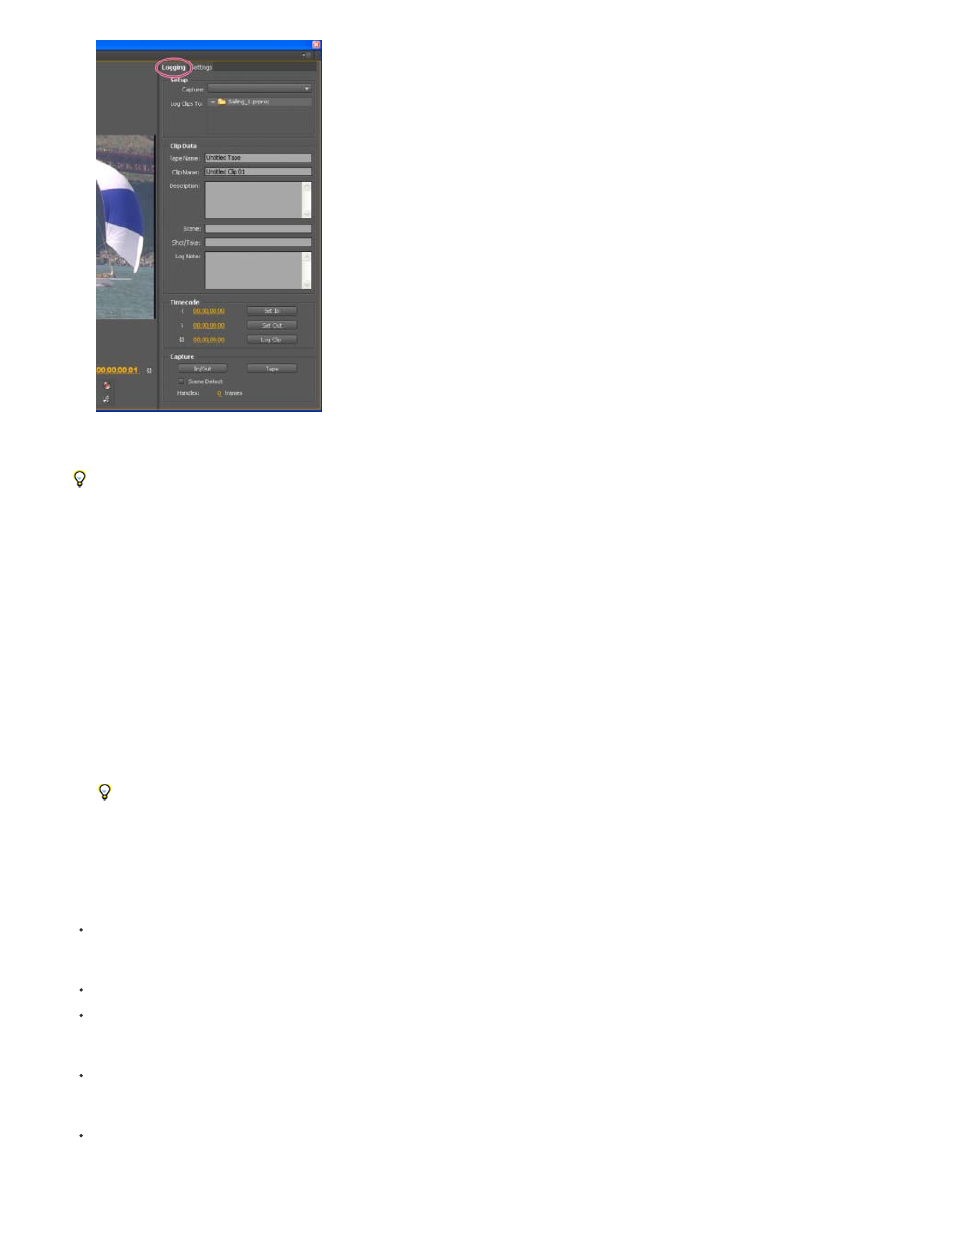
Capture panel with Logging active
When logging HDV and other Long GOP formats, be sure to add handles in the Handles setting of the Capture section. Because of the nature
of Long GOP formats, inaccuracy in actual media content is possible. Adding handles assures that you have the proper frames needed for
editing and, if need be, recapturing.
Log clips interactively
1. Make sure that your device is connected and in VTR or VCR (not Camera) mode, and then choose File > Capture.
2. In the Logging pane, enter the settings you want to use as the defaults for Setup and Clip Data.
3. Play the tape. Click Set In or Set Out at any time, even as the tape plays. Repeat as necessary.
4. When you are satisfied with the In and Out points, click Log Clip, verify the clip data, and click OK.
You can make slight timecode adjustments by using the plus sign (+) or minus sign (–). For example, to add five frames to the end of the
Out point, select the entire Out point timecode, type +5, and press Enter/Return.
Tips for logging clips interactively
Set options on the Logging pane of the Capture panel. Premiere Pro uses the current data in the Setup and Clip Data sections as defaults
for subsequent logged clips. If you want to log a series of clips into the same bin with similar logging data, save work by specifying clip data
before you start logging the series. When you click the Log Clip button, a dialog box appears so that you can accept or change the clip data.
In the Clip Data section, specify a tape name. Premiere Pro asks for this name every time you begin batch capturing.
The Clip Name in the Clip Data section progresses in numerical increments automatically. For example, if you want to number a series of
clips with clip names starting with Car Chase, enter “Car Chase 01,” making sure that the clip name ends with the number. Subsequent
logged clips default to the next number, such as “Car Chase 02.”
You can change Capture panel settings at any time. For example, if you see the action changing as the tape plays back, you can get ready to
capture the new upcoming action by selecting a different bin to log subsequent clips into or by typing a different name for Description or
Scene. You don’t have to stop the tape as you change settings.
You can operate the device and log clips using the keyboard. See the tool tips for Capture panel controls, or choose Edit > Keyboard
Customization to view or change the shortcuts.
180