Working with markers – Adobe Premiere Pro CC v.7.xx User Manual
Page 208
Working with markers
Markers
Markers panel
Add markers in the Timeline
Add markers to clips
Find, move, and delete markers
Display marker comments
Sharing markers with After Effects, Encore, and Flash
Markers
Markers indicate important points in time and help you position and arrange clips. You can use a marker to identify an important action or sound in
a sequence or clip. Markers are for reference only and do not alter the video.
The following types of markers are available in Premiere Pro:
You can add markers to a sequence, or to a source clip. Markers are color coded for their better identification.
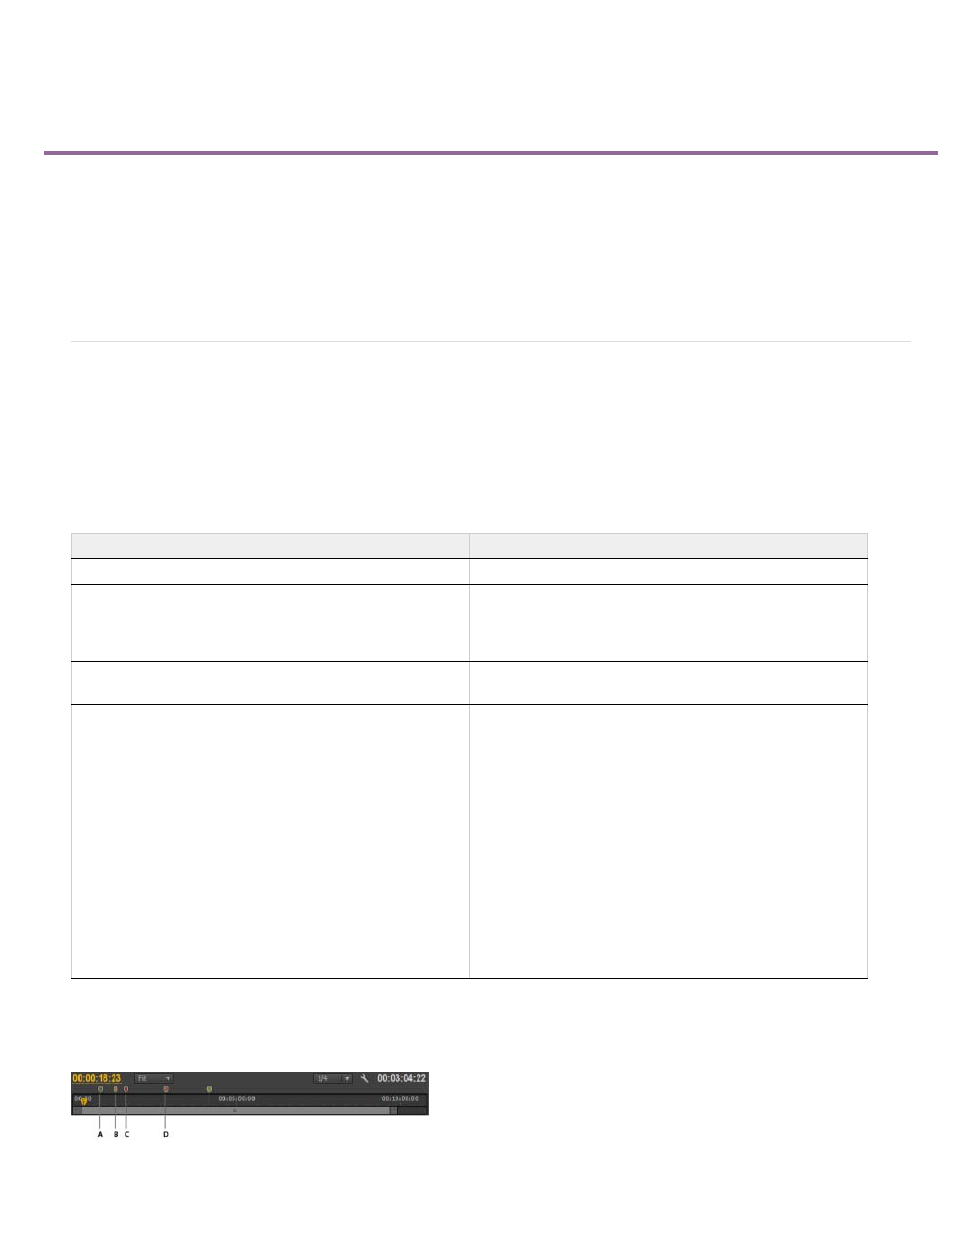
Marker indicators
Marker
Description
Comment
A comment or note about the selected part of the Timeline.
Flash Cue Point
Flash cue points can be used to trigger events or navigate
interactive
content meant to be played back with Adobe Flash
technology.
Web Link
Add a URL that provides more info about the selected part of
the movie clip.
Chapter Marker
If you are using Encore CS6, Encore reads these markers as
chapter points when you export to Encore using File > Adobe
Dynamic Link > Send To Encore. In Encore, you can link
chapter points to buttons in menus. Also, viewers can use the
chapter advance buttons on their DVD remote controls to
navigate through chapter points. Premiere Pro automatically
places an Encore chapter marker, labeled Chapter 1, at the
beginning of each sequence you create. You can rename the
chapter marker in Encore.
You can name Encore markers as you place them. The name
you enter in Premiere Pro appears as the label for a button in
the main menu or scenes menu in Adobe Encore CS6.
Note: For information on installing and using Encore CS6 with
Premiere Pro CC, see this
and
.
211