Working in icon view – Adobe Premiere Pro CC v.7.xx User Manual
Page 184

Working in Icon view
Video tutorial: Hover Scrub
The Icon view in Premiere Pro has the following features:
Use the Zoom slider to increase or decrease the size of icons. Icons can be zoomed to a large scale so that you can view the contents of
your media more easily.
To scrub through the contents of a clip, do one of the following:
Move (but do not click and drag) the cursor across the thumbnail of the movie clip. This action is called "Hover Scrub". Hover scrubbing
is most valuable for quickly previewing the contents of a clip before you edit it into a sequence.
Turn off Hover Scrub in the Project panel menu, or press Shift + H.
When Hover Scrub is off, you can press the Shift key to temporarily enable Hover Scrubbing.
Use the keyboard shortcuts I and O to set In and Out points for the clip while hover scrubbing.
While hovering over a portion of a clip, double-click the icon, and the clip loads into the Source Monitor where the pointer was
hovering. With this technique, Insert or Overwrite edits can be quickly made to the timeline.
Click the icon. Drag the playhead across the slider to scrub the clip.
After clicking the slider on the thumbnail, a clip playhead appears. You can:
Drag the playhead to see clip contents, or to monitor audio.
Use J-K-L keyboard shortcuts to shuttle through the clip.
Use the keyboard shortcuts I and O to set In and Out points for the clip while paused or shuttling. After marking clips with an In
and Out point, a yellow bar shows where the In and Out points are located.
To set a poster frame for the icon, drag the playhead or shuttle to the desired frame, and then press the Shift+P (Windows) or Command+P
(Mac OS) keys. To clear the poster frame, press the Ctrl+Shift+P (Windows) or Option+P (Mac OS) keys.
To view if the clip has been used in a sequence, hover over the filmstrip icon with the mouse and view the tool tip. The indicator also shows
how many times the clip is used in the sequence.
To locate the clip in a sequence, click the filmstrip icon and choose the sequence and sequence location (in timecode) from the context
menu. The playhead will jump to the clip in the proper sequence.
To arrange items in Icon view, drag a different location in the grid. As you drag, a vertical bar indicates where the item will be located. If you
drag an item to a bin, the item goes into the bin.
You can see the entire duration of a clip when Hover Scrubbing thumbnails left to right. At the left of a thumbnail is a clip's Media Start point,
and to the right is its Media End point. When you move the mouse outside the boundaries of the clip, or focus is set away from the Project
panel, the thumbnail resets to the poster frame. No audio is played during hover scrubbing.
If you are using a MacBook Pro, you can pinch and zoom the Multi-Touch trackpad to resize thumbnails in the Project panel and Media
Browser.
You can use Icon view to arrange clips in "storyboard" order, and then use the Automate To Sequence feature to move the storyboard into a
sequence. See this
by Franklin McMahon on the Layers Magazine website for details.
Sort icons in the Icon view
To sort icons in the Icon view, click the Sort Icons button
at the bottom of the Project panel. A list of sort options appears:
User Order: Lets you sort the icons in any order that you want by dragging around the icons.
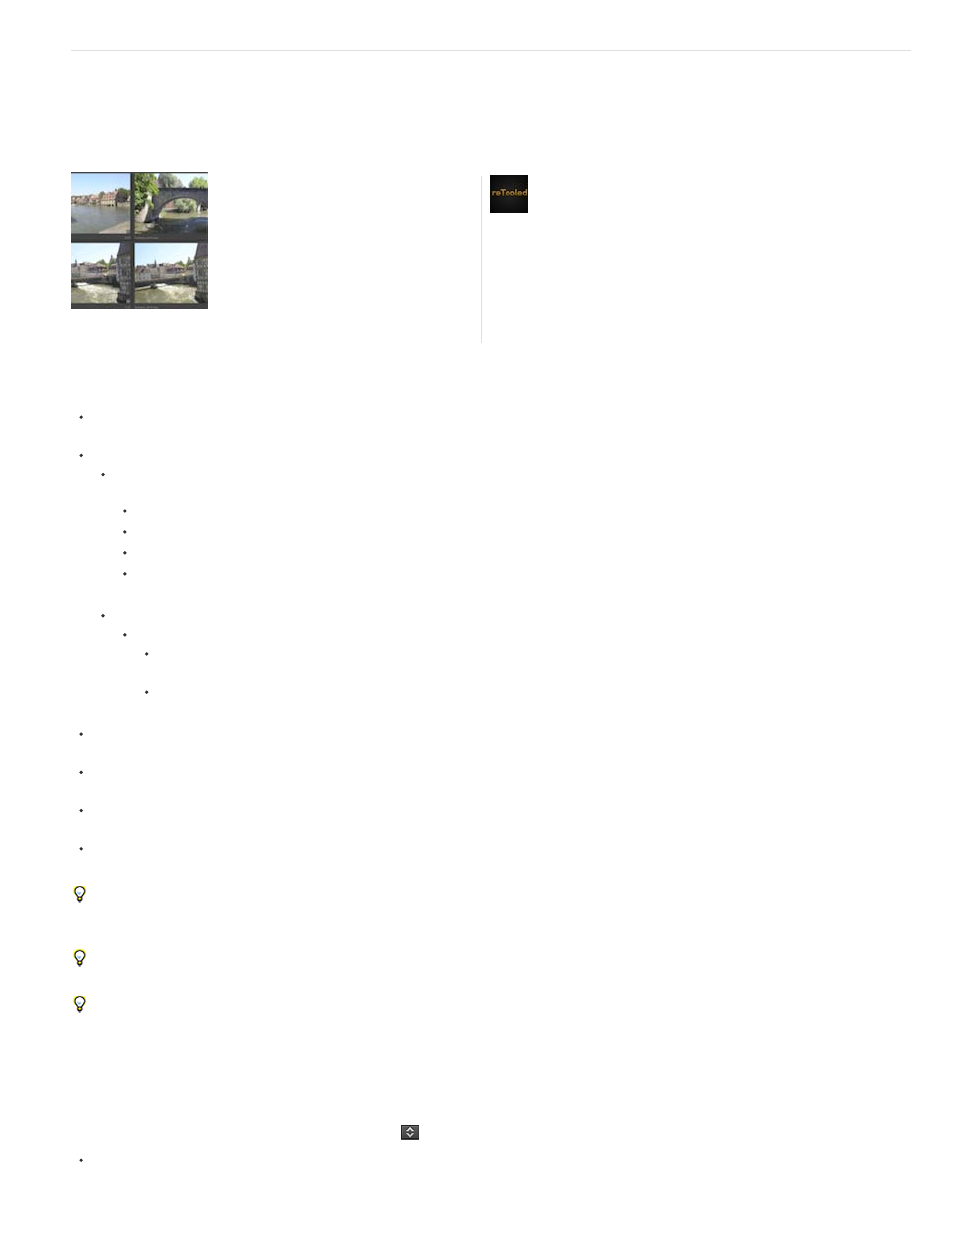
Learn more about the Hover Scrub feature,
and how you can scale your thumbnails
from very small to large....
by
reTooled.net provides tutorials in editorial,
design compositing, and innovative tools
to maximize standard desktop
applications and streamline everyday
tasks.
187