Adobe Premiere Pro CC v.7.xx User Manual
Page 361
Note:
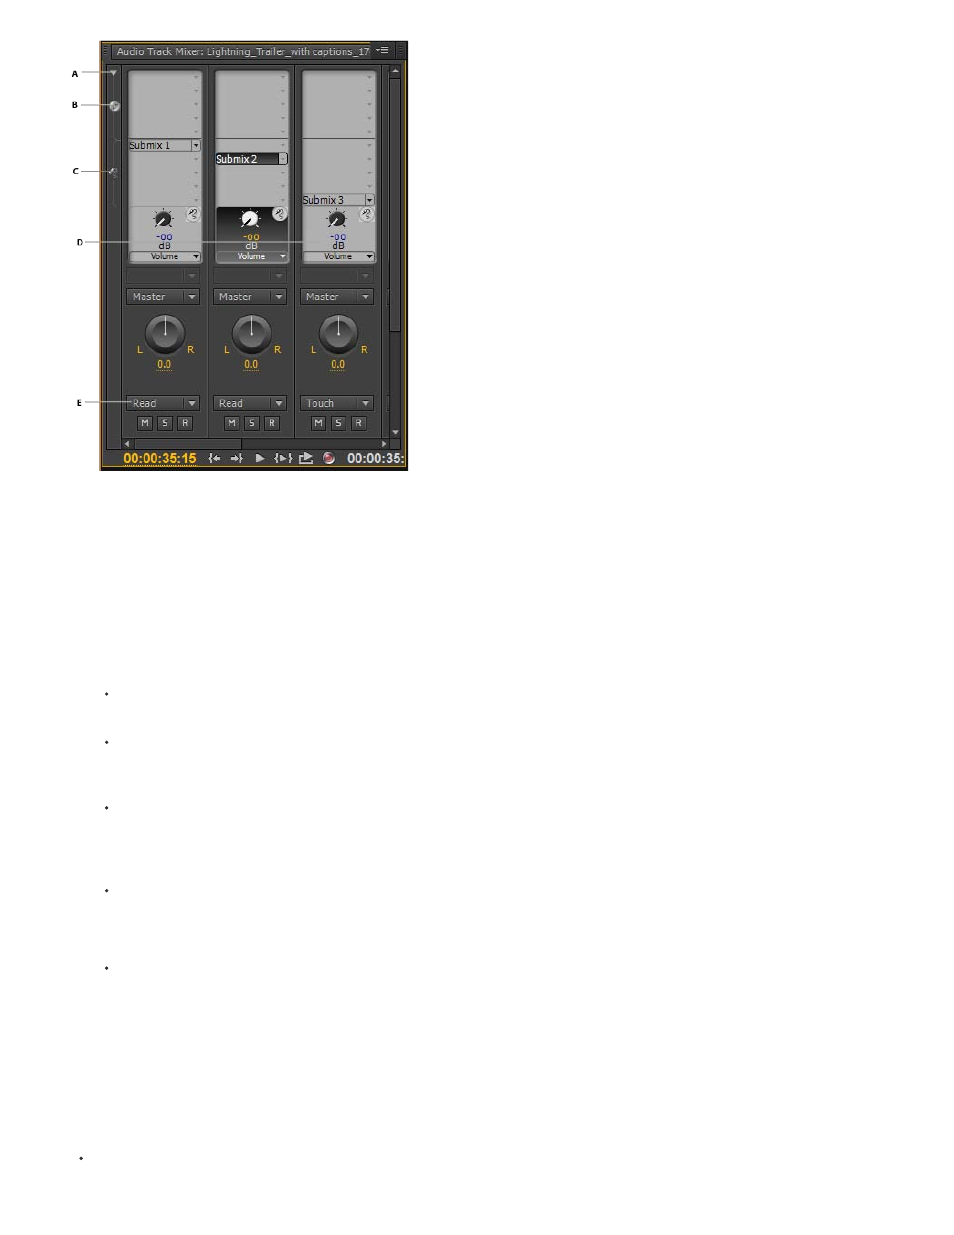
Audio Mixer
A. Show/Hide Effects and Sends B. Effects C. Sends D. Track Output Assignment E. Automation Mode
Modify the Audio Track Mixer
1. Choose any of the following from the Audio Track Mixer menu:
To display or hide specific tracks, choose Show/Hide Tracks, use the options to mark the tracks you want to see and click OK.
To display hardware input levels on the VU meters (not track levels in Premiere Pro), choose Meter Input(s) Only. If this option is
chosen, you can still monitor audio in Premiere Pro for all tracks that aren’t being recorded.
To display time in audio units instead of video frames, choose Show Audio Time Units. You can specify whether to view samples or
milliseconds by changing the Audio Display Format option in the General tab of the Project Settings dialog box. The Show Audio Time
Units option affects the time displays in the Audio Mixer, Source panel, Program panel, and Timeline panel.
To display the Effects And Sends panel, click the Show/Hide Effects And Sends triangle along the left side of the Audio Mixer.
If you can’t see all the tracks, resize the Audio Mixer or scroll horizontally.
To add an effect or send, click the Effect Selection or Send Assignment Selection triangle in the Effects And Sends panel. Then choose
an effect or send from the menu.
2. Right-click the panel and use the menu to set the visual metering mode, peak display, valley indicator display, and decibel range.
Monitor specific tracks in the Audio Mixer
Click the Solo Track button for the corresponding tracks.
364