Adobe Premiere Pro CC v.7.xx User Manual
Page 246
Note:
To mark an Out point, drag the playhead to the frame you want. Then click the Mark Out Point button , or press the O key.
After you mark In and Out points, you can always change your mind before you edit the clip into the sequence. Drag the In or Out points to a
new position in the time ruler. You can also drag the playhead to a new frame and use the Mark In or Mark Out buttons to set new In or Out
points.
Move In point and Out point together
Do one of the following:
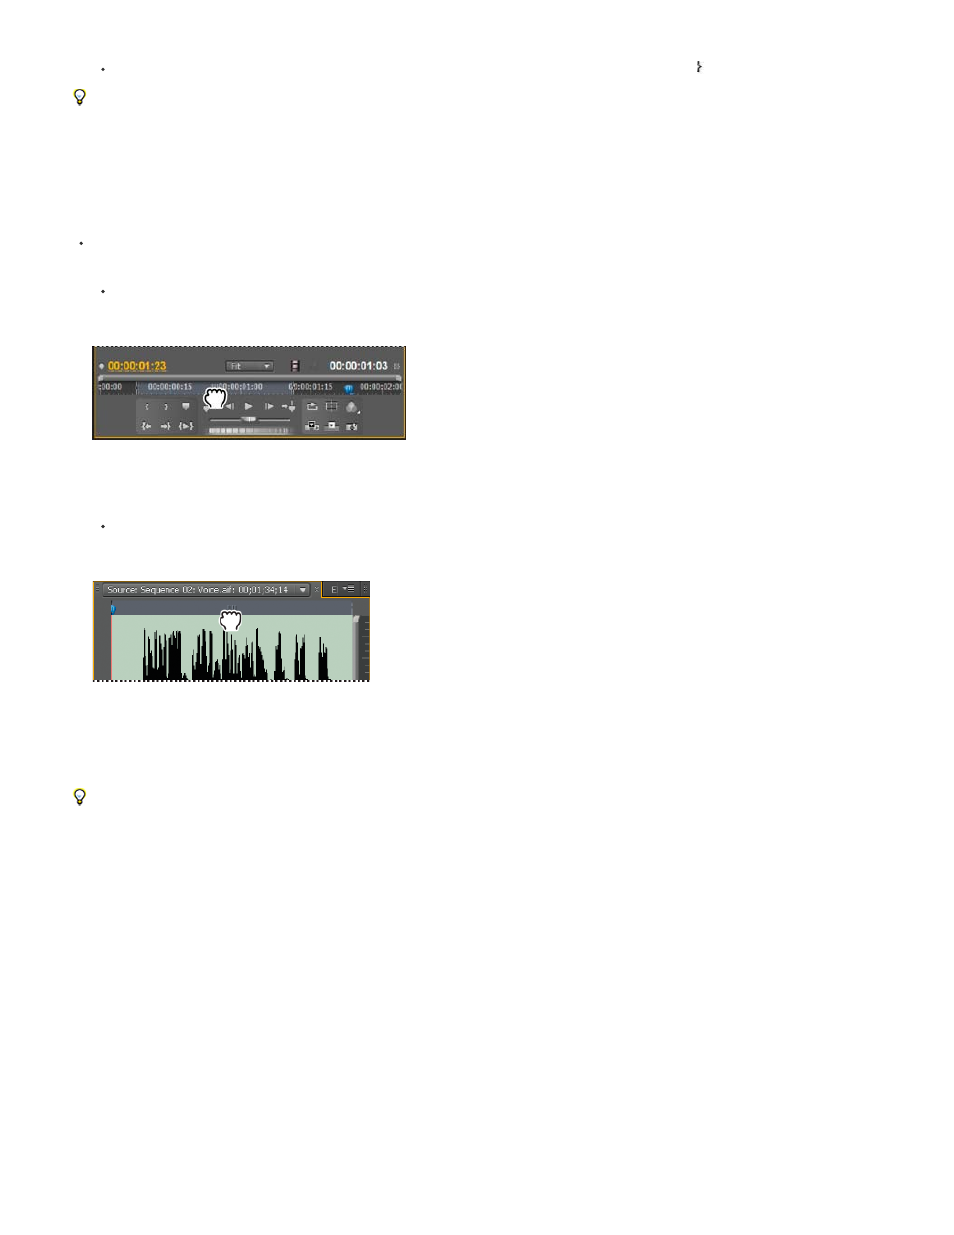
For a video or audio clip, in the Source Monitor time ruler, drag the In/Out Grip (textured area at the center of the shaded span between
the In and Out points). Make sure that you drag the textured area; otherwise, you simply cue the playhead.
Dragging the In/Out Grip for a video clip or track
For an audio clip, you can also drag the In/Out Grip, or the grey area between the In point and Out point above the waveform to the left
or right.
Dragging the audio In/Out Grip for an audio clip or track
The In and Out points move together, keeping the duration between them constant.
This technique also works with sequence In and Out points using the Program Monitor or a Timeline panel.
Adjusting edit points in the Source Monitor
Sometimes, adjusting In and Out points after a clip is in the Timeline is necessary. If you open a clip from the Timeline into the Source Monitor,
you can drag the In/Out Grip in the Source Monitor to set new locations for the In and Out points. This technique is useful for using a different
section of a clip in the Timeline. In fact, it is one way to perform a Slip edit.
Viewing in and out frames this way works only with clips that you’ve opened in the Source Monitor from a sequence.
1. Set the In and Out points in the Source Monitor.
2. Edit the clip into the Timeline.
3. Double click the clip to load it into the Source Monitor.
249