Adjust or animate clip anchor points – Adobe Premiere Pro CC v.7.xx User Manual
Page 434
3. Click the triangle next to the Motion control in the Effects Controls panel.
4. Click the Toggle Animation button next to the Position control to set the first keyframe.
5. Drag the current-time indicator in either a Timeline panel or the Effect Controls panel to the frame where you want to end the animation.
6. In the Program Monitor, drag the clip to the location where you want the clip at the end of its movement.
A motion path appears in the Program Monitor connecting the start and end points of the clip’s motion. Small Bezier handles appear near
either end of this motion path.
7. Drag either or both of the Bezier handles in any direction to create curves in the motion path.
8. In the Effect Controls panel, right-click (Windows) or Control-click (Mac OS) a Position keyframe.
9. Select a type of acceleration from either the Temporal Interpolation or the Spatial Interpolation menu.
10. Drag the current-time indicator to the first keyframe and press Enter (Windows) or Return (Mac OS) to preview the motion of the clip.
Adjust or animate clip anchor points
By default, a clip anchor point is set at the exact center of a clip. You can change the position of a clip in relation to its frame or motion path,
however, by moving the clip anchor point. Further, you can change the location of the clip anchor point over time, allowing the clip to move in
relation to its frame or motion path. Animating the clip anchor point can be used, for example, to create an image-panning effect.
1. In a Timeline panel, place the current-time indicator at the beginning of a clip.
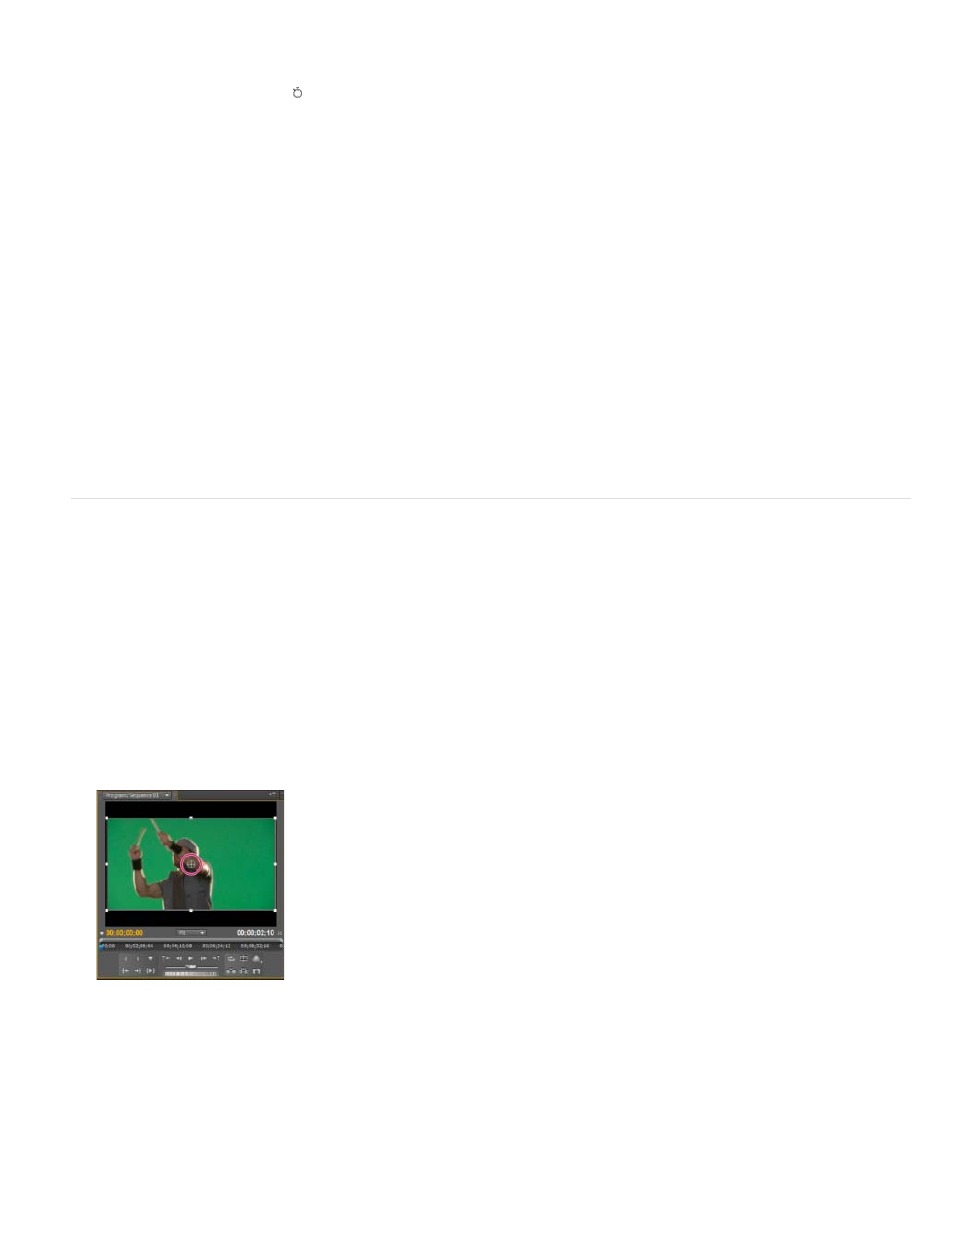
2. Click on the clip in the Program Monitor.
The clip anchor point becomes visible at the center of the clip.
The clip anchor point in the Program Monitor
3. Select the Effect Controls tab, and, if necessary, click the triangle next to the Motion heading to open the Motion controls.
4. Drag the anchor point horizontal control to the left (decreasing the number value) to offset the anchor point to the left of the clip, or drag it to
the right (increasing the number value) to offset it to the right.
437