Adobe Premiere Pro CC v.7.xx User Manual
Page 473
choose Clip > Video Options > Frame Blend. For more information about frame blending, see
Blend frames for smooth motion
.
The duration of a clip is the length of time it takes to play from the In point to the Out point. You can set a duration for video or audio clips, letting
them speed up or slow down to fill the duration. You can do the same for still-image clips, but without the changes in speed.
You can change the speed and duration for one or more clips at a time.
You can also set clip speed to fill a duration by performing a four-point edit.
1. In a Timeline panel or Project panel, select one or more clips. Shift-click to select clips in a Timeline panel or a contiguous group in a Project
panel. Ctrl-click (Windows) or Command-click (Mac OS) clips to select a non-contiguous group of clips in a Project panel. To change speed
or duration of all the clips in a bin in the Project panel and its nested bins, select the bin. The change does not affect non-media clips, such
as Sequences and offline clips, in the bin.
2. Choose Clip > Speed/Duration.
3. Do any of the following:
To change the duration without changing the speed of the selected clips, click the gang button so that it shows a broken link
.
Unganging also allows you to change the speed without changing the duration.
The speed remains at the percentage set while you trim the clip or clips. Alternatively, the duration remains at the percentage set while
you change the speed of the clip or clips.
To play the clips backward, check Reverse Speed.
To keep the audio at its current pitch while the speed or duration changes, check Maintain Audio Pitch.
To keep the clips following the changing clips adjacent to them, click Ripple Edit, Shifting Trailing Clips. (This option is available only
when changing the speed or duration of clips in a Timeline panel.)
4. Click OK.
Chad Perkins and Lynda.com
how to change the speed of a clip in Premiere Pro.
Change clip speed and duration with the Rate Stretch tool
You can change a clip’s speed to fit a duration.
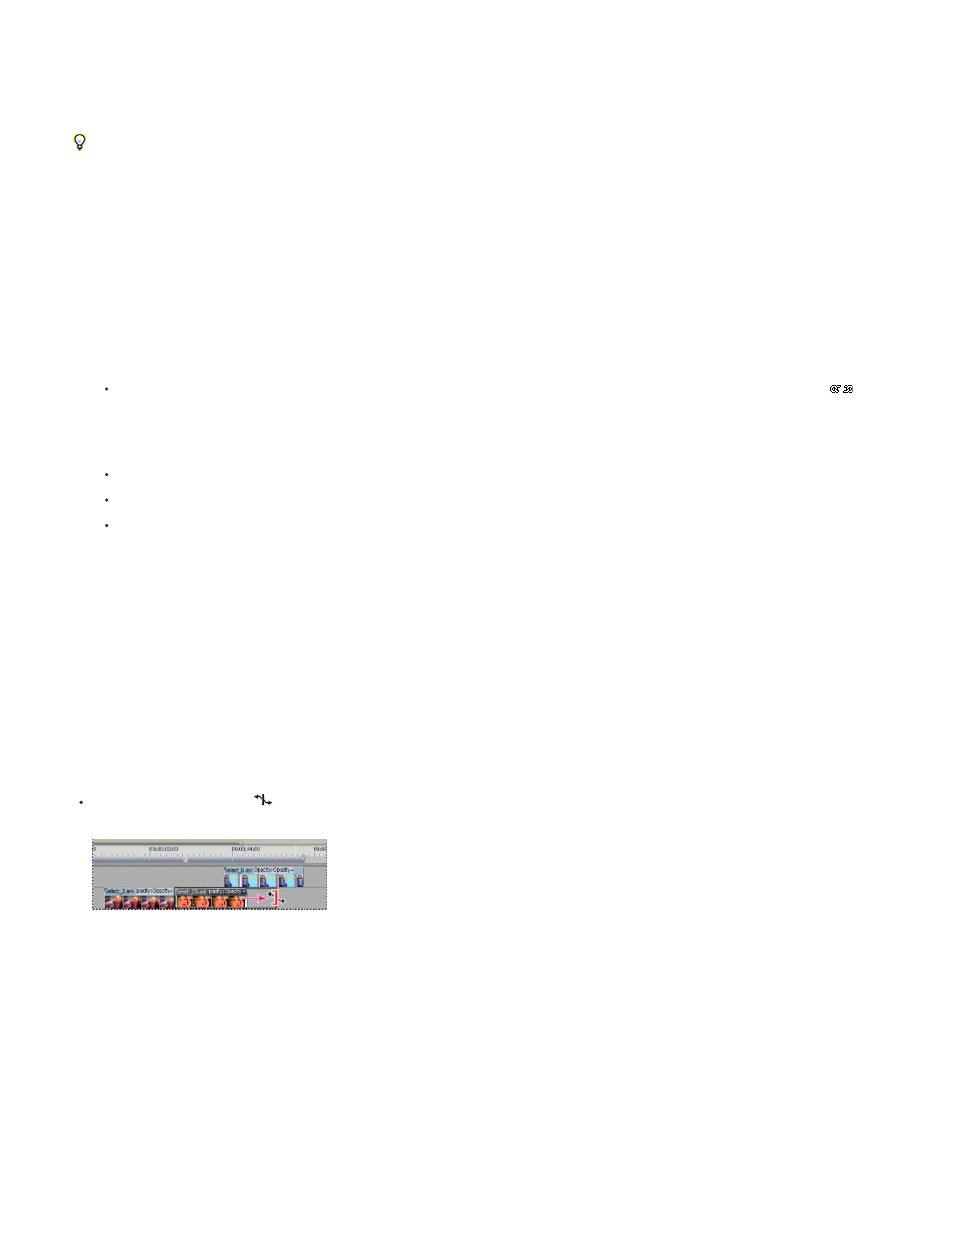
Select the Rate Stretch tool
, and drag either edge of a clip in a Timeline panel.
Changing clip speed using the Rate Stretch tool
Andrew Devis on the razor and rate stretch tools.
Author Phil Hawkins also shows how to use the Rate Stretch tool
at Infinite Skills.
Change clip speed and duration with Time Remapping
You can change the speed of the video portion of a whole clip. You can use Time Remapping to create slow motion and fast motion effects in
which the rate of speed varies.
476