Making ripple and rolling edits – Adobe Premiere Pro CC v.7.xx User Manual
Page 347
Note:
2. Select [Custom] from the Set drop-down menu.
3. Select Application from the drop-down menu of keyboard command types.
4. Scroll down to Trim In Point To Playhead and Trim Out Point To Playhead.
5. Set keyboard shortcuts for Trim In Point To Playhead and Trim Out Point To Playhead.
Trim the In Point or Out Point to the playhead
1.
This edit function creates a gap in your sequence.
In the Timeline, click the track head, in the area near the track title, of one or more tracks containing the clip or clips you want to trim. This
targets the track or tracks. You can target video tracks, audio tracks, or both.
2. Drag the playhead to the place in a clip where you want to trim either the In or Out point.
3. Press the keyboard command you assigned to Trim In Point To Playhead or Trim Out Point To Playhead.
For more information about trimming with the playhead,
An Editor's Guide to Premiere Pro by Richard Harrington,
Robbie Carman and Jeff Greenberg.
Making ripple and rolling edits
You can perform a ripple or rolling edit either directly on the tracks in the Timeline or using the Trim Monitor.
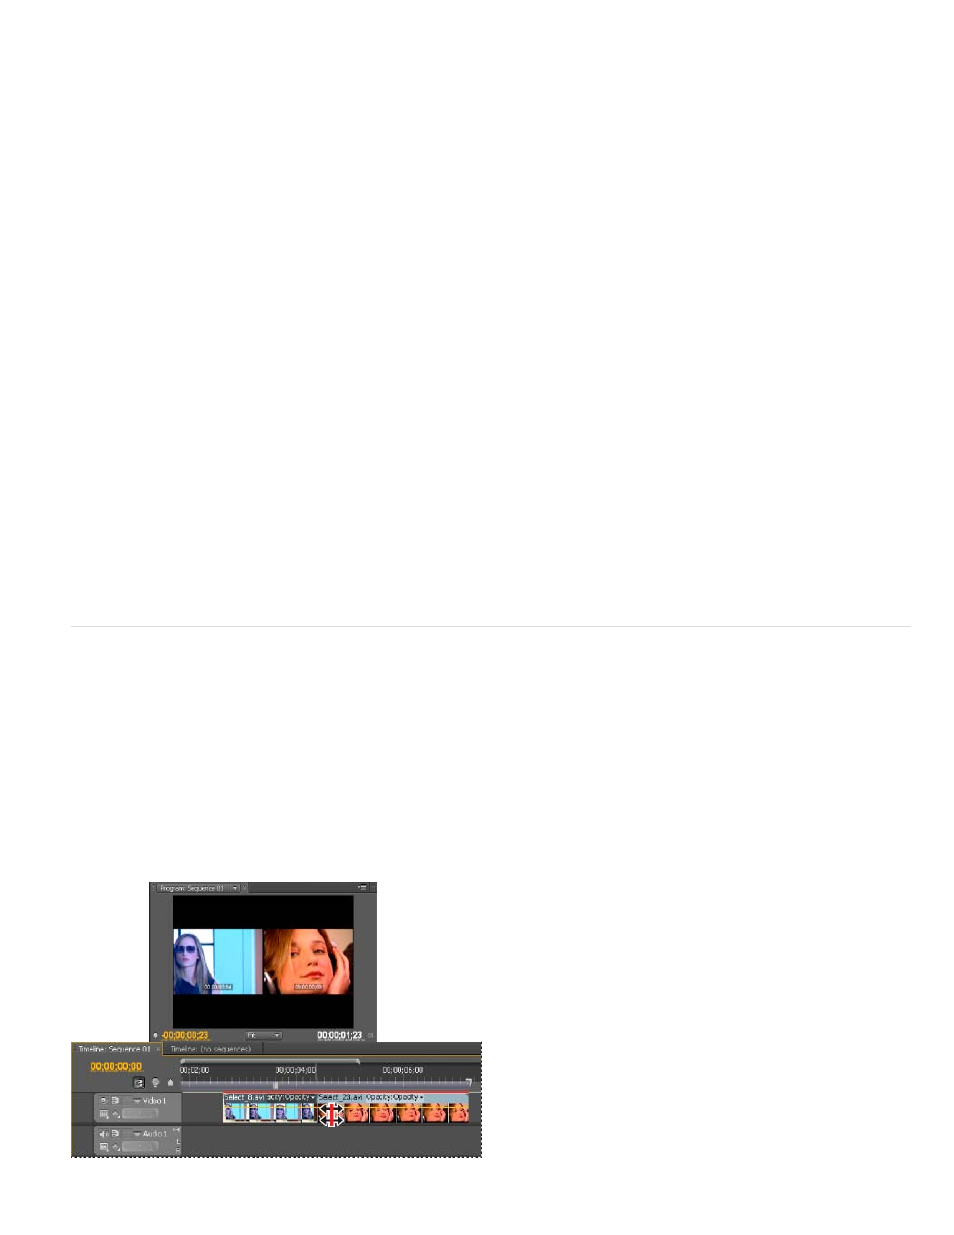
About ripple and rolling edits
When you want to adjust the cut, or edit point, between two clips, use variations of simple trimming known as ripple edits and rolling edits. By
using specialized tools, make adjustments in a single action that would otherwise require multiple steps to accomplish. When you perform ripple
and rolling edits with trim tools, the affected frames appear in the Program Monitor side by side.
350