Tenant override program, Installing the program – WattMaster WM-WCC3-TGD-01B User Manual
Page 428
6-2
6. TENANT OVERRIDE PROGRAM
WCC III Technical Guide
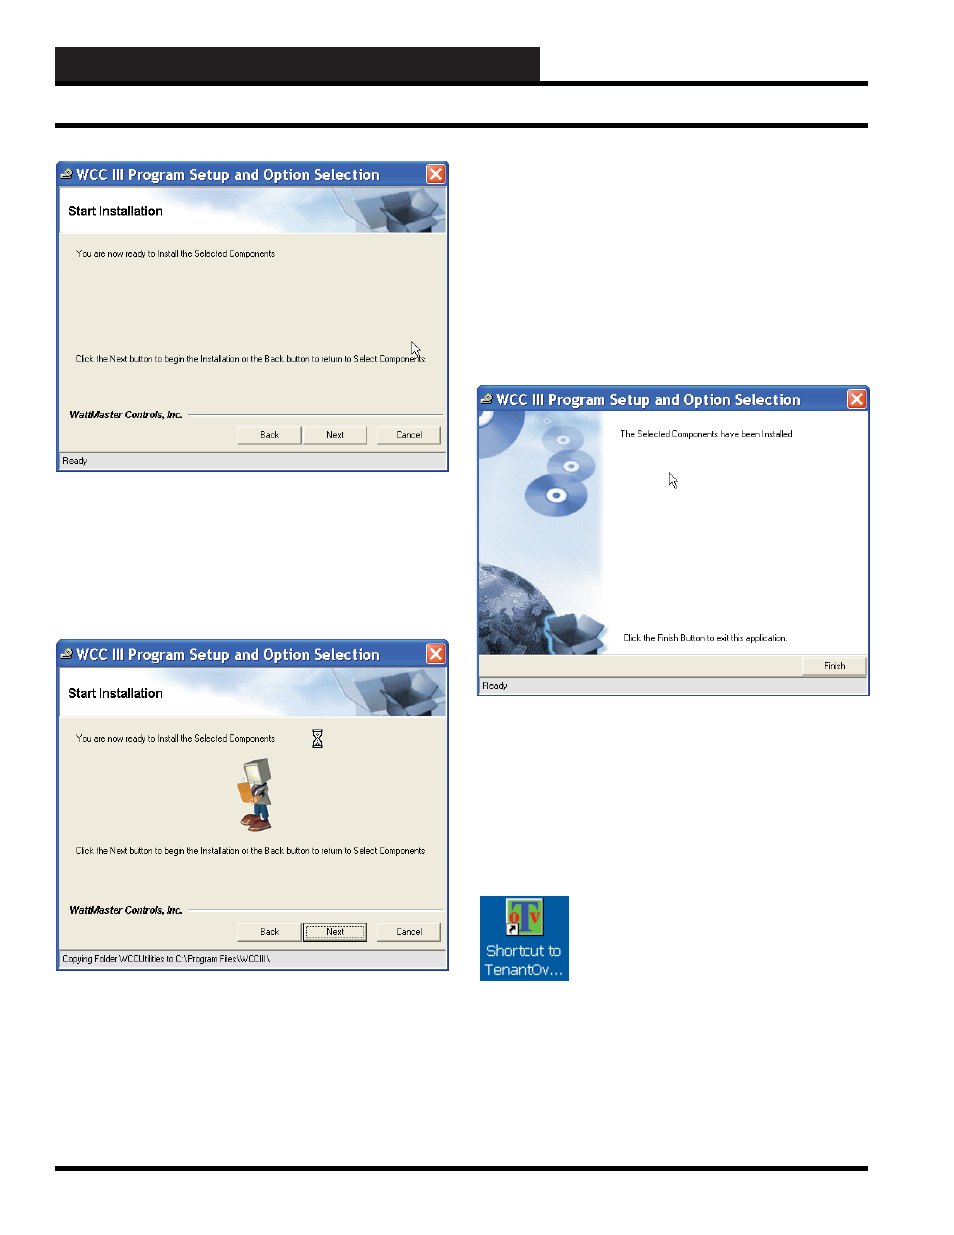
Step 5:
The screen will ask you to click the
<Next>
button to
begin installation. After again verifying that you really want to
install these WCC III programs, click
<Next>
.
The
<Back>
button will take you back one screen and the
<Cancel>
button will allow you to cancel the WCC III Program
Setup installation.
Step 6:
The mouse cursor will turn to an hourglass-shaped cursor to
indicate that the WCC III installation process is still continuing. The
“Ready” fi eld at the bottom of this screen will show the progress of
the WCC III programs that were selected for installation. (Copying
various subdirectories and fi les). The WCC III installation program
will create (or copy over existing subdirectories) the following
subdirectories on the WCC III Front end computer’s local disk C:\
ProgramFiles\WCCIII subdirector(ies), depending on the selected
programs to be installed. Listed below is only the Tenant Override
subdirectory:
C:\ProgramFiles\WCCIII\Tenant OVR\
The
<Back>
button should take you back one screen, but at this
point it is too late in the installation process to go back one screen.
The
<Cancel>
button should allow you to cancel the WCC III
Program Setup installation, but at this point it is too late to cancel
the installation process.
Step 7:
After the installation is complete, the screen shown above
will be displayed. Please left-click the
<Finish>
button to exit the
WCC III program setup installation process.
The shortcut icon below and other icons should now be on your
Windows Desktop screen, depending on your WCC III program
installation selections:
Installing the Program