Blend options, Change the spine of a blended object – Adobe Illustrator CS4 User Manual
Page 253
246
USING ADOBE ILLUSTRATOR CS4
Reshaping objects
2
Choose Object > Blend
> Make.
By default, Illustrator calculates the optimum number of steps to create a smooth color transition. To control the
number of steps or distance between steps, set blending options.
Blend options
You set blending options by double-clicking the Blend tool
or choosing Object > Blend
> Blend Options. To
change options for an existing blend, select the blended object first.
Spacing
Determines how many steps are added to the blend.
•
Smooth Color
Lets Illustrator auto-calculate the number of steps for the blends. If objects are filled or stroked with
different colors, the steps are calculated to provide the optimum number of steps for a smooth color transition. If the
objects contain identical colors, or if they contain gradients or patterns, the number of steps is based on the longest
distance between the bounding box edges of the two objects.
•
Specified Steps
Controls the number of steps between the start and end of the blend.
•
Specified Distance
Controls the distance between the steps in the blend. The distance specified is measured from
the edge of one object to the corresponding edge on the next object (for example, from the rightmost edge of one object
to the rightmost edge of the next).
Orientation
Determines the orientation of blended objects.
•
Align to Page
Orients the blend perpendicular to the x axis of the page.
•
Align to Path
Orients the blend perpendicular to the path.
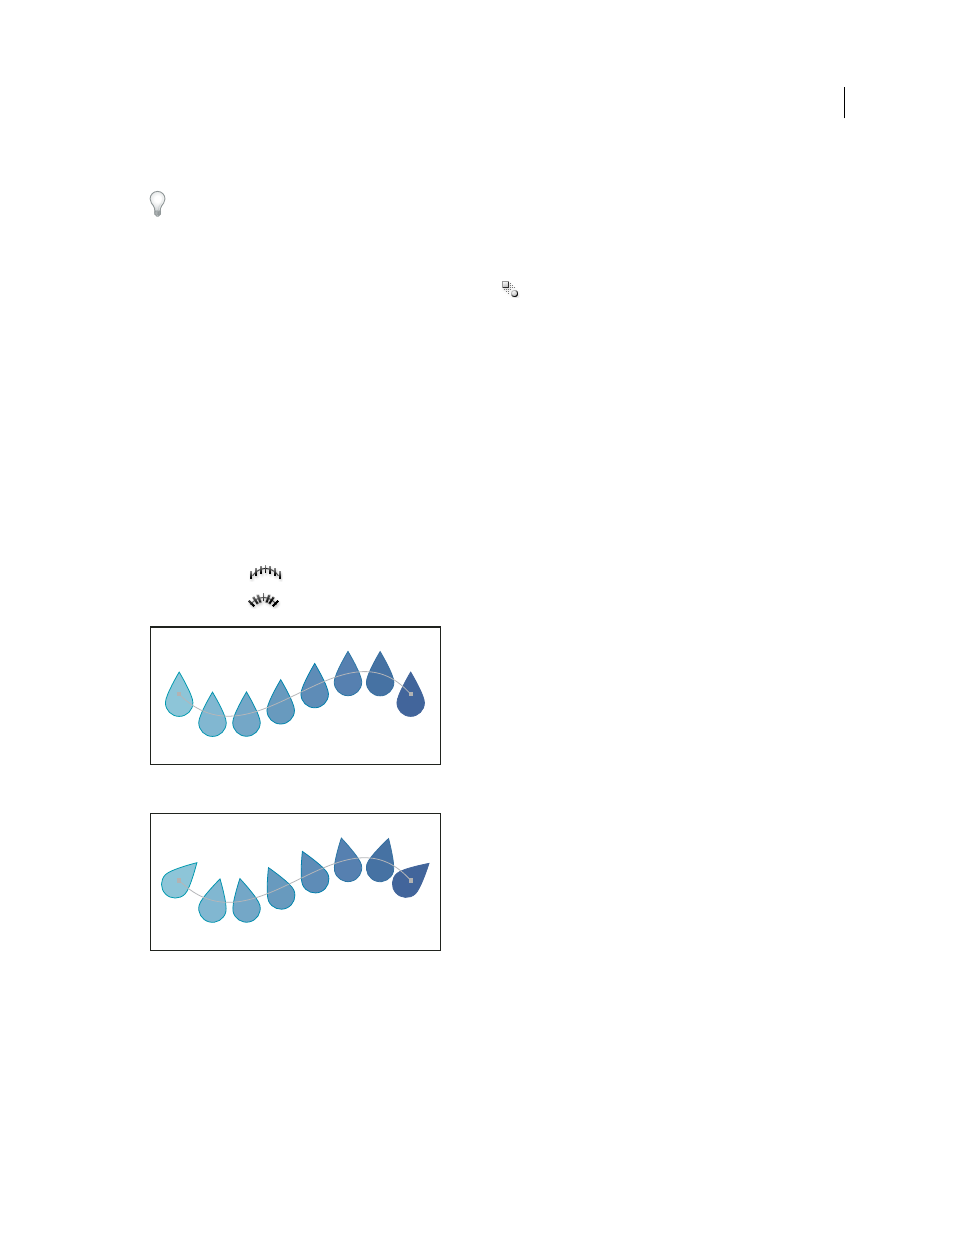
Align to Page option applied to a blend
Align to Path option applied to a blend
Change the spine of a blended object
The spine is the path along which the steps in a blended object are aligned. By default, the spine forms a straight line.
•
To adjust the shape of the spine, drag the anchor points and path segments on the spine with the Direct Selection
tool.