Drag-and-drop to create pdfs – Adobe Acrobat XI User Manual
Page 118
111
Creating PDFs
Last updated 1/14/2015
3
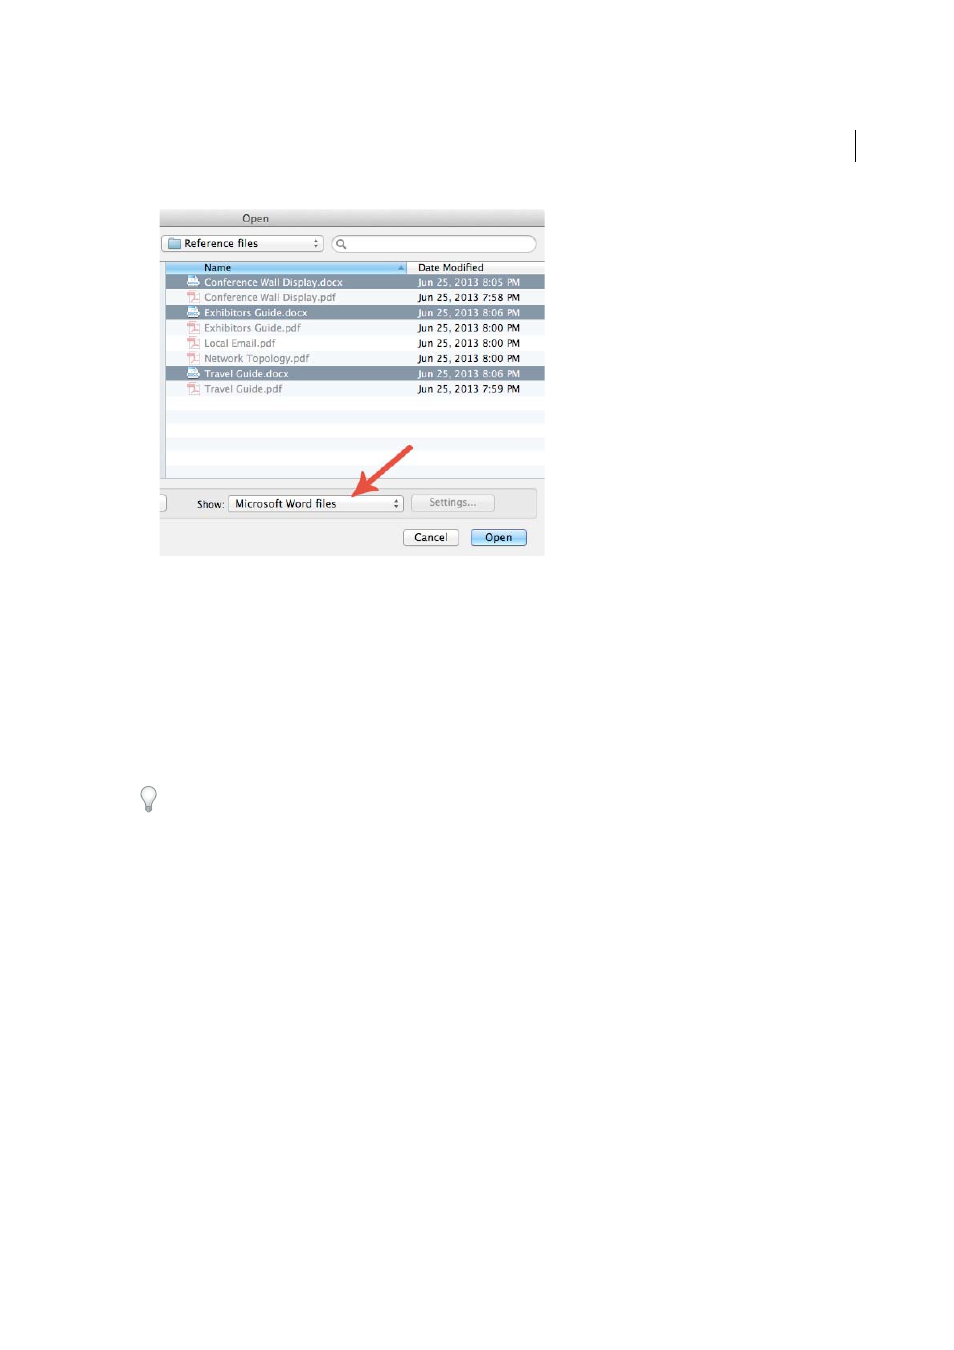
Optionally, click Settings to change the conversion options if you're converting an image file to PDF. The options
available vary depending on the file type.
Note: The Settings button is unavailable if you choose All Files as the file type or if no conversion settings are available
for the selected file type. (For example, the Settings button is unavailable for Microsoft Word and Microsoft Excel files.)
4
Click Open to convert the file to a PDF.
Depending on the type of file being converted, the authoring application opens automatically, or a progress dialog
box appears. If the file is in an unsupported format, a message appears, telling you that the file cannot be converted
to PDF.
5
When the new PDF opens, choose File > Save or File > Save As; then select a name and location for the PDF.
When naming a PDF that’s intended for electronic distribution, limit the filename to eight characters (with no spaces)
and include the .pdf extension. This action ensures that email programs or network servers don’t truncate the filename
and that the PDF opens as expected.
More Help topics
Drag-and-drop to create PDFs
This method is best reserved for small, simple files, such as small image files and plain text files, when the balance
between file size and output quality is not important. You can use this technique with many other types of files, but you
won’t have the opportunity to adjust any conversion settings during the process.
1
Select the icons of one or more files in the Windows Explorer or Mac OS Finder.
2
Drag the file icons onto the Acrobat application icon. Or (Windows only) drag the files into the open Acrobat
window.